

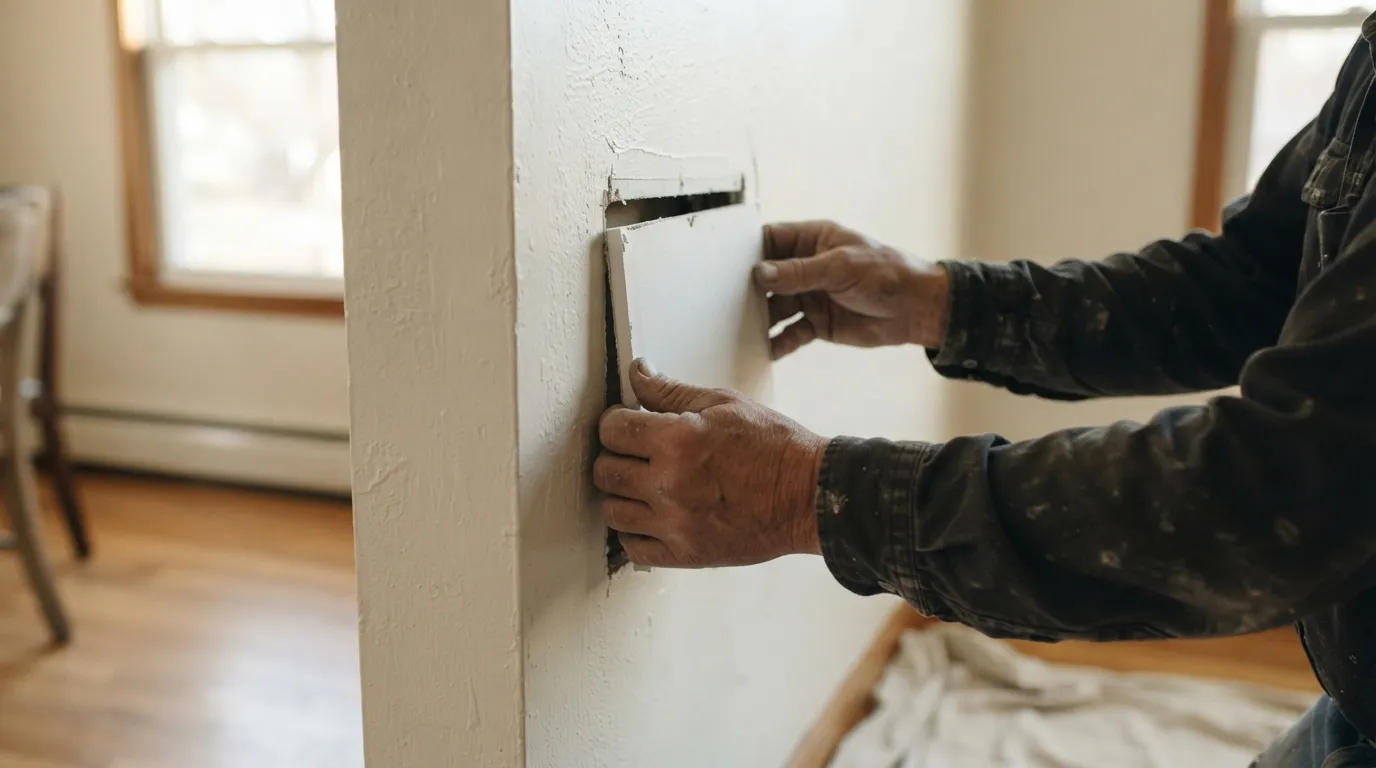
What the job actually involves
When you search for drywall repair silver spring you want to know what someone will actually do when they arrive. The simplest jobs are small patches and tidy finish work; bigger jobs mean cutting out ruined board and fitting new drywall before any finishing begins. What decides the price and the timeline is the damage itself, how easy the area is to reach, and the finish the wall needs, an investment often shown as $3, $6 per sq ft, and a typical schedule that many contractors list as 2 to 4 days.
A small nail or screw hole is a tiny patch: clean the area, apply compound, sand and touch up paint. A dent or a long crack needs a longer skim and sometimes a reinforcing tape layer so the crack does not return. Water damage usually requires cutting back to dry, sound material and replacing the damaged panel rather than just skimming over a soft or stained patch. Large openings or areas that include electrical boxes, plumbing, or framing that has moved need a reboard: the damaged board comes out, the frame is checked and repaired if needed, then new drywall is hung and finished.
Think of the job as three parts: removing soft or loose material, securing or replacing backing, and finishing the surface to the level that matches surrounding walls. Where lighting is tricky, a higher-grade finish is used so the join is less visible; where paint and texture match closely, a simpler finish can be acceptable. Mentioning what you want for the final look when you call saves time, a rough patch for a rental is different from a kitchen wall under bright lighting.
When a simple patch is enough and when it isn’t
Small cosmetic damage usually takes only a patch. That covers hairline cracks, single nail holes, small dents and isolated gouges. For most of these you or a pro can fill, feather, sand and paint without replacing a whole sheet.
A few things push a repair beyond a simple patch. If the drywall is soft when you press it, or if the paper has bubbled or peeled from water, the board has lost integrity and needs to be cut out. A crack that follows a seam or runs where framing has shifted often means the framing or the fasteners need attention. Where a repair sits next to an electrical box, recessed light, or plumbing, the area behind the board must be checked for safety before finishing.
Large holes from accidents or removals, and ceiling areas that sag or show repeated staining, usually require reboarding. Reboarding means removing the damaged section, cutting and fitting a new board, fastening it to the studs or blocking, and then finishing the seams. The seam work is what makes a reboard blend with the rest of the wall: without careful taping and multiple finish coats the repair will show.
If texture is part of the surface, orange peel, knockdown, skip trowel, matching that texture is a separate step. Texture matching often determines whether the job is booked as a patch or a replace-and-finish. When you call, tell the pro whether you expect texture matching and paint included so the estimate covers it.
How a pro actually fixes holes, cracks and water damage
A clear sequence keeps a visit efficient. First, the pro inspects the problem and the surrounding area. They will check whether the drywall is simply damaged at the surface, whether there is staining or mold risk, and whether the framing and fasteners behind the board are solid. This diagnosis decides whether the job is a patch, a reboard, or part of a larger repair.
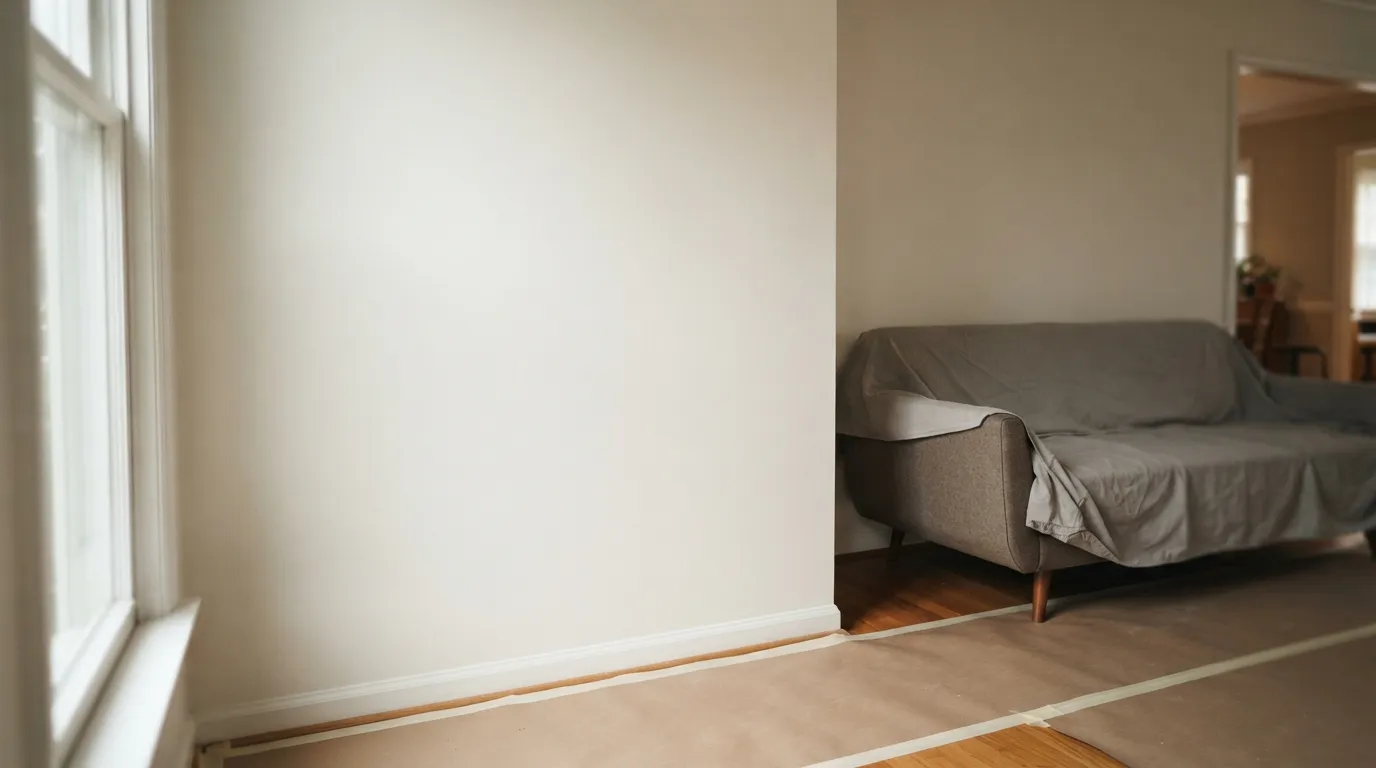
Next, the workspace is prepared. Expect furniture to be moved away or covered, floors protected with drop cloths, and a small containment area set up if sanding will create dust. Professionals often use a light to read the wall surface so they can see where the joins and fastener dimples sit under paint.
If the board must be removed, the damaged section is cut back to the next stud or a solid backing. The pro checks the studs for rot or movement and installs blocking where needed so the new board has secure edges. Electrical boxes and plumbing are inspected to make sure nothing will be trapped or strained by the repair.
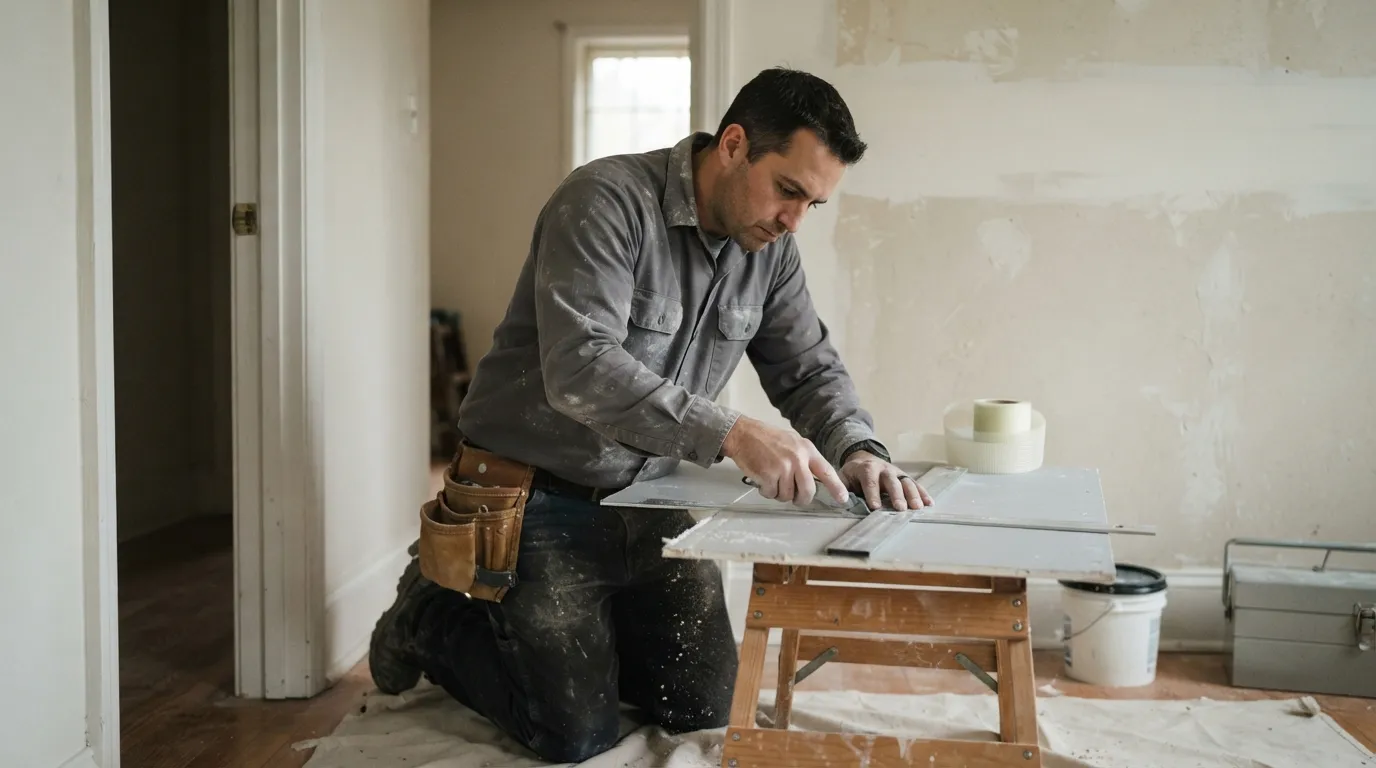
New drywall is then measured and cut to fit. The board is fastened with screws to the studs or blocking. Taping comes next: paper tape or fiberglass mesh is applied over the seams and the screw heads are countersunk and covered. A first coat of joint compound is applied to bed the tape and to fill depressions.
Drying time follows the first coat. After it dries, the pro sands to a flat surface, taking care not to sand through the tape. A second coat is applied wider than the first to begin feathering the seam into the existing plane of the wall. For visible areas or under strong lighting a third coat may be needed to remove any ridges and to achieve a seamless look. Each coat is allowed to dry fully before sanding.
Finishing level matters. A quick rental patch aims for a simple finish that will be hidden by a final coat of paint, while a kitchen or bathroom wall under bright task lighting may call for a higher finish to avoid shadowing. Professionals refer to finish levels by how much they sand and feather the compound and whether they skim the whole panel.
After the final sand, the wall is primed where the repair took place. Primer seals the compound and creates a uniform surface for paint. If paint-matching is requested, the pro will either use paint you supply or match your existing color if the estimate includes paint. A final coat of paint completes the job and restores the visual continuity of the wall.
What a drywall bill is actually made of
A clear estimate breaks the job into parts so you can compare bids. The main components are materials, labor, the finish level, and any travel or minimum-service charge.
Materials are simple but not trivial: drywall panels, joint compound, tape, screws, primer, and occasionally texture materials or paint. For reboards you might also see charges for blocking or replacement lumber if the studs or backing need repair. Small supplies add up when a job needs multiple finish coats or special texture products.
Labor is the largest piece for most repairs. Labor covers the time to cut and fit boards, to apply multiple compound coats, to sand between coats, and to protect and restore the space. Because compound must dry between coats, larger jobs need several visits or a crew that schedules the coat, wait, and sand cycle efficiently.
Finish level affects labor. A repair that must be invisible under strong lighting takes more passes, more careful sanding, and possibly a skim coat over a wider area so the join is imperceptible. A rental unit that only needs a tidy surface for new tenants is billed as a simpler finish and needs less time.
Travel and minimums are common in local handyman estimates. A small one-hour patch might still sit behind a minimum service charge that covers travel time and set-up. For multiple rooms or several units a contractor can often plan visits to reduce travel and lower the per-job labor charge.
When someone gives a per-square-foot range, read it as shorthand for the combination of the above: materials plus the expected level of finish and the time it will take. A higher per-square-foot figure usually buys you a higher finish level and a quicker turnaround, while a lower figure typically covers straightforward patches with limited feathering.
Before you accept a price, ask what is included: does the estimate cover matching texture, primer and paint, the number of return visits, and any necessary repairs to framing or electrical that the pro discovers? Clear answers prevent surprise add-ons on the final bill.
Typical timelines for drywall repairs
Small cosmetic patches are fast. A single nail hole, dent or small crack can be completed in one visit if the pro uses fast-drying compound, or in two brief visits if standard drying times are observed. Expect light dust and short set-up and clean-up time for these jobs.
Medium repairs, such as a ripped section around a door frame or a repair that requires new backing, often need multiple coats and therefore more than one visit. A contractor who lists 2 to 4 days typical is accounting for diagnosis, cutting and securing any backing, and the coat-dry-sand cycles that deliver a smooth finish.
Large reboards and ceiling replacements need longer. After removing damaged material and installing new board, the finishing work is the limiting factor: each compound coat dries and must be sanded, so the calendar expands. If painting is included, allow time for primer and paint to dry as well.
Condo rules or building access can add days. If the job needs association approval or if access is limited to certain hours, plan for the scheduling overhead. For landlords managing multiple units, batching similar jobs together reduces the total calendar time because the crew can move from unit to unit with less set-up between visits.
If you need the repair timed around a move-in date or a tenant turnover, tell the contractor the deadline when you request the estimate. That allows the pro to plan additional crew time or use faster drying products to meet your schedule while noting any trade-offs in labor or finish level.
Insurance, warranties, and when to involve your insurer
Ask any pro for the proof you need. At a minimum, confirm the contractor carries general liability insurance and will provide a certificate if requested. If a repair follows a leak or other insured event, call your insurer early so you know whether you should file a claim or handle the repair out of pocket.
Warranties differ and matter when a repair fails because of a bad installation or because staining reappears. Ask what the contractor’s warranty covers and how long it lasts. Also clarify whether the warranty applies only to the patch itself or to paint and texture work as well.
When water is involved, document the damage before the repair. Take dated photographs, keep notes of when you first saw the issue, and save any correspondence with neighbors or building management. If the cause may involve a neighboring unit, building system, or a concealed plumbing failure, opening a claim sooner rather than later helps you and the contractor coordinate repairs and reimbursements.
If an insurer asks for estimates, request a written estimate that lists the steps to be done and any parts to be replaced. A clear estimate speeds negotiations and avoids misunderstanding about whether a patch or a reboard is needed.
How to prepare your home before a repair
A little prep saves everyone time and keeps the disruption low. Move small items off walls and clear a path from the entrance to the work area so the crew can bring in materials. For larger furniture, either move it away from the wall or cover it with a sheet. If the room has delicate textiles, remove them from the area.
Tell the contractor where to park and where you will keep keys or how you will provide access if you cannot be there. Confirm whether the pro will need access to a water tap or electrical outlet on site for tools and cleaning.
If you have pets or small children, put them in a secure area away from the work zone. Sanding creates dust even when steps are taken to contain it; a quiet room with closed doors keeps them safe and reduces the need for repeated cleaning.
Checklist before the visit:
- Clear wall surfaces near the repair and remove pictures or shelves
- Move small furniture or protect larger pieces with covers
- Secure pets and let the pro know about any special access instructions
- Confirm a parking spot and a single point of contact for the visit
- Keep a can of your paint or the paint code handy if you want a match
See examples, typical repairs, and what gets cleaned up
Photos are the best way to set expectations. Before-and-after pictures should show the damage with the area illuminated and then the finished wall from the same angle. Look for repairs that show the seams blended across the plane of the wall rather than obvious filled shapes.
Typical cleanup steps include removal of dust with a vacuum, wiping surfaces with a damp cloth, and returning moved items to their place. Professionals often do a final walk-through with you so you can check the texture and color in your usual lighting. If you expect a near-invisible repair under bright, direct light, say so early: that determines how many skim coats and how much sanding will be scheduled.
At the end of the job you should expect a stable, dry patch, no loose compound, and a primed surface if painting is part of the work. If paint matching is part of the estimate, confirm whether primer and final paint are included so there are no surprises about touch-up work after the job is done.
Contact us if you want a clear, written estimate for the repair you described. We will note whether the job is a patch or a reboard, what finish level we recommend, and what the visit schedule will look like. For quick jobs and for batches of small repairs, see our notes on small jobs to plan visits efficiently.
Frequently asked questions
Can a handyman patch drywall for me?
Yes, handymen and home improvement services commonly include drywall patching among their offerings. They can handle small holes and medium repairs, and they will tell you whether a reboard or a simple patch is the right approach.
How long will a typical drywall repair take?
Timelines depend on size and finish, but many contractors list 2 to 4 days as a typical window to allow for diagnosis and the coat-dry-sand cycles needed for a good finish. A single small patch can sometimes be done in one brief visit if faster-drying products are used.
Which is better for drywall repair, joint compound or spackle?
Both joint compound and spackle are used to fill holes, but professionals select the product based on the size of the repair and the finishing steps planned. Larger seams and taped joints need compound applied in multiple coats, while small cosmetic fills can be done with spackle.
Will a repair match my existing texture and paint under different lighting?
Achieving an invisible repair under strong lighting may require a higher finish level and careful texture matching, and a pro will recommend the number of skim coats and sanding to meet that requirement. If paint matching is needed, confirm whether primer and final paint are included in the estimate.
