

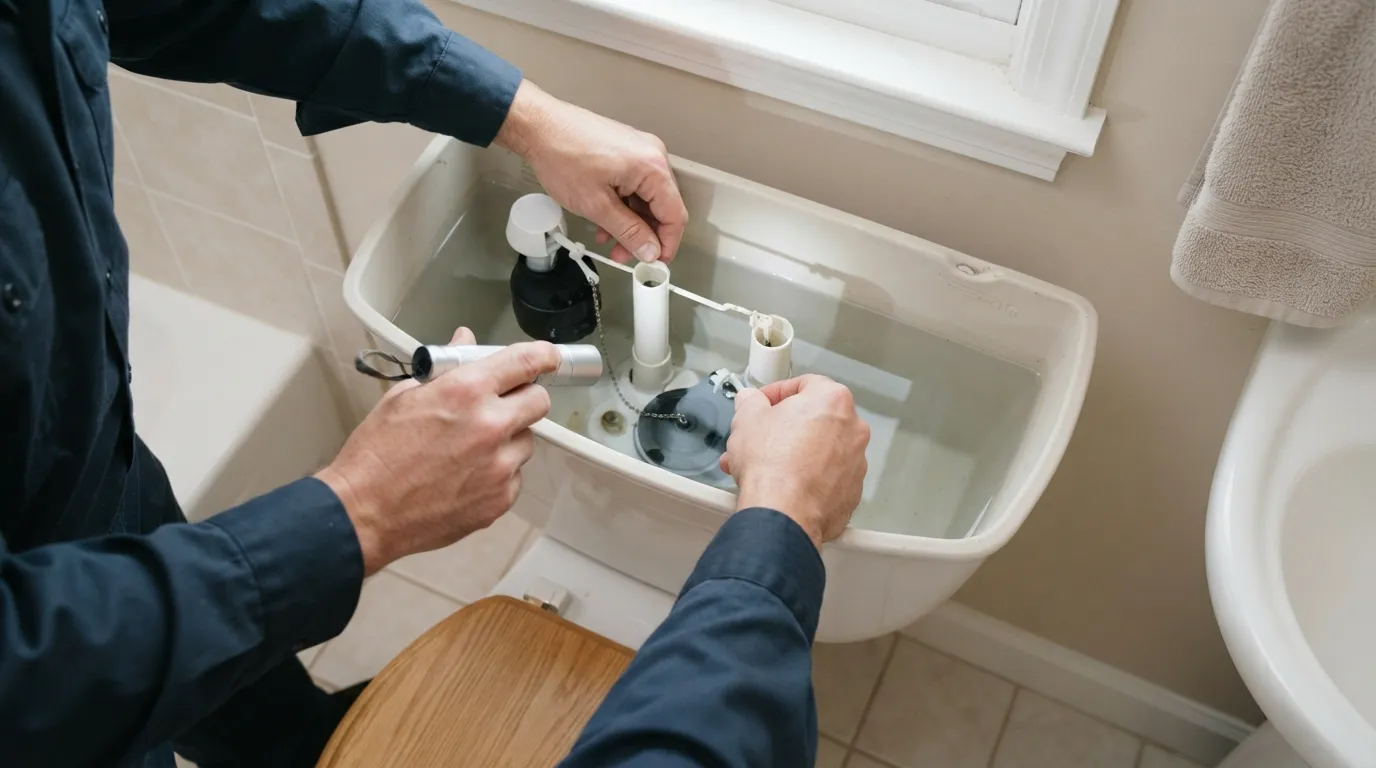
Why is my toilet running constantly?
If your toilet is running constantly, it means water is leaking inside the tank instead of staying put, most often because the flapper is worn or a fill mechanism is not shutting off. Stop the sound first, then run a few quick checks to identify whether the flapper, the fill valve and float, or the chain and overflow are at fault so you can decide whether to fix it yourself or call us.
Quick checks to stop the noise and gather facts
Start with low-effort steps that quiet the running and give you facts a technician will want. Do these in order so you can report what you tried.
- Reach down into the tank with the lid off and gently press the flapper down. If the running stops while you hold it, the flapper or its seal is the likely cause.
- Lift the float or press the refill lever briefly to see whether water keeps filling the tank after it reaches its usual level.
- Look at the overflow tube: water should sit below its top. If it spills into the tube, that explains why the fill keeps running.
After those checks, note what you saw: did the sound stop when the flapper was held, did the water keep rising past the overflow, or did the float not rise cleanly? Those facts tell you what to try next and what to tell us when you call.
The three parts inside the tank that usually fail
Inside the tank there are three things that most often cause a toilet to run: the flapper, the fill valve and float, and the chain/overflow arrangement that links the two.
The flapper is the rubber or polymer seal that sits over the flush valve at the bottom of the tank. It lifts when you flush and then falls back to seal the outlet while the tank refills. Over time the material hardens, warps, or collects mineral deposits so it no longer makes a tight seal. Because worn flappers are common, they are the first thing to check.
If the fill valve sticks, leaks slowly, or the float is set too high, the valve can let water run continuously. There are several float types and valve designs, but the symptom is the same: water keeps entering the tank because the shutoff signal either doesn’t arrive or isn’t acted on.
The overflow tube, a vertical pipe in the tank, is the safety route for extra water; if water reaches the overflow rim the fill valve keeps adding water to replace what’s lost down that tube. A misadjusted chain, damaged flapper seat, or a cracked overflow can all let water bypass the intended seal point.
Knowing which of these parts is at fault narrows the job from a general plumbing visit to a short repair you can make or describe precisely when you phone for help.
How to tell which part is the problem (simple tests)
Start diagnosis with the dye test, then watch how the float and flapper behave during and after a flush. These tests are quick and tell you which component needs attention.
Put food coloring or a tablet of dye into the tank, not the bowl. Wait ten minutes without flushing. If color shows up in the bowl, water is leaking under the flapper or through the flush valve seat. That points to the flapper or the seat surface that the flapper seals against.
If the dye does not appear in the bowl, flush and watch the tank refill. Note how the float rises and whether the fill valve shuts off cleanly when water reaches the normal level. If the float continues to sink and the valve keeps running, the fill valve or float linkage is likely at fault. Some floats slide on a rod, others are attached to the fill valve; watch whether the float moves smoothly or sticks.
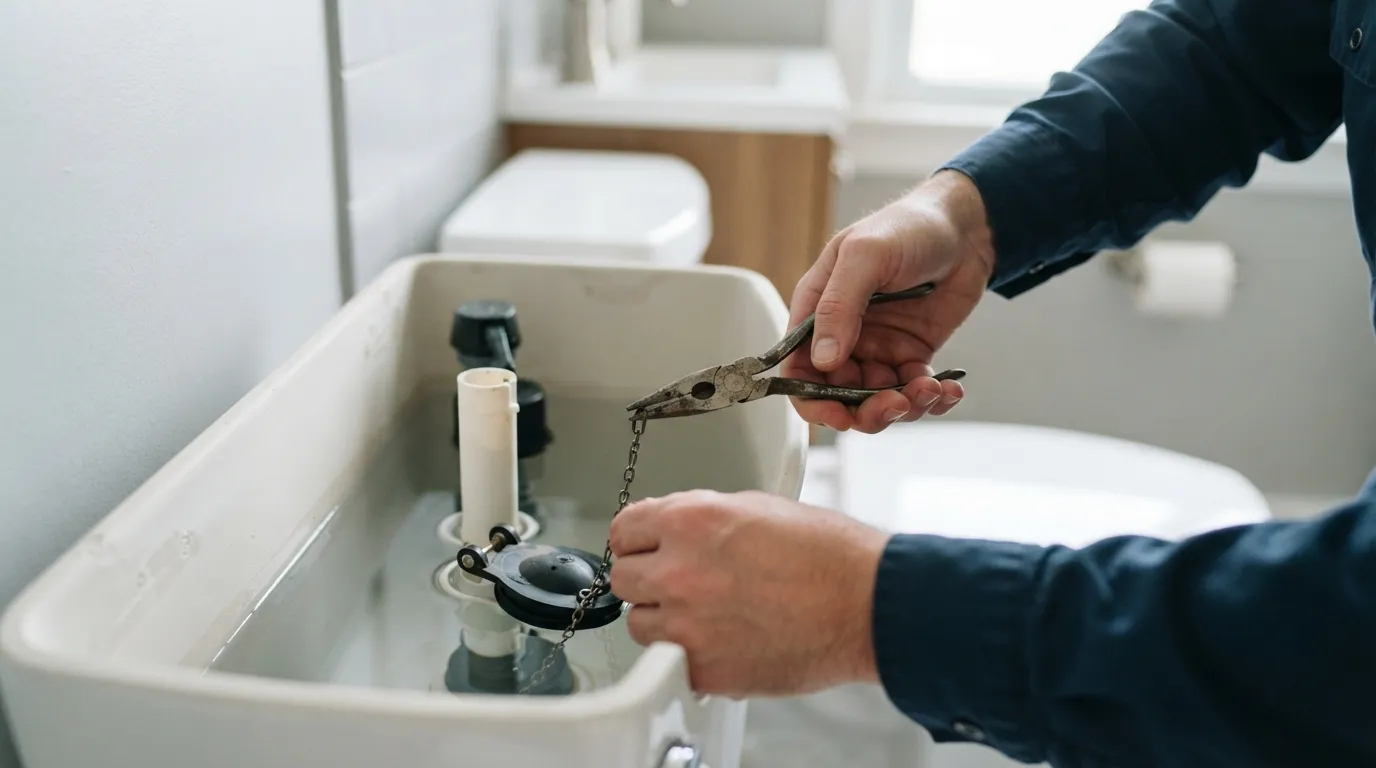
Check chain length next. With the tank lid removed, allow the flapper to sit naturally and look at the chain slack. If the chain is taut and lifts the flapper slightly when at rest, that prevents a seal and causes continuous running. If the chain is very long it can get caught under the flapper, preventing a proper drop back into place.
Listen as you test. A steady trickle into the bowl or a repeated sound as the valve refills at short intervals says the overflow is receiving water. That happens when the shutoff level is set too high or the valve does not close. If pressing the flapper stops the running immediately, you have a flapper-seat issue and can focus on cleaning or replacing it.
Look for mineral scale and soft seats. Hard water leaves deposits that stop a flapper sealing even if the rubber looks intact. Lightly feel the sealing surface with your finger; roughness or visible scale often means a new flapper or a gentle seat cleaning is required. Small cracks or a warped flapper are a clear sign to replace the part.
If you have a modern push-button or dual-flush mechanism, the tests are similar but the linkages differ. For a button flush, press and hold the button to see whether water keeps flowing after the tank reaches its normal level; that points toward the fill valve or the internal mechanism that shuts the valve. For any mechanism, documenting what you saw and heard cuts diagnostic time on a service visit.
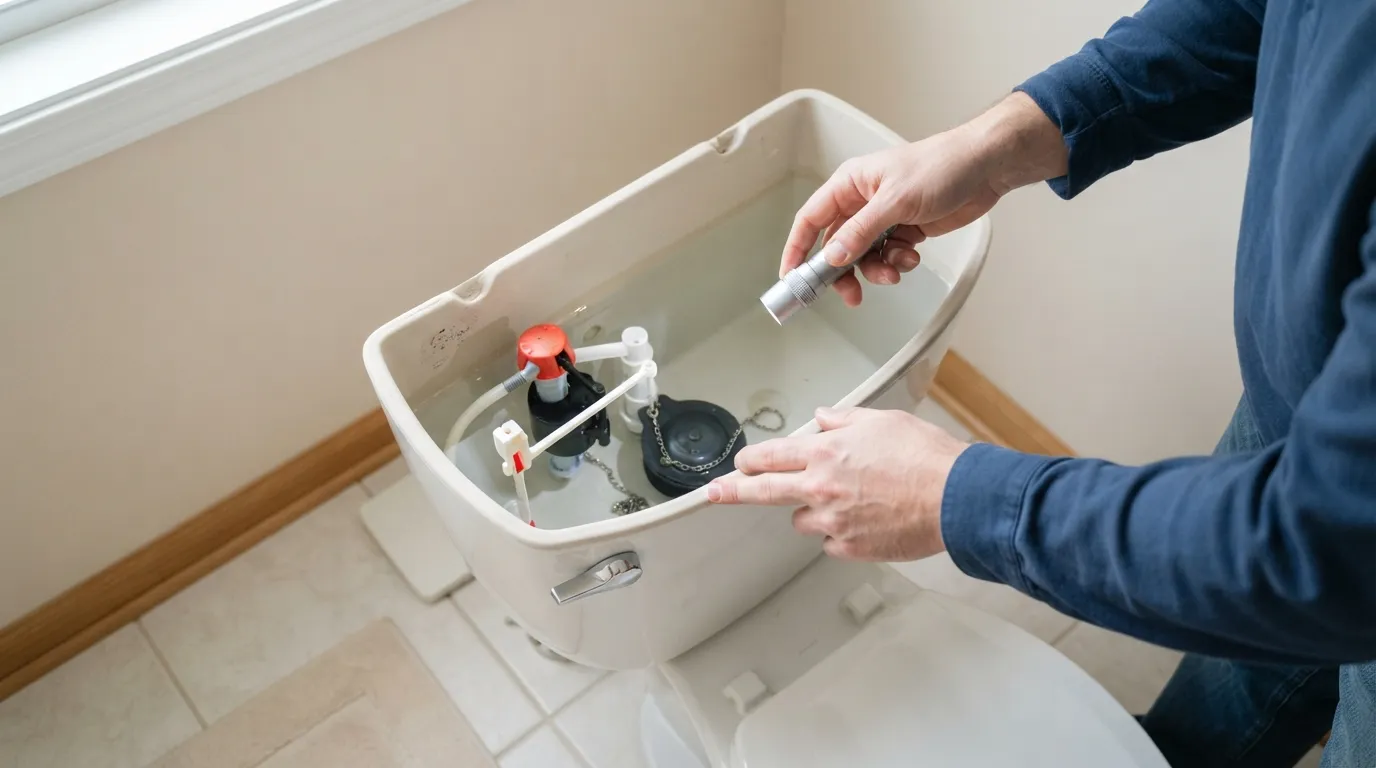
Simple repairs you can do in 20 minutes
Many of the common faults are straightforward fixes you can attempt with basic tools: adjustable pliers, a screwdriver, and a replacement flapper or a simple fill-valve kit. Work carefully and keep the tank lid on a towel so it won’t chip.
- Turn off the shutoff valve and drain the tank. Close the small valve at the wall below the tank and flush once to empty most of the water. If you prefer to work without shutting the water, keep a towel handy and be ready to block the refill.
- Replace a worn flapper. Unhook the old flapper from the pegs on the overflow tube or the flush valve and remove the chain. Fit the new flapper to the same pegs, attach the chain with a little slack so the flapper sits fully closed, and test by turning the water back on and flushing.
- Adjust the chain. If the chain is too tight, unhook one link so there is a small loop; if it’s too long, shorten it so the flapper can seal cleanly. The correct slack lets the flapper close flat without excess droop.
- Adjust or replace the fill valve. Many fill valves have a simple adjustment screw or a clip to move the float and lower the shutoff level. If the valve leaks or sticks, replace it with a compatible kit; modern replacement valves are designed to fit most tanks and come with clear instructions.
- Clean the sealing surfaces. Use a soft cloth or a fine abrasive pad to remove scale from the flapper seat and the flapper rubber. Avoid harsh scraping that might score the seat; light cleaning is usually enough to restore a seal.
After any change, restore water and observe the first refill. Watch whether the tank stops filling below the overflow rim and whether the flapper holds. A short retry or minor chain tweak often finishes the job. If the problem returns quickly after repair, the seat or the tank hardware may be degraded and deserve a fuller replacement.
When a repair becomes a replacement
A repair is sensible when a single, identifiable part is faulty and the rest of the tank hardware looks sound. Replace the flapper or the fill valve when those parts are visibly degraded, warped, cracked, or cannot be adjusted to stop the leak.
Replacement of the entire toilet is a different decision. Consider that option when the flush valve seat is badly corroded, when multiple parts fail at once, or when the tank itself is cracked or leaking externally. Older tanks that have had several patch repairs can develop new failure points elsewhere, and replacing the whole unit removes the uncertainty of repeated small fixes.
If the overflow tube is cracked, or the tank-to-bowl seal is compromised and you see water outside the tank, replacement is often the right long-term solution. Also weigh the age and condition of the bowl, the availability of replacement parts for older models, and whether you want to upgrade to a quieter or more water-efficient fixture when you replace the toilet.
Plan for replacement when repairs are temporary fixes that reappear or when the work needed grows beyond simple parts and adjustments. Replacing a toilet resolves hidden issues like worn seats and internal fractures at once, but it is a larger job than swapping a flapper.
When to call a pro and what to expect on the visit
Call us when you cannot identify the faulty part, when a DIY fix does not stop the running, or when the tank or bowl shows cracks or external leaks. Also call if you are uncomfortable working around the shutoff valve or with the tank internals.
When you book a visit, tell us what you tried and what you observed: whether dye appeared in the bowl, whether holding the flapper stopped the running, whether the refill continued past the overflow, and whether you noticed mineral scale or visible damage. Those facts let us bring the right parts and the right tools for a single trip.
On a diagnostic visit we will confirm which component is leaking, test the operation of the fill valve and float, check chain length and flapper seating, and inspect the tank for cracks and the bowl for signs of external leakage. If a quick part swap will fix it, we will explain the change and carry out the replacement. If the problem looks like a tank fracture, a bad seat, or a chain of failures, we will outline the options for a replacement and what each leaves you with afterward.
Expect a technician to test, report what they found, and then either complete the repair or recommend the next step. That approach saves you time and prevents unnecessary parts being fitted when a simpler adjustment will do.
Steps to reduce future leaks and water waste
Stopping a running toilet reduces wasted water and the associated cost. After you repair or replace the failing part, take a few steps to cut the risk of repeat leaks.
Install a quality flapper and a modern fill valve that allows simple shutoff-level adjustment. Check chain slack periodically and look for scale buildup on the seat. If you live where mineral deposits are common, a routine inspection once or twice a year will spot small problems before they become constant running.
Consider a repair kit that includes a new flapper and fill valve together; fitting both at once is not always necessary, but it removes the chance that a second, older component will fail shortly after you fix the first. Finally, if you notice the toilet running more at certain times, document when it happens and mention that when you call; intermittent patterns often point to valve sticking or to partial obstructions that a pro can spot quickly.
Frequently asked questions
How do you fix a toilet that constantly runs?
Fixing a constantly running toilet usually means replacing or adjusting the part that is leaking inside the tank. Check the flapper first, then the chain length and the fill valve and float; cleaning a seat, swapping a flapper, or fitting a replacement fill valve typically stops the running.
Can a running toilet run up your water bill?
Yes. A toilet that runs continuously is an internal water leak, and that wasted water will show up on your bill over time. Stopping the leak by repairing the flapper or the fill mechanism is the way to stop the waste.
Why is my toilet running constantly at night?
If a toilet runs more at night, it can be due to a slow leak, a fill valve that sticks when quieter pressure conditions occur, or the float failing to hold its position. Note when it happens and what you see so a technician can target the intermittent fault quickly.
