


Start with what the damage is doing
Plaster repair in Bethesda starts with identifying whether you are looking at a crack, a hole, loose or bulging plaster, or a sagging ceiling. The visible mark is only the starting point. Before anyone chooses a patching material, the damaged area needs to be looked at closely so the repair matches the existing surface and does not simply cover a problem that needs more attention.
A narrow crack and a section that has pulled away from its backing call for different conversations. A hole left by another trade may have a clean edge, while a damaged area around loose plaster may have an uneven boundary. Sagging overhead deserves particular care because the repair plan depends on what can be securely supported and finished without making the area less stable.
Do not judge the job only by the size of the mark. The condition around it matters too. A small opening with loose edges may need more preparation than a larger, firm patch. A broad area that is still secure may be easier to prepare than a smaller area that is bulging away from the wall.
Take clear photographs before moving furniture or cleaning the surface. Include one close view and one view that shows the damage in relation to the rest of the wall or ceiling. Do not scrape, press, or pull at a loose area just to see how far it goes. Keep people away from a sagging section until it has been assessed.
A useful repair discussion should answer three questions: what is damaged, what needs to be secured, and what finish needs to be reproduced. If those points are not clear, a material choice made too early can lead to a patch that is firm but still obvious.
Choose the surface that belongs there
The choice between preserving plaster and using drywall is not a simple matter of choosing the material that seems easiest to cut or spread. The existing wall, the size and shape of the damaged area, the condition of the surrounding finish, and the appearance you want afterward all belong in the decision.
Keeping the repair in plaster makes sense when the surrounding surface is plaster and the damaged area can be prepared for a compatible patch. This approach keeps the repair visually connected to the wall around it. It also gives the finisher a better chance to reproduce the transitions and texture that make the existing surface look consistent.
The important question is not whether drywall can cover the opening. The question is whether the replacement can be secured, transitioned, and finished so it belongs with the rest of the wall.
Ask to see where the change in material will occur. A repair can be sound at its center and still look poor around the edges if the transition is abrupt. The surrounding finish may be smooth, lightly textured, or marked by older repair work. Each condition changes how the edge should be prepared and how the final surface should be blended.
The desired appearance matters as much as the patch itself. If the goal is to keep the character of an older wall, preserving the existing plaster may be the better direction. If the damaged section is already being opened up and the nearby surface is drywall, a drywall patch may be more practical. Neither choice is automatically right for every room.
Use the room as part of the decision. A wall that will receive a new finish may allow more flexibility than a wall that must match an existing painted surface. A ceiling draws light across its surface, so a change in texture or a slight ridge can be easier to notice. The repair plan should account for how the surface is seen, not only how the patch is installed.
Before work begins, ask these questions:
- What material is already on the wall or ceiling?
- Is the surrounding plaster firm enough to keep?
- Where will the new material meet the old surface?
- What texture and final appearance should the repair match?
A clear answer should explain why the chosen material fits the substrate and the size of the repair. It should also explain what happens if the surrounding edge is less secure than it first appeared. That makes the choice practical rather than cosmetic guesswork.
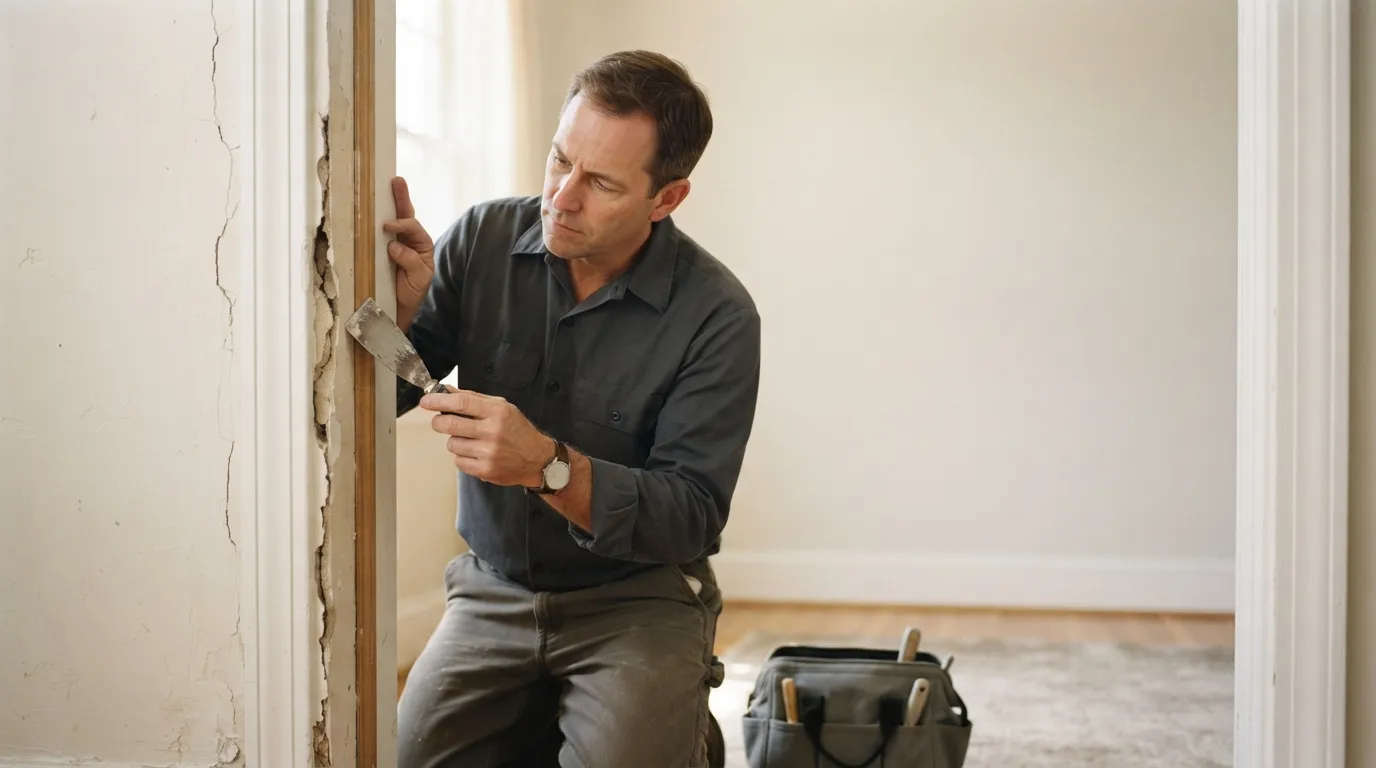
A patch is finished when it blends
A plaster patch is not finished when the opening is merely filled. The repair also needs a secure base, a controlled transition, a surface that follows the surrounding plane, and a finish that does not draw attention to the repaired area.
Preparation begins at the edge of the damage. Loose or bulging material cannot be treated as if it were a firm boundary. The repairer needs to work from a surface that can hold the patch and allow the new material to meet the old without leaving a weak lip. The exact preparation depends on what is found when the area is examined.
The patching material should suit plaster when plaster is being preserved. A material that is convenient but incompatible with the surrounding surface can create a visible change in texture or a poor transition. The aim is not simply to make the hole disappear under paint. It is to create a surface that behaves and looks like part of the wall around it.
Secure patching matters. A filled opening that is not properly supported can remain noticeable or fail to hold the finish. The repair should be stabilized before the surface is refined. This is especially important where the damaged area has loose edges, where another trade left an opening, or where the ceiling is sagging.
Once the patch is secure, the transition needs to be feathered into the surrounding area. A hard edge can show through paint even when the center of the patch looks smooth. The repairer should check the surface from different angles and in the light that falls across the wall. Side light can reveal ridges that are easy to miss while standing directly in front of the repair.
Texture is part of the match. A smooth patch beside a textured wall can stand out, and a texture applied too heavily can create a new mark. The surrounding surface should guide the finish rather than the repair being left with a generic texture.
Paint is also part of the result, but painting assumptions need to be clear. A patch may be ready for paint without the entire wall being repainted. In other cases, the repair may blend more successfully when the surrounding area is included in the finishing plan. Ask which surface will be prepared, what painting is included, and what existing color or sheen needs to be matched.
Good work is easier to judge when the scope describes the finish in plain language. Look for mention of the damaged area, the preparation, the patching material, the transition, the texture, and the paint assumption. Those details give you something specific to review before the work starts.
A useful final check is simple. Stand back, view the repair from the side, and look at it under normal room light. The surface should not call attention to a hard ridge, a different texture, or an unfinished edge. If it does, the conversation is not finished just because the hole is covered.
Prepare the room before work begins
A repair goes more smoothly when the work area is easy to reach and the damage is documented before preparation starts. Clear furniture away from the wall or ceiling area, remove fragile items nearby, and protect surfaces that could collect dust or small pieces of old finish.
Leave enough access for the repairer to examine the full damaged area. A narrow path may allow someone to reach the wall but not to inspect the edges properly. Ceiling work may require more open floor space so the area can be viewed and finished from a safe position.
Have these details ready for the conversation:
- Photographs showing the damage close up and from farther away.
- Any information about when the crack, hole, loose area, or sagging first appeared.
- The paint color, sheen, and texture details if you have them.
- A list of nearby surfaces or furnishings that need protection.
Do not fill the crack or paint over the damage before the repair is assessed. Covering the surface can hide the edge condition that determines the preparation. Keep samples of leftover paint if they are available, but do not assume an old container still matches the wall after the finish has aged.
Tell the repairer about previous patching, holes left by other work, or areas that have already been painted. That history helps explain why the surface may have more than one texture or layer. It also helps set a realistic expectation for how much blending and painting the finished repair may need.
Older walls deserve a closer look
Older walls often have an established surface that a new patch must join rather than replace visually. The age of the home, the condition of the existing plaster, and the number of previous repairs can all shape the inspection and the repair plan.
Look closely at the area around the damage, not only at the center. A wall may include firm plaster beside a section that is loose or bulging. It may also show earlier patches with different textures. Those changes do not automatically explain why the damage appeared, but they do affect how a new repair should be prepared and blended.
Older surfaces can make a standard-looking patch more noticeable. Differences in texture, paint sheen, and surface flatness may show after the repair is painted. A finish that looks acceptable on a newly prepared section may not match an older wall without more careful feathering and texture work.
The inspection should stay focused on what can be seen and repaired safely. Do not treat a quick visual look as a structural diagnosis. If a ceiling is sagging or a section is pulling away, ask what needs to be examined before cosmetic work begins and what condition would change the proposed scope.
A useful plan separates the repair into clear parts: examining the damaged area, securing or preparing the patch, blending the surface, and deciding what painting is needed. This is especially helpful when the wall has several finishes or when the damage sits near a corner, ceiling line, or previous patch.
You can also ask how the existing character of the wall will be respected. Preserving plaster does not mean accepting a visible repair. It means choosing materials and finishing methods that suit the surrounding surface instead of treating an older wall like a blank, uniform panel.

Ask for a quote that defines the finish
A useful plaster repair quote should describe more than a filled hole. Ask for a scope that identifies the damaged area, the preparation it needs, the proposed material, the way the patch will be secured, and the finish expected when the work is complete.
The damaged area should be described in a way you can recognize. A wall crack, a hole left by another trade, loose or bulging plaster, and a sagging ceiling are not interchangeable conditions. If the scope uses broad wording, ask which areas are included and what happens if more loose material is found during preparation.
Material choices should be written plainly. If the plan keeps the repair in plaster, ask why that material suits the existing surface. If drywall is proposed, ask where it will meet the older finish and how the transition will be blended. The quote should make the choice understandable rather than leaving you to infer it from the final result.
Preparation belongs in the scope too. Look for language covering removal of loose material, securing the patch, smoothing the transition, reproducing texture, and preparing the repaired area for paint. These are separate parts of the finished appearance, even when the work takes place in one small area.
Painting assumptions need their own line of discussion. Ask whether the work includes only preparing the repair for paint, painting the repaired area, or addressing a broader surrounding surface. Existing color, sheen, and texture can affect the appearance, so ask what matching depends on and what is excluded if the existing finish cannot be reproduced exactly.
A clear quote should also explain the next step. You should know what needs to be cleared before work begins, what the repairer needs to inspect, and what decision would require a change to the scope. That protects the conversation from turning into an argument over work neither side expected.
Keep the photographs and notes you made before the visit. Compare them with the proposed scope, then ask questions before approving the work. A written description gives you a practical way to check whether the promised result is a prepared, blended finish rather than a quick cover over the visible damage.
For help deciding what surface you have before requesting plaster work, see our guidance on identifying plaster or drywall. If the repair is part of a wider wall project, you may also want our advice on interior painting preparation. Readers comparing related wall repairs can review how plaster repair can last.
A repair professional can review the damage, discuss the material that fits the existing surface, and define the preparation and finish in a quote. Contact the contractor you are considering with your photographs, access details, and questions about the final appearance before work begins.
Frequently asked questions
Can plaster be fixed?
Yes, plaster can be repaired when the damaged area is properly assessed and the repair material suits the existing surface. The work may involve preparing the edges, securing the patch, blending the transition, matching the texture, and clarifying the paint finish.
Should I keep the damaged area as plaster or use drywall?
Keep the repair in plaster when preserving the surrounding plaster and its finish is the better visual fit.
What should I do before a plaster repairer arrives?
Clear furniture and fragile items from around the damaged wall or ceiling, protect nearby surfaces, and take photographs from close and farther away. Have any paint details, information about when the damage appeared, and a record of earlier repairs ready for discussion.
How much does a plaster repair job cost?
A plaster repair quote depends on the damaged condition, the preparation required, the material selected, the size of the area, and the finish expected afterward. Ask for those items to be described clearly, including texture work, paint assumptions, and any conditions that could change the scope.
