

Quick checks and simple fixes you can do
If you searched for how to prepare exterior siding for painting, this is the practical page for you. We write for homeowners in Silver Spring and Montgomery County who want to know what they can do themselves and where to pause and get help. Start here with a safe set of checks you can do without special licenses or heavy equipment.
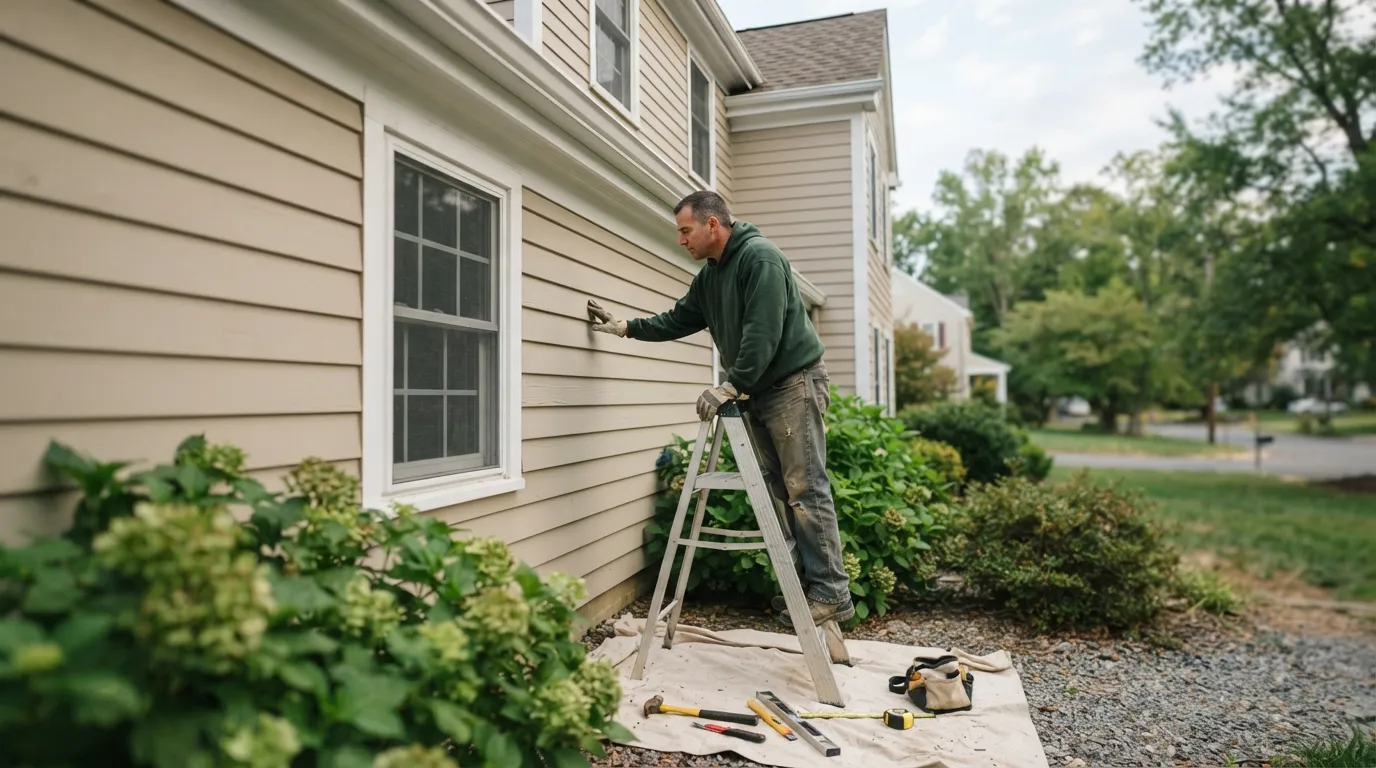
Begin with a visual sweep from the ground. Look for loose trim, cracked caulk, peeling paint, soft spots, or signs of moisture where paint failed before. Carry a small step ladder, a putty knife, and a hand scraper. For many houses the first fixes are simple: scrape loose paint where it flakes, brush away mildew, and tighten or refasten loose trim with exterior screws or nails. Those tasks take modest tools and a little patience; they also reveal whether there is rot, movement, or repeated moisture that a simple paint job will not cure.
A basic tool kit for these checks is a pair of work gloves, eye protection, a small ladder, a putty knife, a wire brush, a caulk gun, and a garden hose. If you find soft or spongy siding, deep cracking, or ongoing leaks at flashings, stop and get a professional opinion. These are the moments the problem is more repair than prep.
Why cleaning is the first professional step
Thorough cleaning is the most essential step in preparing an exterior for paint. Dirt, grime, mildew, and chalky paint residue all stop new paint from sticking properly. Cleaning restores the surface so primer and paint can adhere instead of sliding off or failing rapidly.
Cleaning does not always mean blasting every surface with a high-powered washer. For some siding types a gentle scrub with a long-handled brush and a cleaning solution removes mildew and loose chalk. For other surfaces a low-pressure rinse followed by a gentle detergent is the safer choice. The right approach depends on siding material, age, and how brittle the existing paint is.
When you clean, work from the top down so grime rinses away instead of streaking over freshly cleaned areas. Let the siding dry fully before any scraping or sanding begins; working on a wet surface hides adhesion problems and can cause sanding dust to cake. If you see black or green staining, treat mildew before painting so it does not regrow under the new finish.
A practical prep checklist and the correct order of work
A good day of prep follows an order that prevents rework. Do not paint until each step beneath it is done and dry. The sequence below is the single workflow we recommend you follow on a small house project.
- Clear the work area and protect plants, outdoor furniture, and driveways with drop cloths or plastic sheeting. Cover vegetation lightly so it can still breathe.
- Clean the siding thoroughly, using the gentlest effective method. Rinse from the top down and allow full drying time.
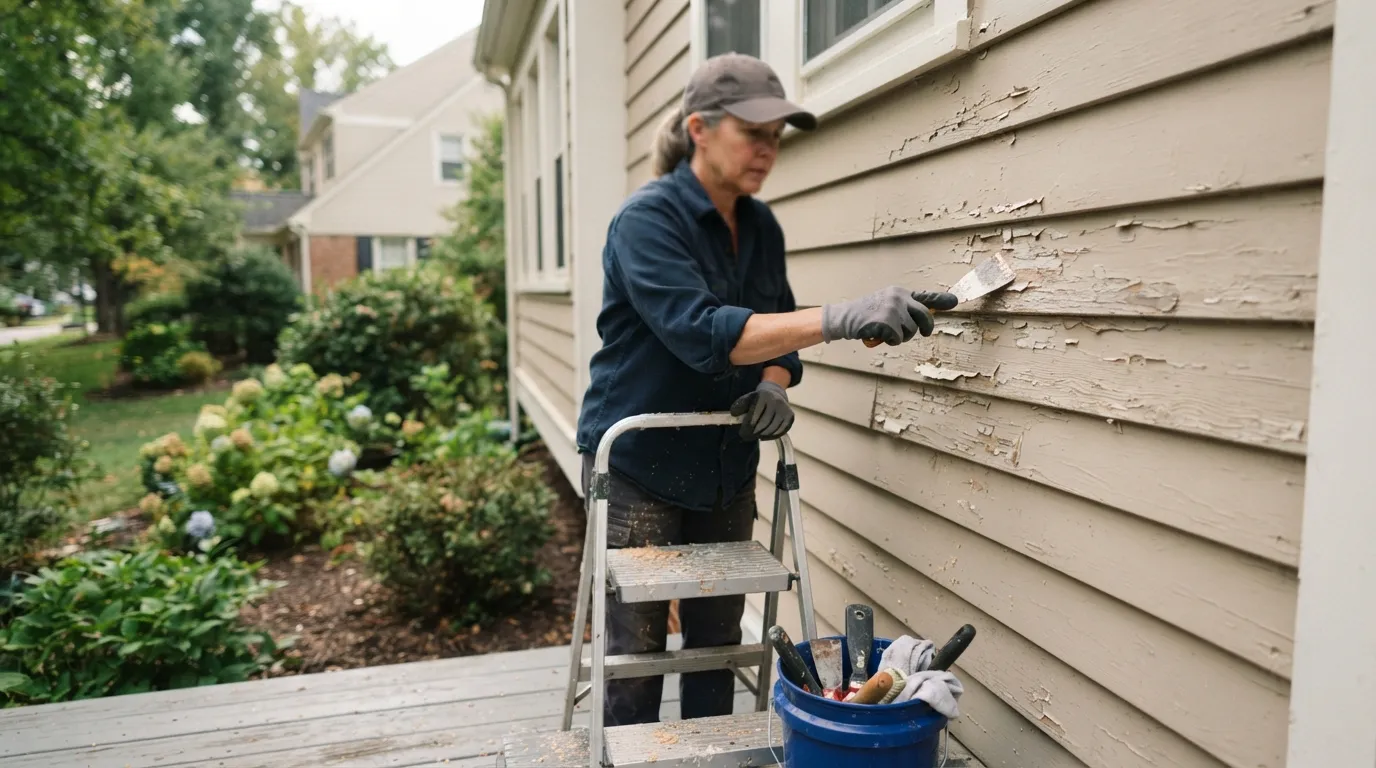
- Inspect for loose or flaking paint and scrape or degloss only the failing areas. Feather the edges so new paint bridges well with old paint.
- Sand rough patches and glossy areas to key the surface for primer. Wipe the dust away with a damp cloth.
- Remove and label trim or outlet covers that interfere with neat painting. Where trim is rotten, cut back to sound wood and plan repairs before priming.
- Refasten loose boards, repair split corners, and replace small sections of siding where necessary. Allow repairs to settle before painting.
- Caulk gaps between dissimilar materials and at trim edges, then smooth beads so paint will form a neat seal.
- Prime bare wood, repaired areas, and any spots where the old finish was removed. Match the primer type to the siding material and topcoat.
- Mask windows, hardware, and fixtures immediately before painting to protect glass and metal.
This sequence keeps you from painting over dust, caulk that has not cured, or wet repairs. If you work out of order you will be back to scrape and spot-prime within months.
Common pitfalls and how to avoid them
- Scraping everything before cleaning. That sends grit and grime back onto the bare wood. Clean first, then scrape what is still loose.
- Using a pressure washer at high settings on fragile siding. That forces water behind boards and lifts edges. If you use a washer, choose a low-pressure nozzle and test a hidden spot.
- Caulking before surfaces are fully dry. Caulk that traps moisture will fail and bubble under paint. Wait until the substrate is dry to the touch.
- Painting over active mildew or mold. Treat and remove biological growth first, and make repairs that remove the moisture source.
If the job covers two sides of a house at once, break the work into manageable sections and follow the same ordered steps on each section before you move on. Rushing across the whole house often means you prime or paint over areas that still need attention.
Tools, materials, and safer alternatives
You do not need every pro tool to do sensible prep, but choosing the right equipment keeps the work safe and effective. For cleaning, a long-handled soft brush, a pump sprayer for cleaning solution, and a garden hose with a medium-flow nozzle will cover most needs. Reserve a pressure washer for siding known to tolerate it and always use the lowest effective pressure.
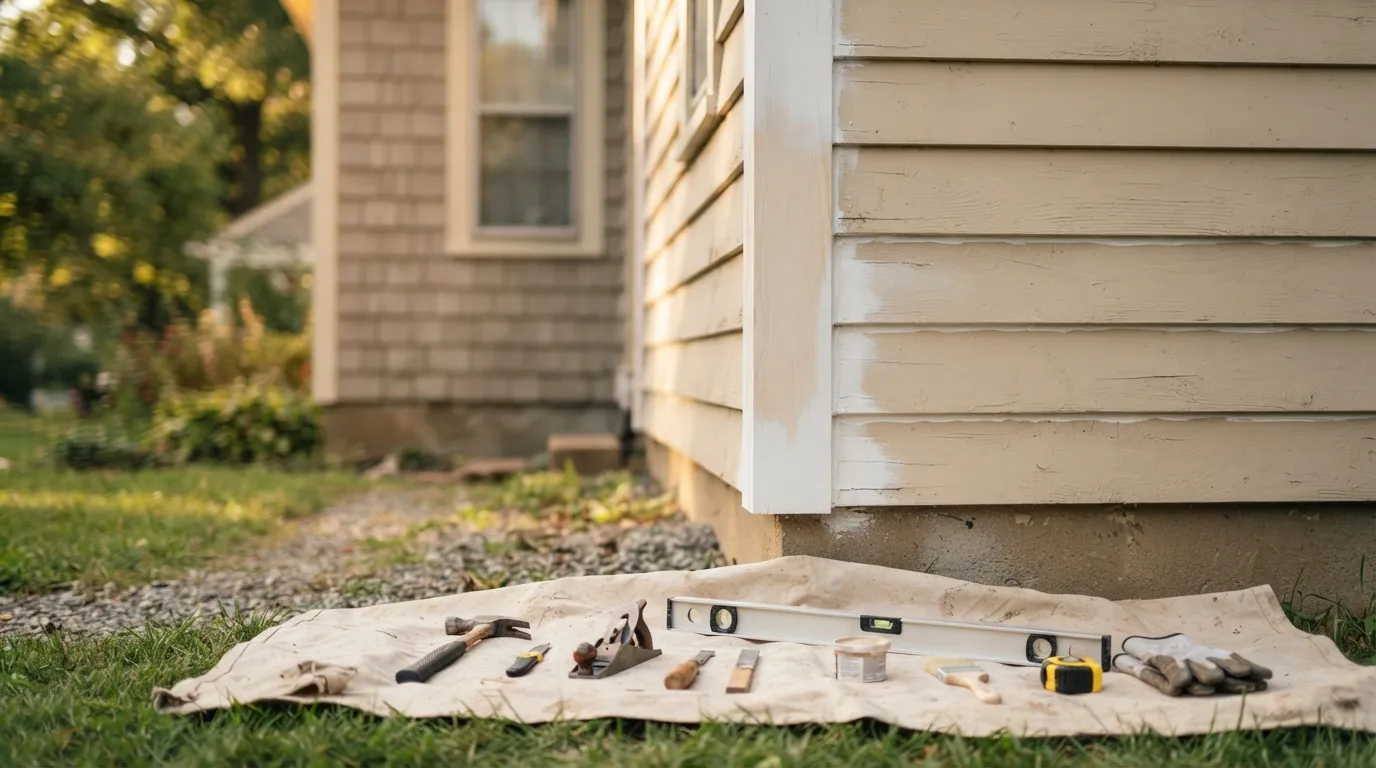
For scraping and sanding, hand tools work well on tight spots. A six-inch putty knife, a flat scraper, and a medium-grit sanding block let you remove loose paint without damaging the substrate. An orbital sander is faster but can gouge soft siding and create clouds of dust; use it only if you are comfortable controlling the tool and you wear a dust mask.
A caulk gun and exterior-grade caulk are essential for sealing gaps (see exterior caulking). Choose a paintable exterior caulk compatible with the siding material. For filling holes and repairing small rotten spots, use an exterior-grade wood filler or epoxy repair product designed for the substrate. These are safer than attempting structural fixes with pure filler.
If you need to cut out and replace short sections of siding, have a circular saw and a few replacement boards on hand. But if the damage is extensive, or the siding has become a patchwork of mismatched pieces, a professional repair or replacement is the better route.
Safer alternatives for risky steps
- If a pressure washer worries you, use a scrub-and-rinse method instead. It takes longer but avoids forcing water under the siding.
- Instead of a powered sander on brittle paint, sand small areas by hand and keep the dust down with a damp cloth.
- For high spots or work above a single-story roofline, hire equipment or a pro rather than risking a taller ladder.
When a pro-grade tool or technique is worth hiring
If you need sustained power-washing on a large surface, large-scale rot repair, or work where trim and flashing must be removed and reset, a contractor with experience will finish faster and reduce the chance of damage. Professionals can also advise on primer chemistry for mixed materials, and they often have safer ways to manage lead-paint risks.
When siding needs repair or replacement before painting
Painting is cosmetic and protective, but it cannot hide structural or moisture problems. If you start by sanding and find the substrate is soft, crumbly, or has deep checking, the paint will fail unless the underlying issue is addressed.
Look for boards that compress under finger pressure, rather than those that simply show surface splintering. Softness at the ends of boards or around windows usually means rot or failing flashing. Widespread splitting paint combined with bulging or misaligned boards suggests movement or poor fastening beneath the surface. In these situations painting is only a temporary fix.
Small repairs you can reasonably handle include replacing a short run of siding, gluing and fastening a split corner, and fitting new pieces of trim. For rot that extends below the surface or across multiple boards, the work moves beyond simple DIY. Similarly, if flashing around chimneys, ledges, or decks is compromised and causing ongoing leaks, put the paint brush down and get a professional assessment.
When repairs require a specialist
- Large areas of rot, repeated moisture stains, or structural decay where framing or sheathing is affected.
- Complex flashing failures around rooflines, dormers, or chimneys where water is finding a path into the wall assembly.
- Siding that is warped or cupped across panels, which may indicate trapped moisture or failed fasteners across an entire elevation.
A professional can identify whether the problem is isolated or systemic and recommend either targeted repair or a replacement strategy. They can also match replacement siding to the existing profile and ensure flashing and drip edges are correctly installed so your next paint job lasts.
Signs that repainting alone is appropriate
If the damage is limited to surface loss, chalking, or localized flaking, and the boards are sound and dry after cleaning, repainting with appropriate primer and topcoat will renew the finish and protect the wood. The decisive test is whether the surface will accept primer across repaired spots without further breakdown.
Timing, weather windows, and how long prep usually takes
Timing matters more than most homeowners expect. Temperature, humidity, and recent weather determine how long cleaning, caulk, primer, and paint need to dry and bond. Work in a stretch of mild, dry weather so each layer cures properly (see exterior painting weather windows).
Avoid starting when rain is likely within a day or two, or when high humidity will keep surfaces damp. If you must work in mixed weather, focus on tasks that do not require immediate drying, such as scraping or tool prep, and reserve caulking and priming for clear periods.
How long prep takes depends on house size, how much repair is needed, and how many people are working. A small, well-maintained elevation might be cleaned, sanded, caulked, and primed by a couple of people in a day or two. A full house with repairs, extensive scraping, or careful color testing will take longer. Factor in drying time between each wet step so you do not rush into paint while substrate or caulk remains tacky.
Plan to spread the work over several stages rather than cram it into a single weekend. That gives you time to let repairs settle, to check that caulk has cured, and to inspect primed areas for adhesion before the final coats. In this climate, pick a window of consecutive dry days for the priming and topcoat stages to prevent a fresh finish from being exposed to dew or rain.
Safety, lead paint, and local permits to check
Older houses can contain lead in the existing paint film. If your house was painted decades ago and you will disturb paint by scraping or sanding, treat the work as a potential lead risk. The safe course is to minimize dust, wet-sand small areas, and contain debris. For anything more than a few square feet, check local guidance and consider a contractor experienced in lead-safe work.
Take simple safety steps: wear eye protection, a dust mask when sanding, and gloves when handling cleaners or fillers. Keep children and pets away from the work area until dust and debris are cleaned up. Bag and dispose of paint scrapings responsibly and do not leave them where rain can carry particulate into drains or soil.
On permits and local rules, check whether your municipality or homeowner association has requirements about exterior changes, colors, or work that affects the property appearance. Some repairs that alter flashings, change siding profiles, or replace large sections may need permits. When in doubt, contact your local building department or your association for guidance before you start.
When to hire someone to manage safety and permits
If testing indicates the presence of lead and the work will disturb more than a small area, a contractor who follows lead-safe practices is the right choice. Also hire a pro when the work requires removing or resealing flashing, modifying rooflines, or otherwise changing elements that might need a permit. Professional work reduces the chance of hidden water damage being left behind under a fresh coat of paint.
When you choose to move ahead, keep a clear record of the prep steps you performed and any repairs completed. That record helps future maintenance and is useful if an HOA or building official asks about the scope of the work.
When a professional visit makes sense
We do not want to push you away from DIY, but here are the moments a professional visit is a practical next step. Call in a pro when the problem is not just the surface paint: recurring moisture, soft siding, complex flashing around chimneys or rooflines, or the presence of lead where large-scale disturbance is needed. A contractor can assess whether you need targeted repairs, replacement of sections, or a full exterior refresh.
A pro also brings tools and materials that make some tasks faster and safer, and they can advise on primer and topcoat choices when materials vary across an elevation. If you are short on time, uncertain about how to match siding, or uncomfortable working above a single story, a professional visit will save you time and reduce the risk of costly mistakes.
If you decide to get a professional opinion, look for someone who explains what they will inspect, what repairs they recommend, and how they will reduce dust and contain debris. Ask how they plan to handle any suspected lead paint and whether they will check for underlying moisture sources before painting begins.
Frequently asked questions
How often should I paint the exterior of my house?
How often you repaint depends on the siding material, exposure, and the condition of existing paint. Inspect your siding every few years for cracking, peeling, or fading and plan repainting when protective coatings show failure rather than on a fixed schedule.
Should I wash the outside of my house before painting?
Yes, cleaning is the foundational prep step because dirt and mildew prevent paint from adhering. Use the gentlest effective method for your siding and allow full drying before you scrape, sand, or prime.
Can I just paint over old exterior paint?
You can only paint over old paint when it is well adhered, not chalking, and the substrate is sound and dry. If paint is flaking, or boards are soft or wet, you need to clean, repair, and prime exposed areas before applying a new topcoat.
Do I have to prime vinyl siding before painting?
Primer is recommended for areas where the original finish has been removed or where you have repaired sections, because primer gives a consistent base for topcoat adhesion. For full elevations, match primer chemistry to the siding and topcoat rather than skipping the step.
