

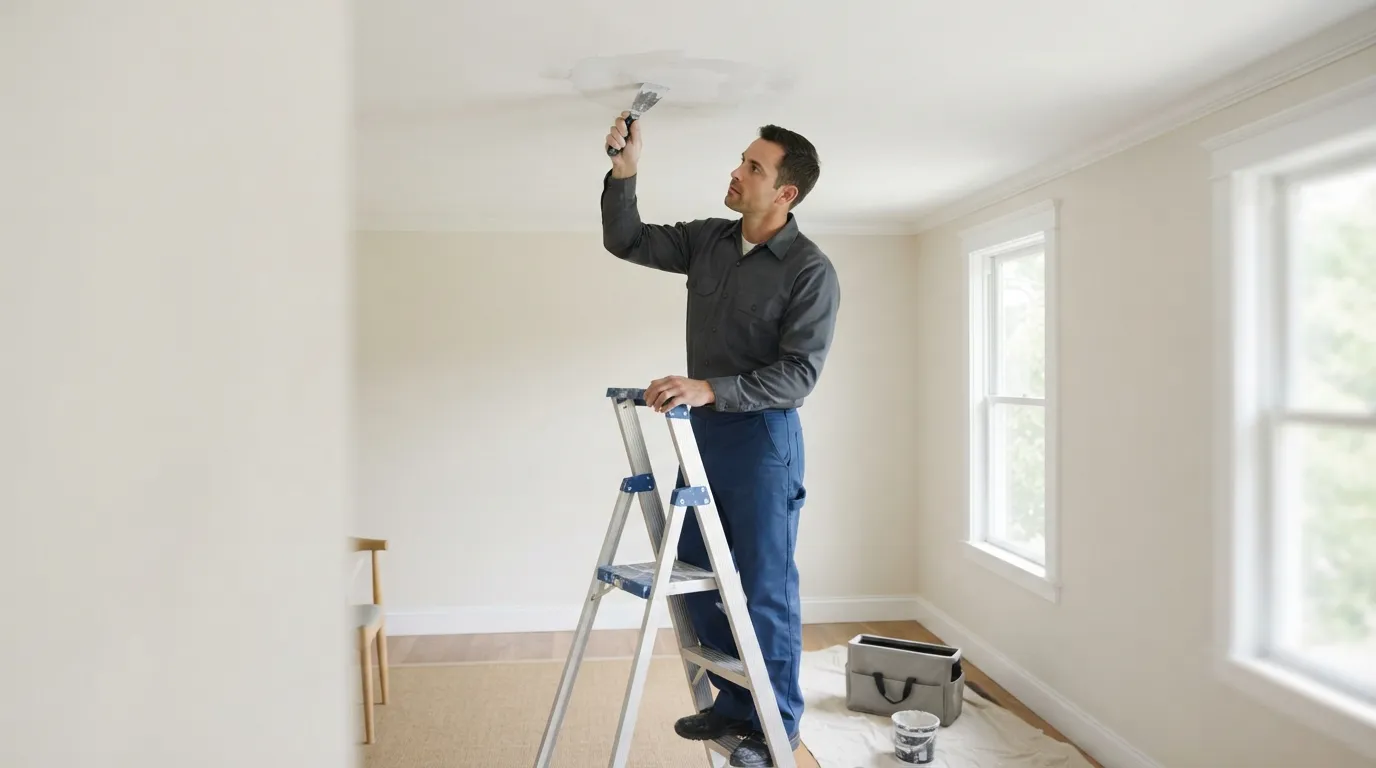
When a patch will do
A patch will do when the damage is local and the surrounding plaster is stable. Look for a clean, contained hole or a hairline crack that does not widen under light pressure, and where the plaster is not flaking away in sheets. These are the repairs that a patch, cutting back loose edges, filling, and feathering the finish, will fix with little disruption to the rest of the wall.
If the plaster has separate signs of movement, such as a bulge, soft or crumbling edges, or a broad area of cracking that follows a seam or a ceiling joist, a patch is only a temporary fix. In those cases a larger section usually needs to be removed and replaced, or the substrate beneath the plaster needs attention. Water stains that are still damp or an area where plaster keeps failing after earlier patches suggest an underlying problem you should diagnose before cosmetic work starts.
Historic plaster often hides techniques and layers you cannot see from the surface. If your home has original two-coat or three-coat plaster with decorative moldings, small repairs are possible but matching the original layers and lath requires care. Where the finish, molding profile or the plaster build-up is unusual, you should plan on a repair that includes time to test-match materials and techniques rather than assuming a straight patch will blend in.
Before you call, take photos from a few angles and note whether the damaged area is near a window, a door, a plumbing run or a roofline. That helps whoever comes make a quick judgement about whether a patch will do, or whether a larger repair and investigation are needed. If you want to move forward quickly, we can look at those photos and advise the likely scope before we visit.
How plaster and drywall repairs differ
Plaster and drywall look similar once they are painted, but they behave differently and need different fixes. Plaster was applied in layers to lath, often wood, and it bonds to that lath. When a crack or hole appears in plaster, the repair must respect those layers. With hairline plaster cracks a good repair often begins with cleaning out loose material, bonding the crack, and filling with a compatible compound that will move with the old plaster.
Drywall is manufactured gypsum board with factory-finished edges. A drywall patch commonly uses a backing or a cut-out panel, taped seams, joint compound, and paper or mesh tape. Because drywall is flat and uniform, texture matching is usually a matter of reapplying the same spray or hand texture and blending it into the surrounding area. Plaster texture can be more complex, and the patch material must be chosen so it does not shrink or cure at a different rate from the historic material.
On ceilings, plaster failures often come from movement where joists cross or from water damage. A plaster ceiling repair sometimes requires checking for loose lath or failed fasteners before any cosmetic work begins. Drywall ceilings generally fail where seams separate or where fasteners pop; the fix there is focused on fastening and joint treatment.
Where a repair meets existing trim or molding the difference matters. Plaster can be sculpted and smoothed to meet a bead or cornice, whereas drywall edge work relies on trims and caulk to get a neat junction. If you are unsure which material you have, look at an unfinished opening such as an attic hatch or an exposed basement wall where the edge of the wall is visible. If you can see layered brown or gray material over wooden strips, it is probably plaster.
If you are collecting quotes, say whether you suspect plaster or drywall and include photos. Contractors who understand both systems will explain the trade-offs: a plaster patch that respects the original will usually look best in a period home, while a drywall replacement sometimes makes sense where access is difficult and a flat finish is acceptable.
What happens on a repair visit
A typical visit is step-by-step, so you know what to expect and how to prepare. The goal is to diagnose first, then repair with the minimum disturbance needed to get a lasting finish.
Inspection and assessment. We look at the damaged area and beyond it, testing edges for soundness and checking for signs of moisture, movement or separation from the substrate. This is when we decide whether a local patch will hold or whether a larger section needs replacement.
Preparation. Expect us to clear the immediate area, move furniture a short distance if needed, and lay protective sheeting on floors. For ceiling work we bring ladders and drop cloths. Preparation also includes removing loose plaster back to a sound edge and, where needed, opening a larger patch so the repair ties into solid material.
Stabilizing the substrate. If lath is loose, fasteners may be added or a backing applied so new plaster or patching compound has something to hold to. On drywall jobs this often means adding a patch panel and using backing. If the underlying cause is a leaky pipe or a roof leak, we will point that out and recommend stopping any water before cosmetic repairs continue.
Patching. The actual filling may use setting compounds, plaster mixes or joint compounds depending on the material and depth. A thin skim coat will follow for texture work. Where a replacement panel is needed, we cut, fit and fasten the new material before finishing the seams.
Drying and curing. Some compounds need hours to set and others benefit from overnight drying. We choose materials for the job that balance working time and cure time so the finish can be completed without repeated visits where possible.
Finishing and texture match. The technician sands and blends the patch into the surrounding surface, recreating the texture by hand or with a spray tool. This is the stage where a patch stops looking like a repair and starts to disappear.
Paint touch-up. If you have paint on hand that matches, a small touch-up can be done. If not, we will leave the area ready for painting and advise whether a full-wall repaint is recommended to hide subtle differences.
What you should prepare before the visit: move small items away from the work area, clear a short path to the spot, and have photos or notes about past repairs or water events. If tenants are involved, let them know the window when we will be there and whether access to a bathroom or closet will be needed for tools and clean-up. We try to keep dust down and to complete a visible finish during the visit, but some repairs need time to cure before sanding and final paint.
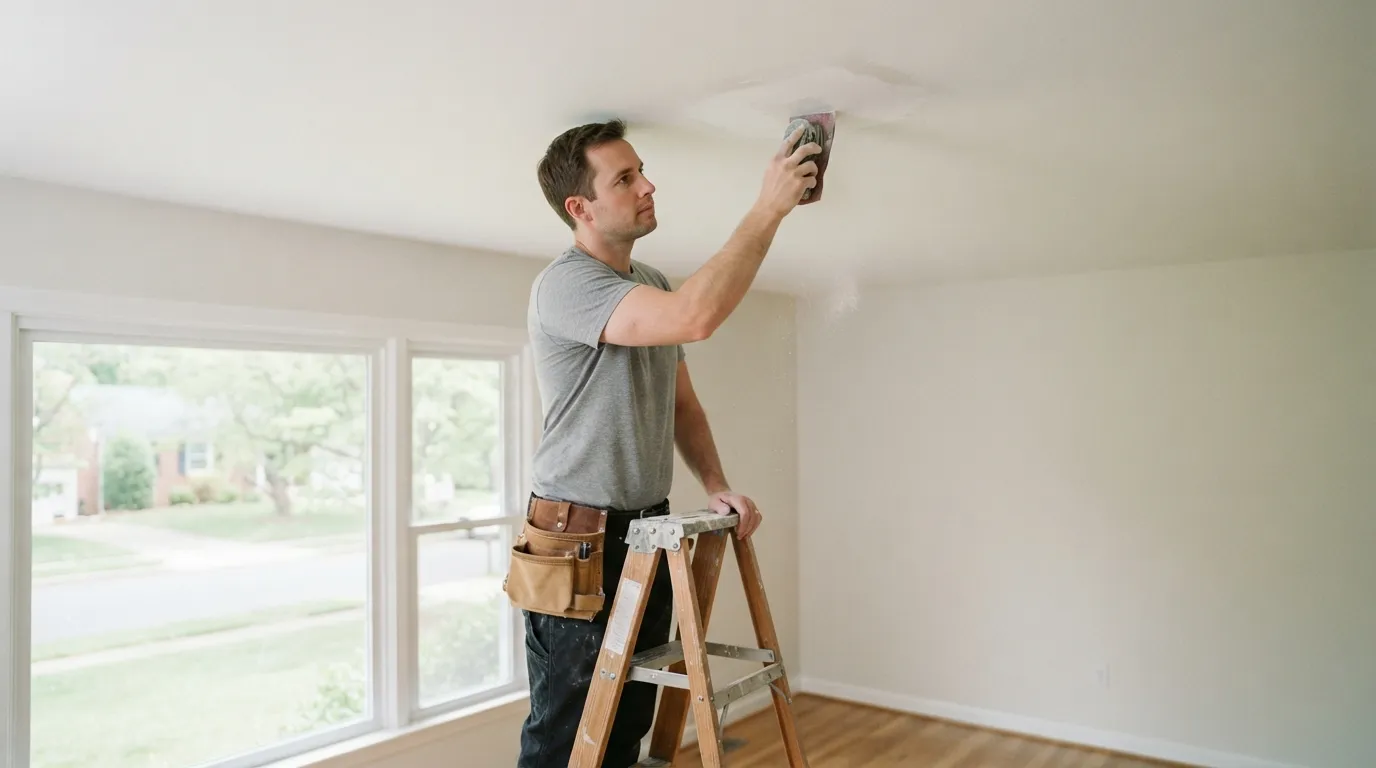
How a plaster repair bill is made
A clear estimate separates the parts of the job so you know what you are paying for. The main drivers are the time the repair takes, the materials needed, how much access and protection is required, and whether there is any diagnosis or secondary work such as electrical or plumbing to arrange.
Labor time is the largest element. Simple patches are mostly skilled hand time: cutting out loose material, applying bonding agents and filling in stages. Larger replacements add time for cutting and fitting backing or new panels, and for multiple coat applications that require drying between each coat.
Materials are straightforward but not free. That includes compound, setting plaster, mesh or paper tape, patch panels if drywall is used, fasteners, and protective sheeting. Texture materials or specialty plasters used to match historic finishes add to material cost and often add time for test matching.
Travel and set-up count when access is poor or when the technician needs to bring ladders, scaffolding or scaffolding alternatives for high ceilings. If the work is in a rental unit and the building requires sign-in or permits, that administrative time is part of the bill too.
Hidden work increases the bill. Examples are finding mold behind a failed patch, loose lath that needs refastening, or discovering that a ceiling patch runs over wiring or a junction box that must be made safe. An honest estimate flags these possibilities rather than pretending they will not happen.
Texture matching is a line item in many estimates. Matching a smooth finish is one thing; recreating an old stipple, combed swirl or hand-troweled finish takes tests and practice and may require a separate visit just to match samples. Ask the estimator whether texture matching is included in a single cost or quoted as an add-on.
How to make estimates comparable. Ask each contractor to list what the estimate includes and what it excludes: the number of coats, whether sanding and disposal are included, whether paint touch-up is included and whether they charge separately for travel or for test patches. It is sensible to ask for a timescale in the estimate, how many visits and the expected time between coats so you can plan around tenants or your schedule.
If you want references for similar jobs, ask for photos of finished repairs and for the name of a previous client who had a similar texture matched. Those are the things that show whether the contractor can deliver the finish you want without a surprise at the end of the job.
Matching texture, paint, and historic surfaces
Invisible repairs begin with test patches. On older plaster the color and sheen of the paint, as well as the texture, determine whether a repair blends in. A small test patch lets the technician see how the patch cures and how it takes paint. For many textures a hand-finished approach is best: a skilled technician recreates the pattern with a trowel, brush or comb, blending the new material into the old until the repeat is not obvious.
When paint matching is needed, a small touch-up often shows as a faint patch until the whole wall is repainted. Paint fades and ages on a different schedule from plaster, so touch-ups can look newer even when the texture is right. If you want the best invisible result, be prepared to discuss whether a full-wall repaint is worth it.
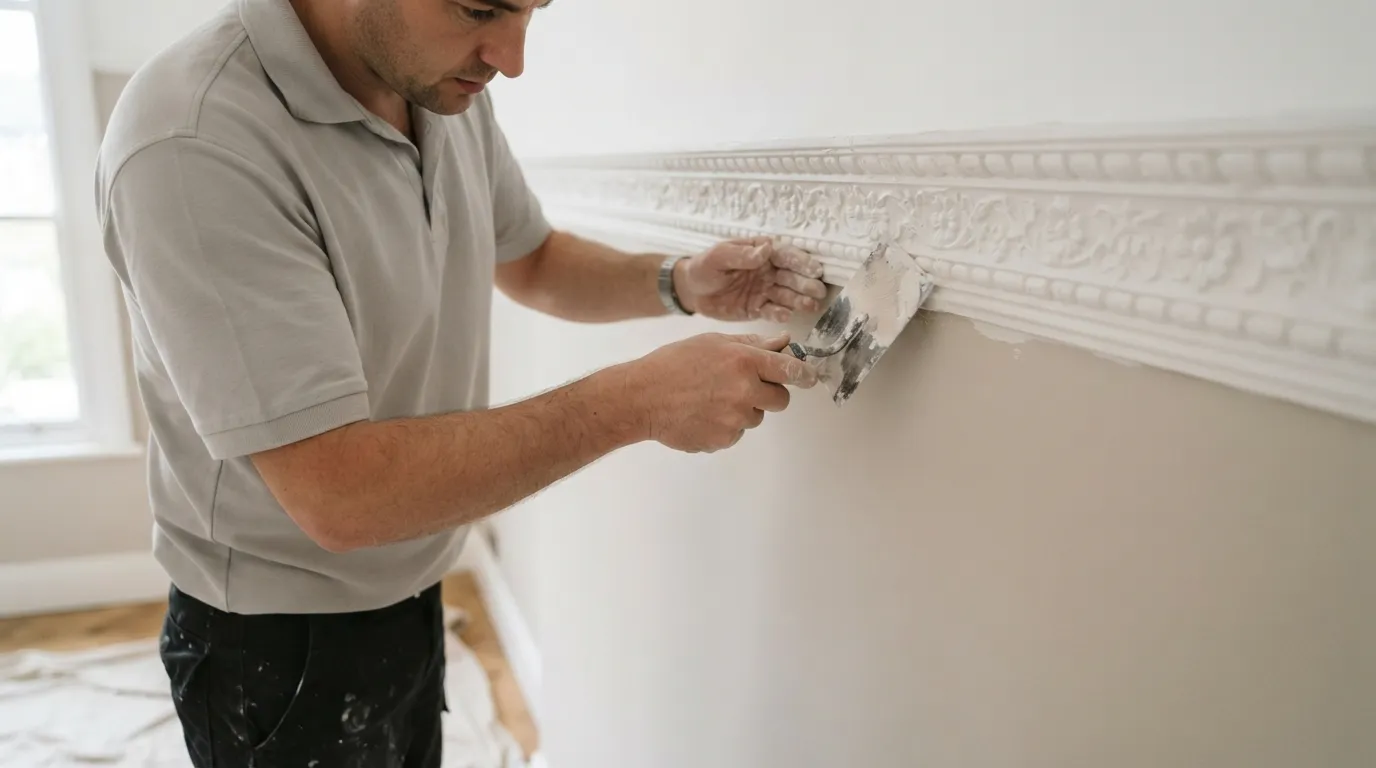
Historic surfaces add three complications: original materials, molding profiles and decorative details. If your house has original lime-based plasters or ornamental cornices, a repair will take longer because the materials and techniques differ from modern gypsum-based products. In some cases a specialist in historic plaster will be the right call; in others a careful modern repair will be acceptable if the area is small and the finish is not decorative.
Expect the following approach for tricky matches:
- Trial patches in an inconspicuous place, to see how materials and paint behave.
- Small-scale texture tools to recreate the original hand pattern.
- Drying time and cure checks before final sanding and paint.
If your finish includes decorative molding, ask whether the repair will require a new piece of molding to be shaped or whether caulking and careful feathering will suffice. Some moldings are best recreated by a carpenter or a molding specialist and then patched into the plaster work.
Permits, rentals, and scheduling for landlords
Landlords and property managers need repairs that fit tight turnovers and building rules. For small patches in a rental unit the work usually fits into an after-hours or same-day slot, but the timeline depends on whether the repair needs multiple coats that must dry between visits. Plan repairs so the final sanding and any paint touch-ups can be done at the end of a turnover window.
Check building rules before booking. Some condo or apartment buildings require sign-in, proof of insurance or preapproved vendors, and others limit work hours. If a permit could be needed for larger drywall replacements or for electrical or plumbing work exposed during a repair, allow time to secure that permit before the date of the job. When in doubt, ask the building manager whether small wall or ceiling repairs need a permit.
Access instructions save time. Tell us if tenant keys will be used, whether a locksmith is required for access, and where to park. If the unit will be vacant, make sure utilities are on so heaters or fans can run to speed drying when needed. For occupied units coordinate a time that minimizes disruption and make sure tenants know how long we expect to be in the space.
Speed matters more than ever in high-turnover properties. For that reason, provide photos and measurements with your request so we can tell you early whether the job will be a quick patch or whether a longer repair window is likely. That helps you schedule cleaners, painters and inspectors without surprises.
Quick checklist: should you call a pro today?
If you answer yes to any of these, call for a visit.
- The crack is wider than a hairline or the area is bulging or soft under pressure.
- You can see or smell moisture, or the stain is still damp.
- The damage runs across moldings, cornices or across a large ceiling area.
- Previous patches have failed or the same spot keeps reopening.
Before our visit have these ready:
- Photos of the damage from several angles and a short note of when it started.
- A measurement of the damaged area, and any notes about recent leaks or work behind the walls.
- Access notes for tenants or building requirements.
If you want us to take a first look based on photos, send them and we will advise whether a patch is likely or whether we should plan for a larger repair. When you are ready to book a visit, call us to arrange a time and to confirm access and any building rules. Call (two four zero) three seven seven dash zero seven seven seven.
Frequently asked questions
How much does plaster repair in Silver Spring cost?
Cost depends on what needs to be done: a small patch, a section replacement, texture matching, travel and whether any underlying issues like moisture are present. Ask for a written estimate that lists labor, materials and any extra items such as texture matching or travel charges so quotes are comparable.
Can a patch ever be invisible on older plaster walls?
Yes, often a patch can be made to blend very well, but invisible results depend on the texture, paint age and whether the repair area is large. Expect a test patch and, if needed, a full-wall repaint for the most seamless finish.
Do I need a permit for plaster or drywall repairs in a rental unit?
Small cosmetic repairs often do not need a permit, but replacements that expose or alter electrical or plumbing, or work in some condominium buildings, may require approvals. Check with your building manager or local code authority before scheduling work that might need a permit.
What should I include when I ask for a quote for plaster repair?
Send clear photos, the approximate size of the damage, whether any moisture has been present, and any building access rules or tenant details. Also ask the contractor to itemize labor, materials, texture matching and travel so you can compare estimates.
