


Assess the damage before buying supplies
How to patch drywall holes depends on the condition of the opening and the patching method that fits it. Small to medium holes can be repaired with the right method, but the same approach should not be treated as a universal answer for every damaged wall.
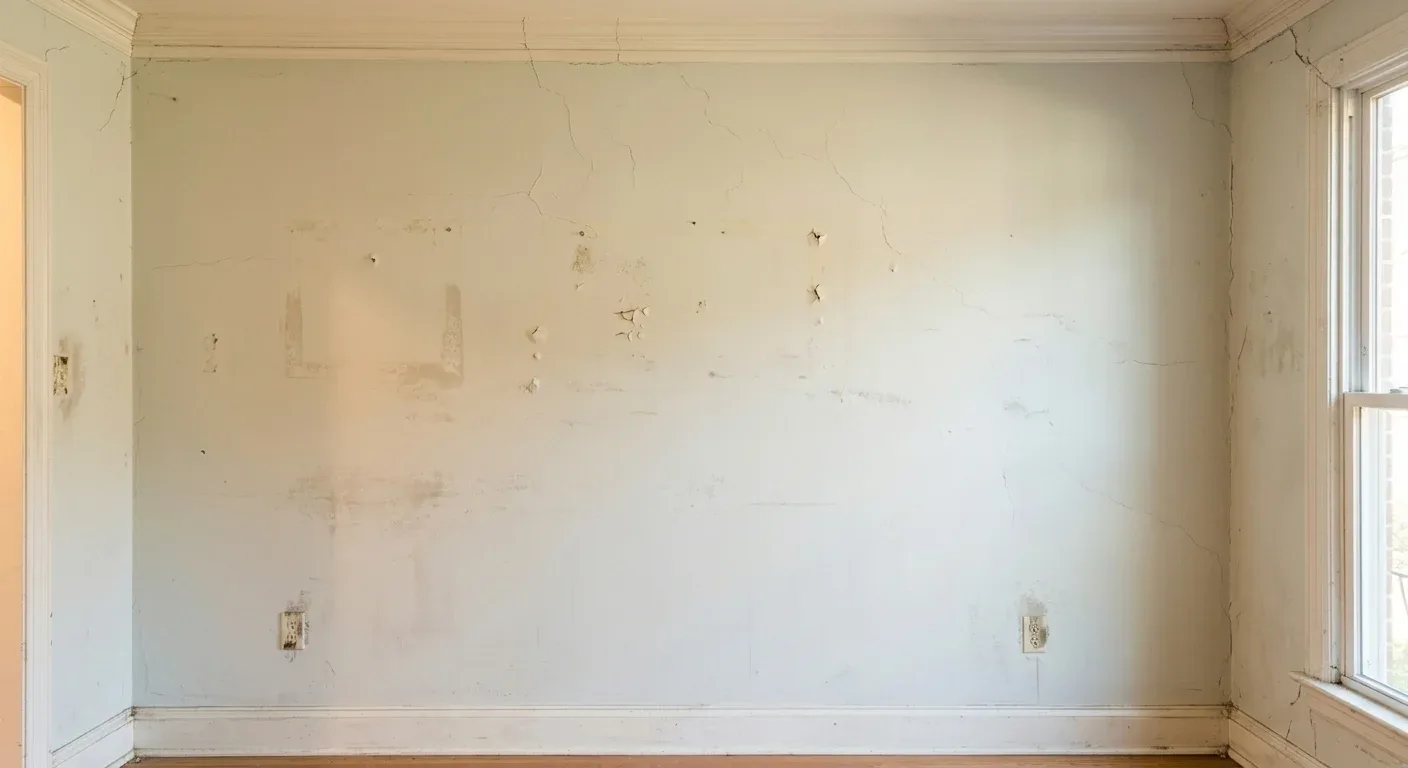
Start by looking at the hole rather than choosing a product first. Notice whether the opening is small and contained, or whether the surrounding drywall is broken, loose, or irregular. A clean opening and a damaged opening may need different preparation. The visible size is only part of the decision. The edge condition also affects how stable the finished repair can be.
Look around the opening for damage that extends beyond the center. A hole may leave a rough edge, a shallow depression, or a raised area around the impact. Those details matter because a repair has to meet the existing wall without leaving an obvious change in the surface. A patch can look filled and still fail to blend if the surrounding area was not considered.
Check the wall surface before you begin. A smooth wall and a textured wall do not present the same finishing problem. The repair must fit the surface around it, not just fill the empty space. The goal is a smooth, seamless surface that blends with the surrounding wall, but the result depends on the condition you are starting with and the method you choose.
Also consider what caused the damage. A single, contained hole is a different problem from an opening that keeps cracking or separating. If the wall has been damaged repeatedly, pause before buying supplies. Filling the visible opening without understanding why it keeps returning can leave you repeating the same repair.
Before starting, gather only what suits the repair method you have chosen. A general drywall repair checklist may include professional-grade supplies, but the correct materials depend on the opening and the finish. Do not let a ready-made kit decide the method for you. Inspect first, then choose.
Small holes need a different patch
Small holes need a different patch because the amount of support and surface work changes with the opening. A contained hole may be suitable for a small-hole repair method, while a larger or irregular opening may need a more involved patch. The important choice comes before the filler or patch goes on the wall.
For a small repair, keep the work focused on the damaged area. Remove anything loose and make sure the edge is not left in a condition that will move beneath the new surface. The repair should not depend on covering unstable material. A neat edge gives the patching material a better place to meet the existing drywall.
Larger openings need more attention to support. They can leave a wider area to rebuild, a less regular edge, or more of the surrounding wall affected by the original damage. A method that works for a small hole may leave a weak or raised repair when used across a larger opening. Choose the method according to the damage, not according to what happens to be in the supply kit.
Irregular holes deserve the same caution. A jagged edge makes it harder to create a clean transition, and damage outside the obvious opening can make the repair look finished before it is ready. Look for movement, loose pieces, and changes in the wall plane. If the surrounding material is not sound, covering the center alone will not solve the whole problem.
A patching method can be useful, but no patch is automatically right for every hole. Adhesive-backed options, mesh-style methods, and other repair approaches each leave a different surface to finish. The choice should follow the shape, edge, and condition of the opening. The best material is the one that suits the damage and allows the surface to be finished cleanly.
Use this simple decision process before you begin:
- Choose a small-hole method when the damage is contained and the surrounding drywall is sound.
- Choose a more involved patch when the opening is larger, irregular, or surrounded by broken material.
- Stop and reassess when the wall has cracked or failed around an earlier repair.
- Plan for extra finishing work when the surrounding wall has texture or an uneven surface.
A small repair can still be difficult to hide. The patch may be stable but remain visible because it sits above the wall, ends too sharply, or has a different surface pattern. Choosing the method correctly reduces those problems, but it does not remove the need for careful finishing.
Build the surface back in thin layers
A dependable repair is built gradually rather than forced into shape in one heavy application. Thin layers give you more control over the surface and make it easier to correct a low area, a ridge, or an edge that does not meet the wall cleanly.
Begin with the patch secured according to the method selected for the opening. It should sit firmly and follow the plane of the existing wall. A patch that moves, bows, or sits proud of the wall will remain difficult to hide no matter how much finishing material is added over it.
Apply the surface material in a controlled layer. Keep the center covered, then work outward so the transition becomes wider and less abrupt. The outer edge should not form a hard ring around the repair. A narrow, raised outline is one of the main reasons a patch remains visible after the wall is painted.
Let each stage set before trying to correct it. Working over material that has not set can pull it loose, drag the surface, or create a low spot beside the patch. Patience also helps you judge the wall honestly. A wet surface can appear smooth while hiding a ridge that becomes clear after it sets.
Once the layer has set, inspect it from different angles. Look across the wall rather than only at the repair. Light moving across the surface can show a raised edge, a shallow hollow, or a change in the wall plane that is easy to miss while looking straight at it.
Add another thin layer where the surface needs it. Do not pile material onto one low spot in an attempt to finish quickly. That approach can create a wider raised area and make the repair harder to blend. Several controlled passes give you a better chance of bringing the patch level with the wall.
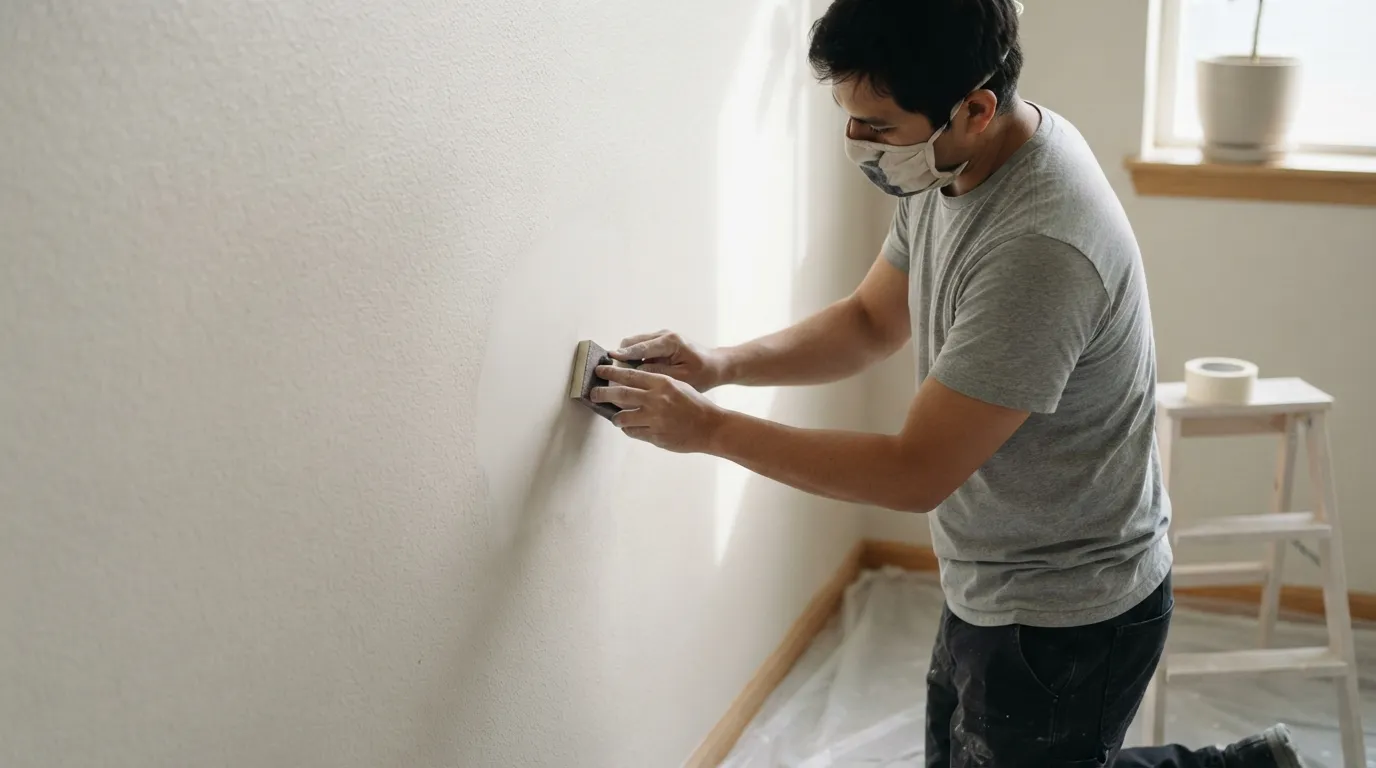
Sanding should refine the surface, not reshape the whole wall. Use it to remove small ridges and soften the transition between the repair and the existing drywall. Stop when the surface feels level and the edge no longer catches your eye. Excessive sanding can spread dust, enlarge the area that needs paint, and leave an uneven depression.
Pay attention to the outer edge. A patch can have a smooth center and still show because the transition ends too sharply. Feathering the material outward creates a softer change between repaired and original surfaces. The farther edge should become difficult to distinguish from the surrounding wall before primer or paint is applied.
A useful check is to run your hand lightly across the area after the surface has set. Your hand can find a ridge that your eyes miss. Use a light touch, because pressing hard can make a shallow area seem flatter than it really is. Then view the repair in side light and from the normal standing position in the room.
Do not judge the repair only by whether the hole has disappeared. Judge the plane of the wall, the edge, and the transition. A filled opening is not the same as a finished repair. The surface needs to be ready for the surrounding texture and paint, or the patch may remain visible after the work appears complete.
The same principle applies to a repair in an older room or a property that will be checked by someone else. A quick fill may look acceptable from one angle and show clearly under different light. Give the surface enough attention to match the wall around it rather than treating the center as the only part that matters.
If the patch continues to move, crack, or separate while you are building the surface, stop adding material. Repeating the same application over a failing base does not address the reason the repair is opening. That is a point to reassess the damage and consider whether the job has moved beyond a simple patch.
You can also compare the repair approach with broader decisions about drywall repair when the damaged area is no longer limited to a contained hole. The difference is not just the amount of material. It is whether the existing wall can support a stable, clean finish.
Texture and paint decide whether it disappears
A repair is not finished when the surface feels smooth. Texture and paint affect how the patch reads beside the original wall. A smooth patch on a textured wall can remain obvious, and a repair with a different paint finish can catch light even when the surface is level.
Start by identifying the surrounding texture. Look at how the wall reflects light and how the surface changes across the room. The repair should follow that pattern rather than introducing a new one. Matching texture is a finishing task, not a detail to leave until after painting.
Work carefully at the border between the patch and the existing wall. A hard boundary makes the repair easy to see. A feathered transition gives the surface a better chance of blending because the change happens gradually instead of stopping at a sharp line.
Paint should wait until the repair is ready. Covering an uneven surface does not make it level. Paint can also emphasize a ridge, shallow depression, or texture mismatch by changing how light moves across the area. Inspect the surface before applying color, and correct the finish first.
Primer helps prepare the repaired area for paint, especially where the surface has been patched and sanded. The repaired area should be clean and ready for the coating you plan to use. Avoid treating primer as a substitute for sanding or surface correction. It prepares the repair, but it cannot remove a raised edge.
The paint finish matters as well. A wall with a different sheen can make the repaired area stand out even when the color seems close. Compare the repaired surface with the existing wall before deciding that the job is complete. Color alone does not determine whether the repair blends.
A small test area can help you judge the result before covering the full repair. Look at it in the room’s normal light, then from the side. If the patch shows from one direction, return to the surface work instead of adding more paint. The visible problem may be a ridge or texture difference rather than a color problem.
Paint matching can also be difficult when the existing wall has aged or when the original color is not available. A close color may still look different across a larger wall. If the repaired area remains visible after preparation and painting, the answer may be a broader finish rather than another layer directly over the center.
Keep the surrounding wall in mind while you work. Spreading the repair too far can create more painting than the original hole required, while keeping it too tight can leave a visible ring. The aim is a controlled transition that follows the wall’s existing appearance.
Know when the repair needs a professional
A DIY patch makes sense when the damage is contained, the surrounding drywall is sound, and you can work patiently through preparation, thin layers, sanding, texture, and paint. The job becomes a different decision when the damage keeps returning, the finish must be difficult to match, or the wall may involve more than a surface repair.
Stop before cutting or opening the wall if you are unsure what is behind it. A visible hole does not tell you everything about the space behind the drywall. If the work could affect wiring, plumbing, a gas line, or a load-bearing wall, do not treat it as a basic patch. Those conditions need a more careful assessment.
A permit can also change the boundary of the job. If the proposed work requires a permit, check that requirement before starting. A cosmetic patch and work that changes a wall or affects building systems are not the same kind of task.
Repeated failure is another clear warning. Cracks, movement, or separation after repair suggest that filling the visible opening has not solved the underlying problem. Continuing to cover the same failure can make the repair larger without making it more stable.
Call for help when the surface must blend closely with an existing texture or finish and you are not confident you can reproduce it. The same applies when the repair is in a prominent area, when a property needs a clean handoff, or when you do not have the time to wait between stages and inspect the result properly.
A professional visit changes the task from choosing a product by guesswork to assessing the damage, selecting a suitable repair method, and planning the finish around the existing wall. That can be useful when you are unsure whether the wall needs a patch, a larger repair, or a different approach altogether. You can read more about drywall repair options before deciding.
There is no need to hire out every small hole. Take on the repair when the damage is limited and you can complete each stage carefully. Get in touch when the opening is unstable, the finish is demanding, the repair keeps failing, or the work may involve a permit, gas line, or load-bearing wall.
Frequently asked questions
How do I know which patching method fits the damage?
Choose the method according to the hole’s size, shape, edge condition, and the soundness of the surrounding drywall. A contained small hole may need a different approach from a larger or irregular opening.
When is a hole too large or damaged for a simple fill?
A hole needs more than a simple fill when the opening is larger, irregular, surrounded by broken material, or unable to support a stable surface. Repeated cracking, movement, or separation is also a reason to stop and reassess the repair.
Why can a patch still show after it has been sanded?
A patch can remain visible because its edge is raised, its transition is too sharp, or its texture and paint finish differ from the surrounding wall. Sanding helps refine the surface, but it cannot correct an unstable base or a mismatched finish by itself.
How should I prepare the repaired area before painting?
Make sure the surface is set, level, clean, and feathered into the surrounding wall before painting. Use primer to prepare the repaired area, then check the texture, color, and sheen against the existing wall.
When is hiring a handyman more sensible than attempting the repair myself?
Hiring help makes more sense when the repair keeps failing, the finish is difficult to match, or the work may involve a permit, gas line, load-bearing wall, wiring, or plumbing. It is also sensible when you cannot inspect and finish the repair carefully between each stage.
