

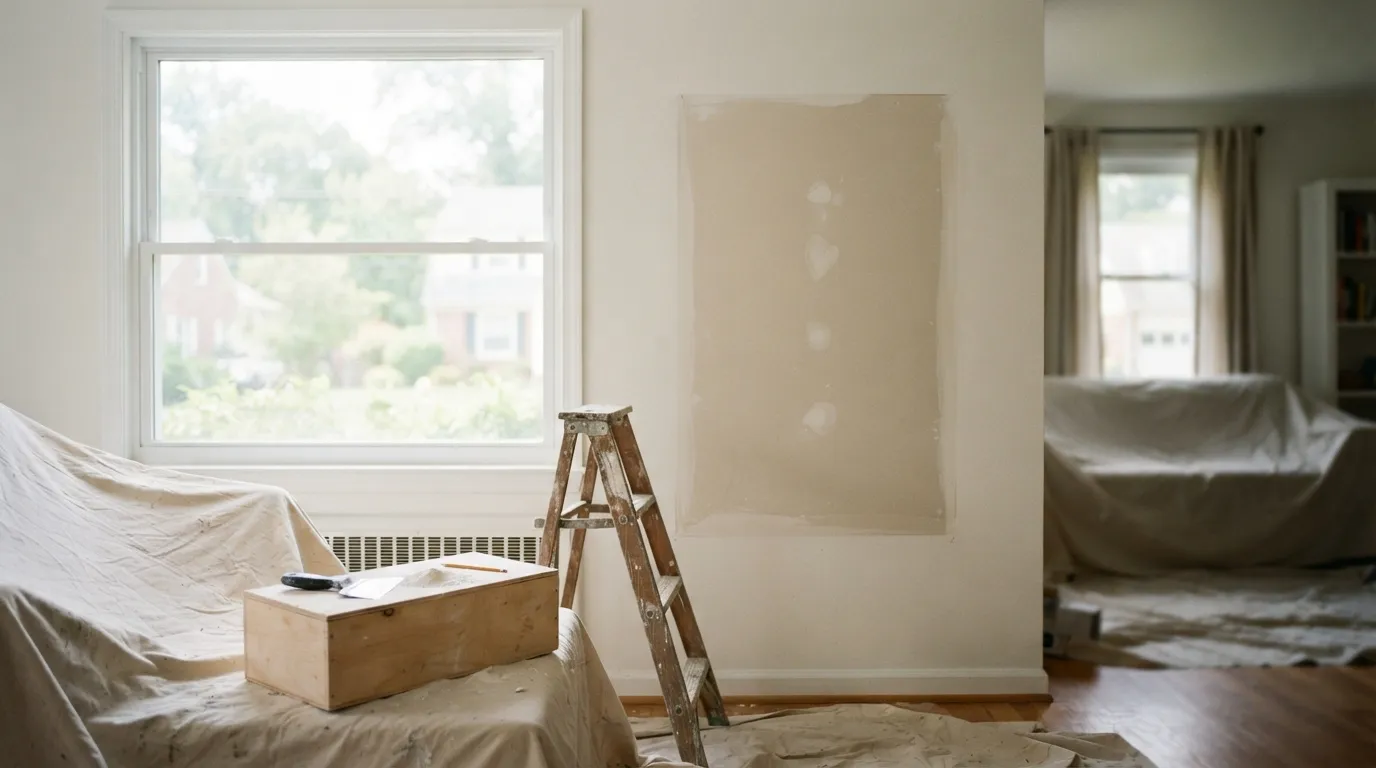
Choose drywall repair when the damage is small, the cause is fixed, and the framing remains sound. Choose drywall installation or larger replacement for very large holes, repeated impacts, moisture or rot, compromised framing, or damaged backing. Your location, visibility, texture, and paint expectations also matter when deciding whether a patch will satisfy you.
How to tell whether a repair will hide the damage
When you first look at a damaged wall, use a short decision checklist that focuses on five things: visibility, cause, size, moisture, and location. This checklist helps you judge whether a patch is likely to be visually and functionally acceptable. Visibility means where the repair sits in the room and how often people will be standing near it; a small patch on a high closet wall behaves differently from one at eye level on a living-room wall. Cause asks what made the hole or crack in the first place, because repairs applied without addressing the source tend to fail sooner. Size matters because very small holes and hairline cracks are easier to finish invisibly than large openings that need new backing or a full panel.
Moisture is a decisive check that many people miss. Water damage, ongoing leaks, or rot can change cosmetic patching into replacement and behind-wall repairs. Location completes the assessment. Repairs near corners, doorways, or trim are harder to hide than repairs across broad, flat areas. Use these five checks together rather than one in isolation; the right answer comes from the pattern they create, not any single item.
Work through the checklist before you call anyone. Photograph the damage and note recent causes you know about. Record where people will view the patch and how close they usually get. That makes the first conversation with a pro productive: you both start with the same facts, and a tradesperson can tell you whether a patch will meet your expectations for invisibility and durability.
Deciding whether a patch will “disappear” is as much about expectations as it is about technique. If you expect a flawless result on a heavily trafficked wall, a larger repair may be necessary. Replacement may be the only reliable way to achieve that standard. If the wall is tucked away and the cause is isolated and fixed, a properly finished patch can be perfectly acceptable for many homes. The checklist above gives you the framework to make that call before you get a price.
Why some jobs need full replacement, not a patch
Some problems look like they could be patched but are better addressed by replacing the panel or a larger section of wall. Common scenarios where replacement is the more reliable long-term solution include ongoing wet or rot issues, repeated impact or damage in the same area, compromised studs or framing behind the drywall, and very large holes that cannot be safely backed with simple repair hardware. When the underlying structure is damaged you are repairing the symptom, not the cause, and that invites recurrence.
Repeated impact is another good example: a series of knocks or a single recurrent hit can shatter the board and make seams loosen. A patch that only addresses the visible surface will not stop the movement behind it; a full panel replacement lets the installer secure the new board to sound framing and re-establish clean seams for finishing. Cut or torn drywall may meet a damaged stud bay. If the backing is chewed, rotted, or compromised, the repair needs new, solid support.
Very large holes can come from a doorknob, accidental demolition, or water-damage collapse. They often cross multiple stud bays and need more than tape and mud. Replacing the sheet or a full bay preserves the plane of the wall and makes texture and paint matching easier, because the contractor starts with flat, straight seams rather than trying to feather over an unsupported void.
Deciding between patch and replace is about future cost and inconvenience as much as the initial outlay; see drywall repair costs. A proper replacement removes unknowns and lowers the chance of another visit. A quick patch works when the cause is fixed and the area is small and undisturbed. Use the five checks from the first section to spot the signs that point toward replacement rather than repair.
What a local handyman can and cannot handle
A local handyman typically handles many types of drywall repairs in one call. This includes small holes, nail pops, hairline cracks, and small replacements with sound framing. The useful rule of thumb is that repairs which do not require structural framing, major rerouting of plumbing or electrical, or invasive demolition are generally within a handyman’s scope.
Some jobs fall outside one handyman call. They may need a drywall specialist, tradesperson, or additional permits. These include large wall sections with compromised framing, relocated electrical or plumbing, and plaster conversions across multiple rooms. When a repair reveals additional problems, such as mold or rotten studs, the work that follows can cross into carpentry, lead or asbestos concerns, or other trades; that changes the project’s scope and who should quote it.
Before booking, describe the cause and signs you see. This helps the pro judge whether your visit is a straightforward repair or a larger job. A clear description avoids surprise follow-up calls and helps you compare competing bids on the same terms. If a specialist is needed, a handyman can usually identify that on inspection and point you to the next step.
How long work actually takes and how disruptive it is
Patching a small hole or fixing a hairline crack is often quick to carry out, but most repairs require finishing steps that add time before the wall can be painted and the room returned to normal use. Drywall finishing typically involves joint compound in layers with drying or curing time between them, and that phased work is what shapes the disruption you should expect. Larger repairs and full replacements increase the number of finishing passes and thus the total calendar time before final painting.
A small patch can be done in a single visit, but if the contractor plans two or three skim coats with drying time between them the room may still need to be kept clear until sanding, priming, and paint are done. Replacing whole panels adds time for removal and for installing new backing where needed, and it often widens the work zone, which increases dust and the need to protect nearby surfaces. Planning for access and covering furniture is sensible even for modest repairs.
When you schedule the work, ask about the sequence the contractor follows and what they expect to leave at the end of each visit. That conversation helps you plan around noise, surface protection, and partial reoccupation of the room. If you have a tight timeline, be explicit about it and ask which parts of the job can be compressed and what that compression would change in terms of finish quality.
How to get clear, comparable written quotes
A practical, apples-to-apples written estimate lists the same elements so you can compare bids without guessing what is included. At minimum, the estimate should describe the scope of work in clear terms and name the materials and finishes the contractor will use. Your estimate should state how many finishing coats are included. It should also say whether texture matching, priming, and painting are included or offered separately.
Ask the bidder to spell out their cleanup plan, how they will protect floors and furniture, and the projected timeline for completing the entire job. It is also sensible to ask who will confirm whether a permit or inspection is required and how that would be handled. A written estimate that answers these questions makes comparing offers straightforward and reduces the chance of surprise charges later.
Use this checklist when you ask for a quote:
- A clear description of the scope of work and what is excluded
- Materials and number of finishing coats included
- How texture matching and paint are handled
- Cleanup and surface protection plans
- Projected timeline and key milestones
When you get competing estimates, read them against this checklist rather than against each other sentence by sentence. Ask follow-up questions where wording is vague, and have the contractor confirm in writing any change you agree on. That way the bids are comparable and you can judge value rather than guess whether a low price will leave you with an unfinished-looking result.
How texture and paint matching actually works
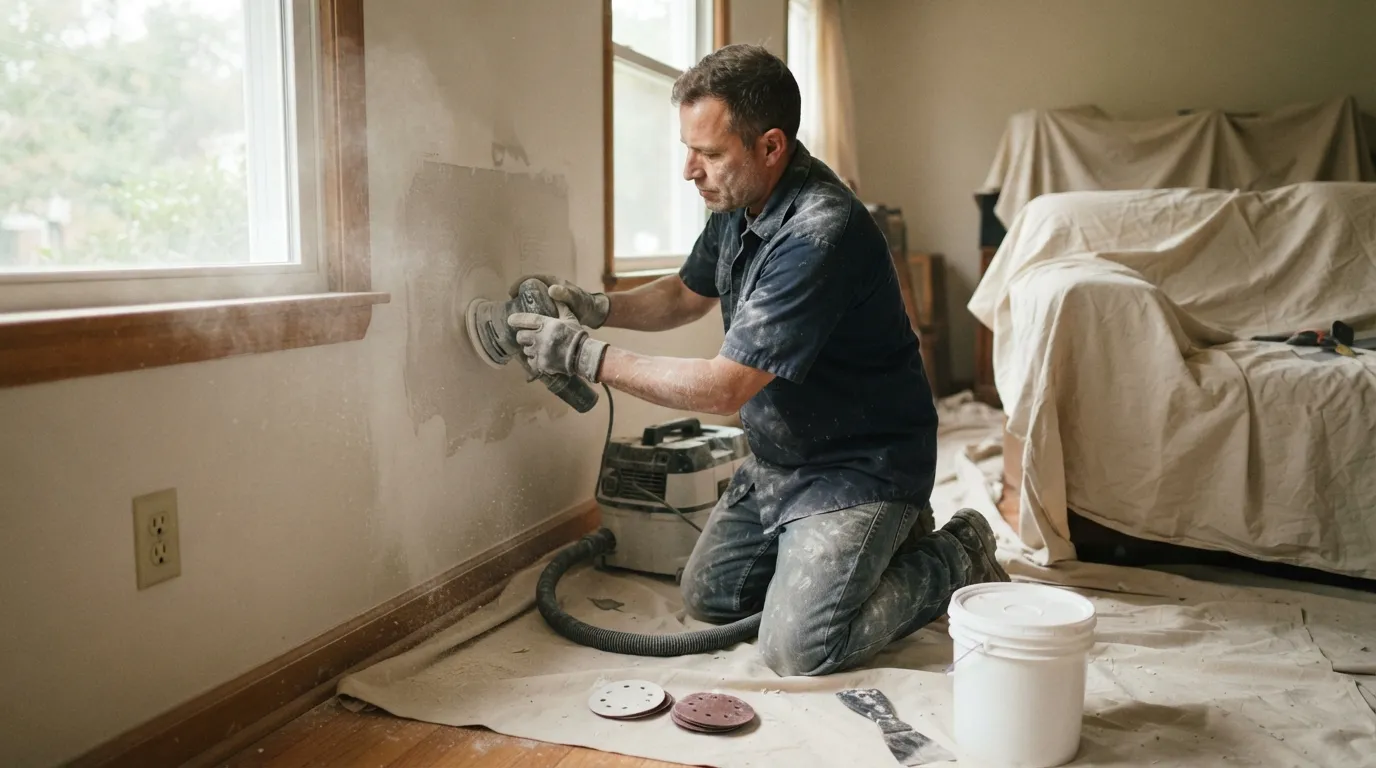
Texture and paint matching are part technique and part scope choice, and how they are handled decides whether a repair will remain visible. The finishing steps that affect visibility are feathering and skim coats to level the surface, followed by texture application where needed, priming, and either a full repaint of the wall or a spot paint. Each of those steps narrows the gap between the repaired area and the adjacent surface.
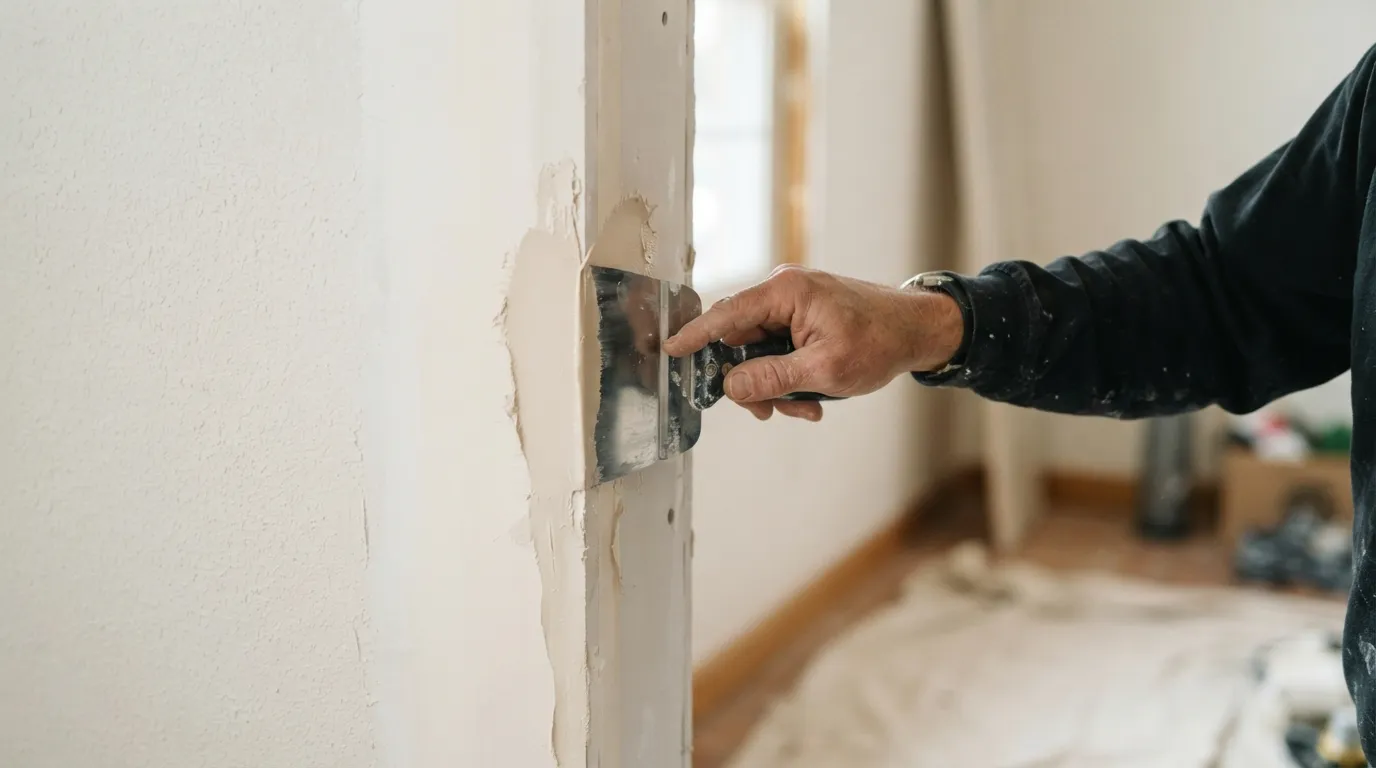
Feathering and skim coats allow the compound to blend the repair into the surrounding drywall plane. Texture application reproduces the surface pattern, which is essential where a wall has a dominant texture such as knockdown or orange peel. Priming evens out the porousness of the new compound so that paint lays on uniformly; without primer a patched area often takes sheen and color differently.
Choosing between a spot paint and a full repaint is a trade-off you should discuss up front. Spot painting may suit small, hidden repairs. Larger areas or walls in direct light usually need a full repaint to hide differences reliably. Contractors use different practices for this work. Confirm which practice they plan and how it affects the sequence and final look.
Permits, insurance, and landlord responsibilities in Montgomery County
If you are a homeowner, landlord, or property manager in Montgomery County, check repair responsibility before work starts. Also confirm whether a permit or inspection is required. The county rules and the allocation of responsibility between landlord and tenant affect whether you need to notify insurance and who should arrange permits. If you are unsure about permits or inspections in Montgomery County, contact the county building department. You can also ask your contractor to confirm requirements in the written estimate.
If you are a landlord, rental-unit work may have different notification and consent rules. If you are a tenant, document damage promptly so responsibility can be established. When insurance could be involved, notify your insurer early in the process so you understand claim thresholds, deductibles, and whether the insurer requires pre-approval of the contractor or specific remediation steps.
If a repair reveals larger issues such as rot or structural damage, an inspection or permit may be necessary before replacement work begins. Ask the contractor to identify that need in writing and include it in the estimate. This simplifies scheduling and prevents sudden stops while permits are obtained.
How we price drywall jobs and what a written estimate includes
When we prepare a written estimate we look to describe the job so you can see what the price covers and what it does not. A clear estimate sets out the scope, the materials to be used, the number of finishing coats, and whether texture matching and paint are included. It also explains the expected timeline and the cleanup and protection plan for your home.
We try to make the estimate conversational and specific so you can compare it with other bids using the checklist above. If a job may reveal hidden issues that change the scope, we note that risk and describe how we would handle the discovery. If a permit or additional trade is likely to be required, we explain who would arrange those items and how they would be billed.
A written estimate that breaks the work into clear line items lets you ask targeted questions and gives you confidence that the contractor and you agree on what will be done. Keep the estimate with the photographs and notes you prepared before the visit so there is a single record of what was promised.
Making the next call and what to expect
Before you schedule work, review your photos and the five-point checklist so you can describe the issue clearly. Ask each bidder to confirm in writing how they will handle texture and paint matching, what cleaning and protection they include, and whether they will check for permit requirements. Written quotes using these terms let you compare offers fairly. You can then choose the approach that fits your expectations for appearance, durability, and disruption.
If you need help preparing the photos and notes, start with clear pictures. Use good lighting, several angles, and a short note about the cause and room location. That information shortens the first visit and makes the estimate you receive more reliable. With a clear brief and comparable quotes you can make a confident decision between a repair and replacement.
Frequently asked questions
Will a patch actually disappear behind paint?
Whether a patch disappears depends on visibility, cause, size, moisture, and location, and on the finishing steps used. Feathering, skim coats, and texture application affect visibility. Priming and choosing spot paint or full repainting also determine how noticeable the repair will be.
When is it worth replacing a whole sheet instead of patching?
Replacement is usually the better choice when there is ongoing water damage, rot, repeated impact, compromised studs, or a very large hole that spans studs. Those conditions change the job from cosmetic repair to one that requires new backing and a reliable plane for finishing.
How long will my room be out of use for a repair versus a full install?
Small patches can be completed quickly, but finishing involves multiple coats and drying time, and full panel replacement increases the number of passes and the overall calendar time. Ask your contractor to explain the planned sequence. You can then understand what remains unfinished between visits and when repainting and normal use can resume.
Do I need a permit in Montgomery County for drywall replacement?
Permit requirements vary, and you should confirm them locally before work begins. If you are unsure, contact the county building department or ask your contractor to confirm permit needs as part of the written estimate.
How do I get clear, comparable written quotes?
Request written estimates describing the scope, materials, and number of finishing coats. They should also cover texture, paint, cleanup, protection, and the projected timeline. Use that checklist to compare bids and follow up on any vague wording so you can judge value rather than guess what is included.
