

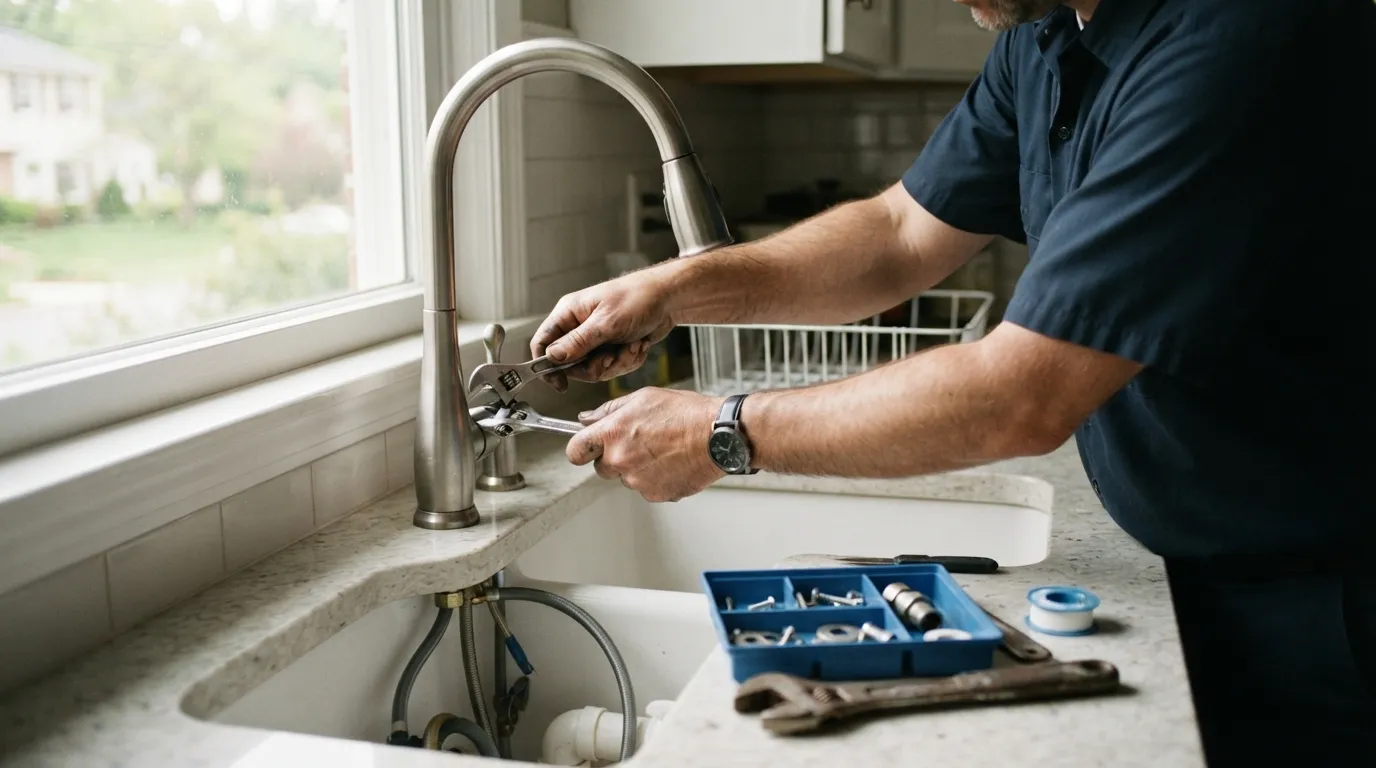
You can fix a leaky faucet yourself by locating the leak, shutting off the water, and replacing worn seals. Start with an aerator clean, handle and spout checks, then inspect supply connections. Hire a handyman if access issues, visible corrosion, multiple failing parts, or water damage make repair impractical.
What this page helps you decide
If you searched for how to fix a leaky faucet, you want a clear path: find where the drip starts, try a safe fix you can do at home, and know when to stop and call someone. This page is written for homeowners in Silver Spring and Montgomery County who are weighing a DIY attempt against hiring help. We show the checks that tell you whether the job is a light quick fix or something that will take more time and parts.
You will get a short diagnostic checklist, basic safety and shutoff steps, and repair options organized by common faucet types, including shower fixtures. We also explain what usually makes a repair fail, what replacement looks like, and the simple maintenance that keeps seals and valves working longer. Read the first section and then pick the repair path that matches the leak you see.
Quick diagnostic checklist to find the leak
Start by isolating where the water is coming from so you know what kind of repair is likely to work. Work in order and stop when you have a clear cause. The sequence below puts the easiest checks first.
- Look at the spout while the faucet is off. A steady drip from the spout usually points at the valve or internal cartridge rather than the supply lines. This tells you the leak is happening at the fixture, not the pipes behind it.
- Check the handles and base. Water that appears around the handle or the base of the fixture when the tap is on often means worn seals or packing around the valve stem or cartridge. If water runs down behind the handle and pools at the deck, the seal under the handle is the likely culprit.
- Inspect under the sink or behind the service panel. If you see puddles where the supply lines connect, or active dripping from a flexible supply hose, the problem is a supply connection or the hose itself rather than the faucet body.
- Run a short test on cartridges and cartridges-style fittings. For single-handle and cartridge faucets, a drip when the handle is off but the supply lines feel pressurised suggests the cartridge or internal seat is worn and not closing fully.
- Check the aerator and spout tip. Sometimes mineral build-up or debris in the aerator makes water trickle oddly or spray; cleaning the aerator is the simplest first fix and helps rule out more complex problems.
Work slowly through those checks and note whether the leak appears only while the faucet is on, only while it’s off, or continuously. That pattern is the single most useful clue to the part that needs attention. Once you know where the water is coming from, you can match that to the repair steps in the section on faucet types.
Shutoff and safety steps before you start
Before you take anything apart, stop the water and protect the area. Turning off water and clearing space makes a small job stay small.
Find and close the local shutoff under the sink or behind the fixture if one is present, then open the faucet to relieve pressure and drain the lines. If there is no local shutoff or if you cannot find it, you may need to use the house main, but the checks above will usually tell you whether a local shutoff exists.
Protect cabinets and counters with a towel or shallow pan to catch drips while you work, and lay down a light tarp if fittings or parts may fall. Wear eye protection when you loosen fittings around pressurised lines or when you clean mineral deposits with a brush or vinegar solution. Keep a bucket or bowl and several clean rags handy for small spills and to carry parts.
If you remove parts, keep them in order and take pictures with your phone before you disassemble anything so reassembly is straightforward. That step saves time and confusion for a first-timer, and it makes it clear later which parts you need to replace.
Fixes mapped to common faucet types
Match what you found in the checklist to the type of faucet you have. The three broad types you will see are faucets with cartridges or ceramic discs, traditional compression or two-handle faucets, and single-handle ball-style faucets. Shower fixtures often need the same internal parts as sink faucets but may require separate guidance.
Cartridge and ceramic-disc faucets These fixtures use a cartridge or disc that opens and closes water flow. When the drip comes from the spout while the handle is off, the cartridge or its seals are often the issue. If the aerator is clean but the drip continues, the repair path is to remove and inspect the cartridge, clean any debris, and replace worn seals or the cartridge if the seals are visibly damaged. Reassembly must be done with parts in the original order and seals seated squarely.
Compression and two-handle faucets If the leak is around a handle on a two-handle faucet, worn packing or washers under the stem are likely. These faucets have a stem and washer that press against a seat when you shut off the handle. When the washer is flattened or the seat is pitted, the faucet will drip or leak around the handle when on or off. The fix is to replace the washer and any worn seat material, then re-seat the stem so the seal is tight.
Single-handle ball-style faucets Ball-style faucets use a rotating ball, springs and seals to control flow, and they can be tricky the first time you take one apart. Persistent seepage at the handle or from the spout after other fixes often points to worn cam or ball seals. These seals are sold as repair kits for the faucet model; replacing them restores the internal fit that stops dripping. If you remove the ball assembly, keep track of the springs and seals in order so you can reassemble them correctly.
Shower-faucet leaks Shower fixtures follow the same logic but the parts are often behind a trim plate in the wall. A drip from the showerhead when the valve is off usually means the cartridge or valve assembly is not sealing. Accessing the valve may mean removing trim and escutcheon plates and working in a tighter space; some shower valves also have separate replacement parts from sink faucets. There is specific guidance for shower-faucet leaks that you should consult when the leak is behind a wall-mounted valve.
How to tell a repair worked After you reassemble, keep the local shutoff closed while you restore the supply, then open the faucet slowly and watch the repair area for any seepage. Let the faucet run briefly, then shut it off and watch the part for a minute. If there is still water at the same spot you repaired, the seal or part may not be correctly seated or the replacement part may be the wrong fit.
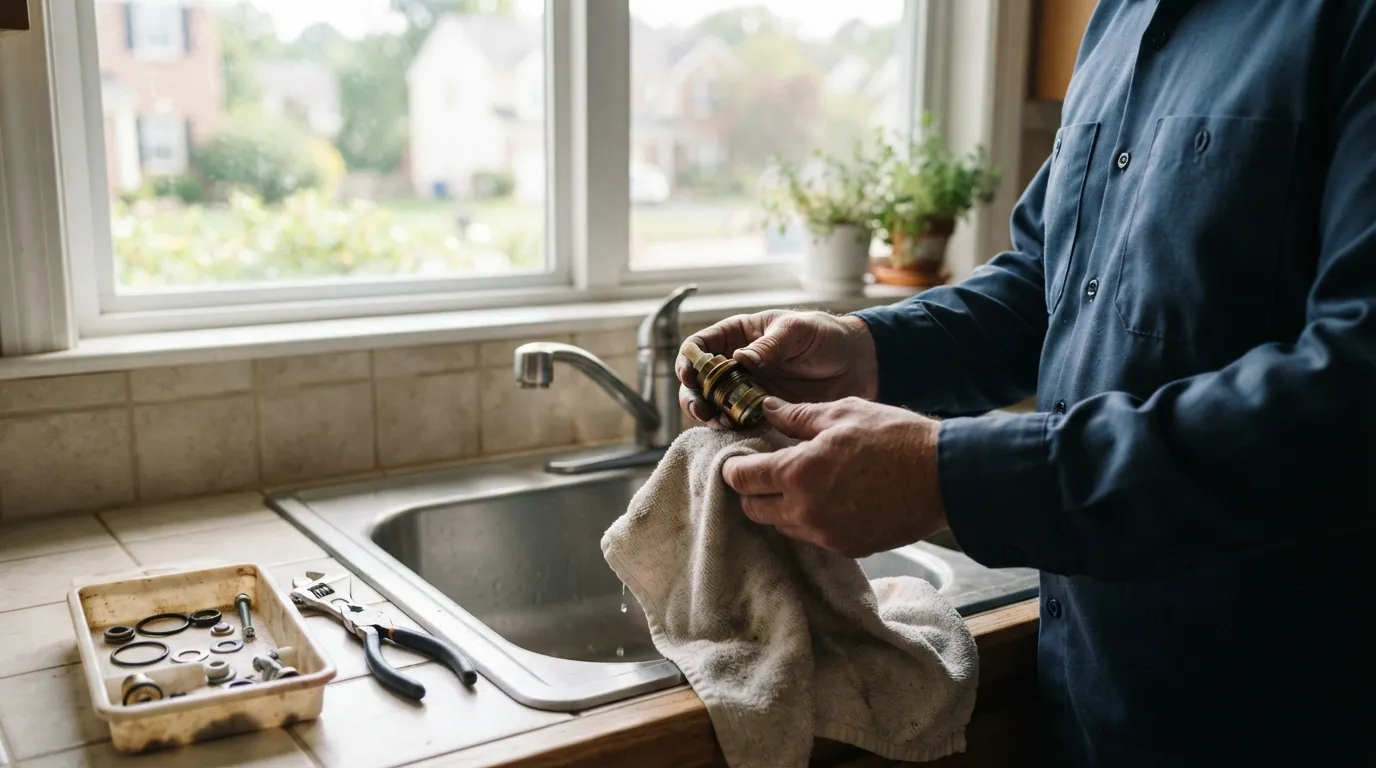
Tools and replacement parts, and how to match them
A modest tool kit and the right parts are what let a simple repair stay simple. You do not need specialized gear for most dripping-faucet fixes, but identifying the correct replacement seals, washers or cartridge is critical.
Common tools you will use include an adjustable wrench, a set of screwdrivers, pliers, a basin wrench for hard-to-reach connections, and a small pick or toothbrush for cleaning deposits. A flashlight or headlamp helps when working under sinks or behind a shower trim.
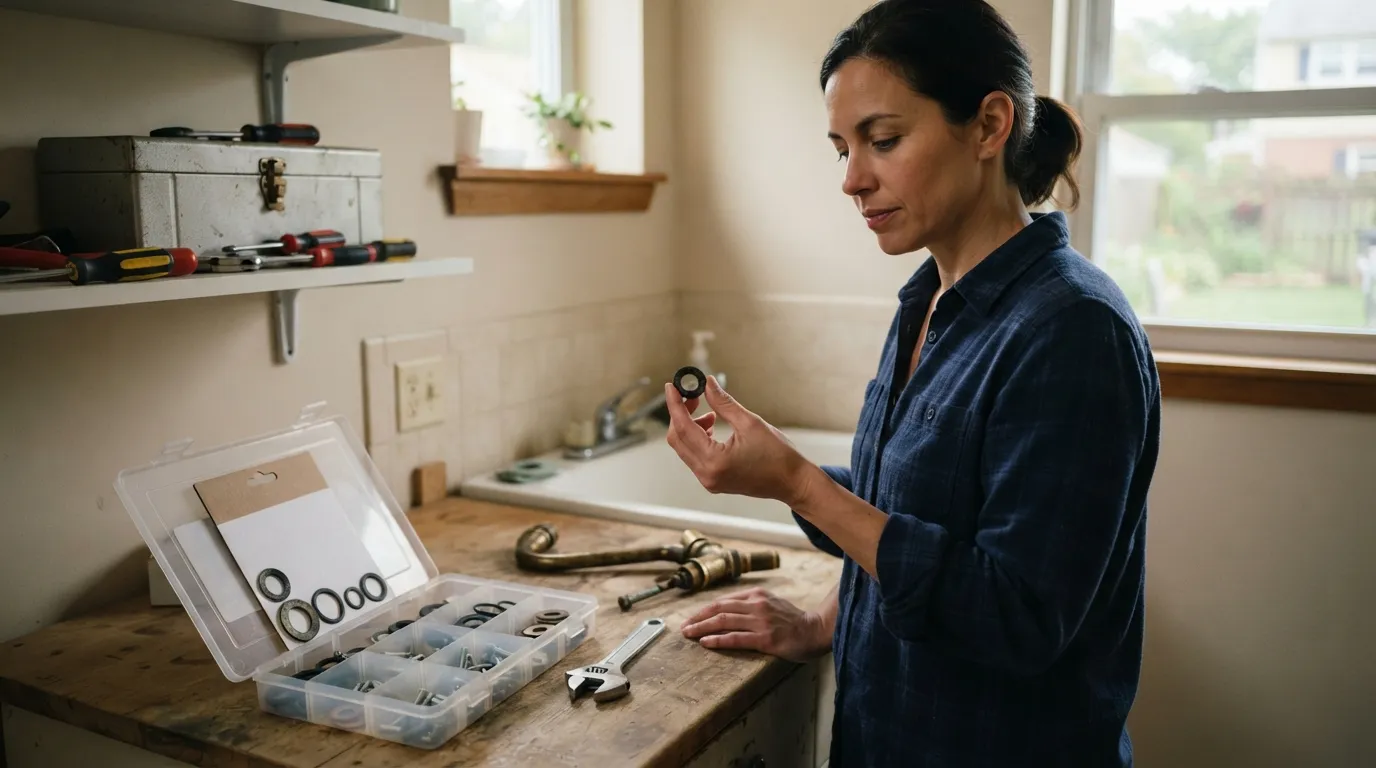
When you remove the part that leaks, carry it to the store or use a photo to match it. Faucet parts are model-specific: take the old cartridge, washer or aerator with you, and compare the shape and mounting tabs. If you cannot match it easily, many local plumbing supply stores will help you find the correct replacement if you can show them the part or a clear photo.
Buy a small repair kit rather than individual bits when possible; kits for single-handle and ball-style faucets include the seals and springs that often fail together. For compression faucets, replacement washers and seat kits are widely available. Keep a small container for the tiny springs and clips when you disassemble a ball-style unit so you do not lose them.
Where to buy parts locally Hardware stores and plumbing supply shops in Montgomery County stock common repair kits and cartridges. If the part is an uncommon model, a photo and the old part make it much easier to get the right match. If you suspect mineral damage, a cleaning kit or replacement aerator is a very low-cost first step.
When repair fails and replacement is the better choice
A repair can be temporary when internal seats are badly pitted, the faucet body is corroded, or multiple leaks appear in different places. If a fresh cartridge or new seals stop the drip only briefly, or if new leaks appear at supply connections or from the deck, consider replacement rather than repeated repairs.
Look for these signs that replacement is the safer next step: persistent drips from the same spot after two attempts to fix it, visible corrosion or cracked castings on the faucet body, or multiple failing parts where replacing them all would approach the cost and disruption of a new fixture. If a leak soaked nearby materials such as the cabinet or wall, the hidden damage may be a bigger problem than the hardware itself.
If you find water damage to drywall or the cabinet backing, small DIY repairs may not be enough; water-damaged drywall often needs cutting out and patching before you reinstall a new fixture. For guidance on when a patch is a DIY job and when to call a pro for the wall repair, see our notes on how to fix drywall.
Another practical limit for DIY is access. Old homes and tight shower valves sometimes require special tools or removing a trim plate and working in the wall. If you cannot access the valve without disturbing finishes you want to keep, replacement by a tradesperson with the right tools avoids extra damage.
When replacement is the right option, think about matching the supply connections and mounting holes so the new fixture fits without reworking the sink or counter. That choice reduces surprises and keeps the job to a single visit when you hire someone.
How a local handyman usually handles faucet repairs
When you decide to hire someone, a typical visit focuses on diagnosis, a clear recommendation, and completing the repair or replacement on site; see how to hire a handyman who’s local. The technician checks the pattern of the leak, confirms the part that has failed, and identifies access issues before starting work.
You should expect a clear explanation of the cause and the options on the spot, with the tradesperson showing you the part that failed when possible. If a simple seal or cartridge is the fix, many handicraftspeople can complete the repair while they are there; if the job needs a different fixture or drywall repair, they will outline the next steps.
A visit usually includes these on-site tasks: confirming the shutoff and isolating the supply, removing and inspecting the internal parts, cleaning seats and removing mineral build-up where possible, and fitting replacement seals, washers or a cartridge. If the supply lines or hose show damage, they will check the fittings and replace sections as needed to stop the leak at its source rather than masking the symptom.
If the job becomes a replacement, the technician will check compatibility with your sink or wall mounting and explain any additional work required, such as trimming the escutcheon or adjusting supply connectors. Transparent discussion of what will be done and why helps you decide whether to proceed with replacement during the same visit.
Finally, a professional will run and test the faucet after the repair, watching for slow leaks and confirming the fixture operates smoothly. That test is the practical guarantee that water is flowing and stopping where it should before the tools are packed up.
Simple maintenance to prevent future drips
Small steps keep seals and valves working longer and reduce the chance of a drip returning.
Avoid overtightening handles; snug is enough and over-torquing wears washers and seats faster. Clean aerators regularly by removing them and rinsing out debris or mineral deposits. If you live where water is hard, occasional cleaning of internal parts can prevent mineral build-up that causes seats and cartridges to stick.
If you notice a small steady drip, catch it early. Replacing a cheap seal or washer when the symptom is fresh is easier than fixing corrosion or pitting that shows up after a long-running leak. Keep basic repair parts on hand if you are comfortable doing small fixes, and take photos before you disassemble to make reassembly quick.
When repairs and prevention both fail, or when the work would uncover more damage, consider a professional visit to make sure the problem is fully resolved.
Frequently asked questions
How do I get a faucet to stop dripping?
Start by isolating where the water is coming from, the spout, the handle area, or the supply connection. Clean the aerator, then try replacing the worn seal, washer or cartridge that matches the part you removed; if the drip continues, the internal valve or seat may need replacement or further inspection.
How do I replace a faucet cartridge?
Shut off the local supply and relieve pressure, then remove the handle and trim to access the cartridge. Take the old cartridge to match the replacement, install the new cartridge in the same orientation, and reassemble, then test the faucet for leaks before finishing.
How to fix a leaky Moen kitchen faucet single handle?
Many single-handle faucets leak because of worn seals in the ball or cartridge assembly; the usual approach is to identify the model, remove the handle and internal parts, and fit the correct replacement seals or cartridge. If the leak persists after replacing those parts, the assembly or seat may be damaged and need replacement.
Do I need to shut off the whole house to fix a dripping faucet?
You usually do not need to shut off the whole house if a local shutoff valve exists at the fixture; close that valve, open the faucet to relieve pressure, and work with the supply isolated. If there is no local valve or you cannot find it, then the house main may be the only option.
Keep reading
- How to pick plumbing services in Silver Spring without guesswork
- Why your toilet is running constantly, and what to try next
- Plumbing Services
- Hire a local handyman company in Montgomery County
- What handyman services in Silver Spring cover, and don’t
- What to expect from a Potomac handyman, from quote to repair
