

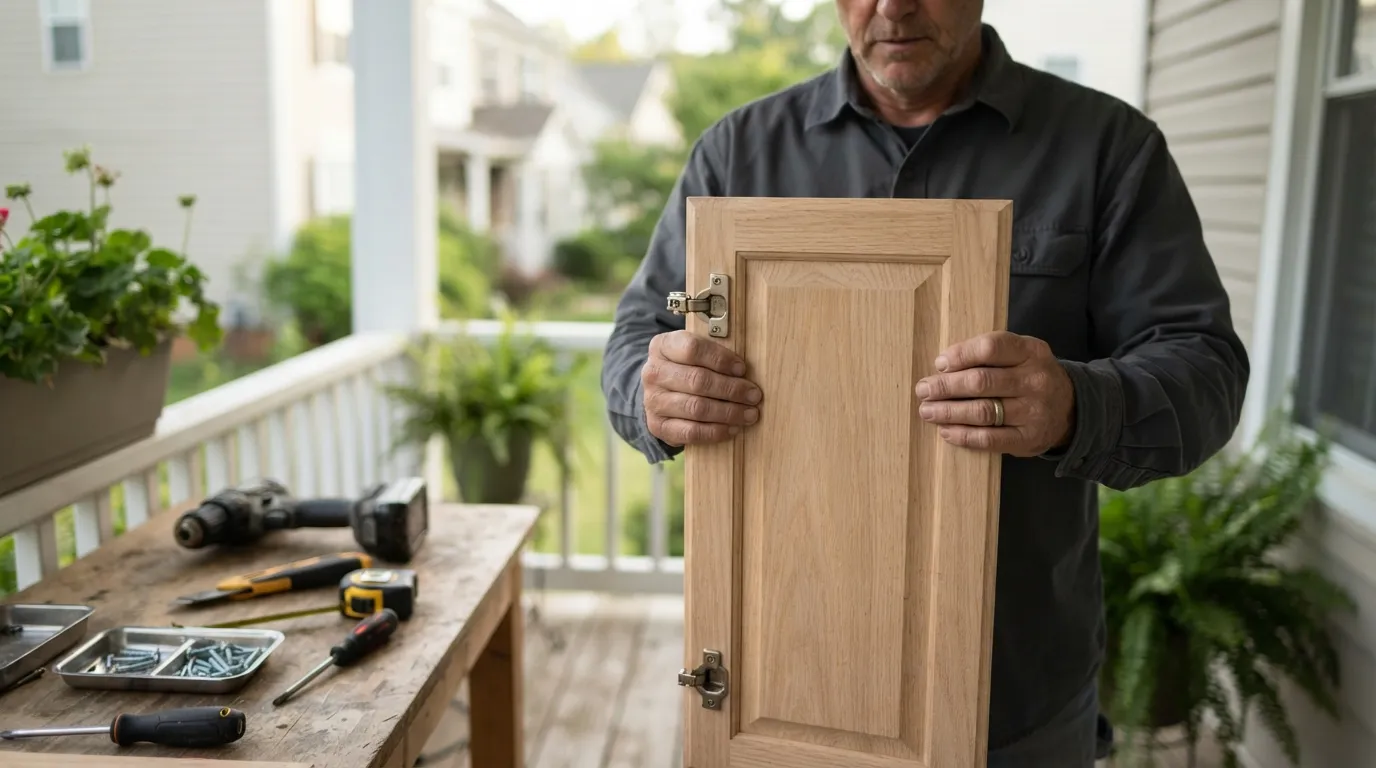
When a simple repair will save your cabinets
If you searched for a cabinet repair handyman because a door is sagging or the laminate is peeling, this page is for you. A repair is worth choosing when the problem is limited to the door, the hinge, or a surface finish and the cabinet carcass itself is sound. That sounds obvious, but the best decisions come from looking for a few specific signs rather than guessing.
Check how the door closes and how the cabinet holds weight. If the face frame or the box is split, cracked, or soft to the touch the damage has moved beyond a surface or hardware fix. If the door hangs straight and the carcass is square, a hinge adjustment, a re-set of the hinge cup, a new screw block, or a re-glued trim will often restore function and appearance without replacing the unit.
Look closely at the finish. Laminate edges that lift, veneer blisters, surface scratches, and worn paint all have different fixes. Small lifts and chips are often repairable so they become almost invisible. Large missing faces, continuous water damage, or widespread delamination are reasons to consider a replacement or a refacing approach instead of chasing multiple small repairs.
Think about the long term. If you plan a full refit or a countertop replacement soon, a quick repair to keep doors working might be the right short-term choice. If you want a lasting cosmetic match and the doors are out of a discontinued style or material, investing in replacement or refacing makes more sense.
Before you commit, photograph the problem, open and close the doors, and pull a drawer to test runners. These simple checks will make the next conversation with a pro much clearer and help you avoid paying for work you do not need.
Common cabinet problems and what fixes look like
Cabinets commonly show the same handful of failures. Knowing which is which helps you spot whether a repair really will do the job.
- Peeling or lifting laminate and veneer. Small lifts can be glued and clamped, and a careful edge repair will hide the join. Where the surface has separated over a wide area the best repair is a remade door face or a new veneered panel.
- Broken, loose, or stripped hinges. Most hinge failures come from screws that have pulled free or from hinges that have worn through the mounting. The usual fixes are longer screws into a solid backing, a wooden or epoxy screw plug, or replacing the hinge and plate with a heavier duty part.
- Sagging or misaligned doors. Doors that have dropped or rub on the frame usually respond to hinge repositioning or to fitting a new mounting block behind the hinge. If the door itself is warped you may need to replace the door rather than try to bend it back.
- Sticking drawers and worn runners. Drawer runners can be adjusted, lubricated, or replaced. If the drawer box is square and solid a new set of runners restores smooth motion. If the drawer itself is split or swollen you might rebuild the box or replace the single drawer face.
- Scratches, stains and faded finishes. Touch-up pens, thin filler and careful blending will hide many scratches. For faded finishes you can often sand and re-stain or re-paint a door. Where matching an old finish exactly would look lumpy, consider painting the whole run for a uniform result.
- Squeaks and rattles. These are usually an alignment or hinge problem. Tightening fastenings, adding a washer or a shim, or replacing a worn hinge stops the noise.
What the repair will involve depends on materials and how the cabinet was made. Factory laminated doors take different adhesives than solid wood or veneered doors. When you describe the problem to a pro, say whether the material looks like laminate, veneer, or solid wood and whether there is visible water staining. Those details let a technician plan whether to bring adhesives, clamps, new hardware, or replacement panels.
How long repairs take and what to expect on the visit
A typical cabinet repair visit is compact and focused. The technician will arrive with basic tools, a selection of common hinges and screws, adhesives, clamps, and small supplies to rebuild screw blocks or apply touch-up finishes. Expect the visit to follow a clear sequence so you know what to do and what to watch for.
First the tech will inspect the damage and test doors and drawers. They will open cupboards, pull drawers fully out, and check inside the boxes for soft spots or hidden rot. That inspection decides whether the job is a simple on-site repair or whether parts need to be ordered or a panel must be remade.
If the repair is straightforward the technician will remove the door or drawer, make the repair at the workbench or on site, and re-fit it. Often the steps are to re-seat or replace a hinge, re-glue and clamp a peeled edge, plug and re-screw a stripped hole, or replace runners. Many fixes are finished with a light sanding and a touch-up of the finish.
Some repairs cannot be completed in one visit because a replacement part or a matched veneer is needed. In that case the tech will explain what must be ordered, how long the lead time is likely to be, and whether a temporary measure will keep the cabinet usable until the return visit.
At the end of the visit you should get a clear summary of the work done. Ask to see the repaired door open and close, and look at the finish under normal room light. If anything still rubs or squeaks point it out before the technician leaves so they can make the final adjustment.
Prepare a small working area by clearing the counters near the affected cabinets and removing breakable items from the immediate work zone. That makes the visit quicker and safer. Have your photos and the notes about how the problem started ready. They help the technician judge whether water, wear, or impact caused the damage.
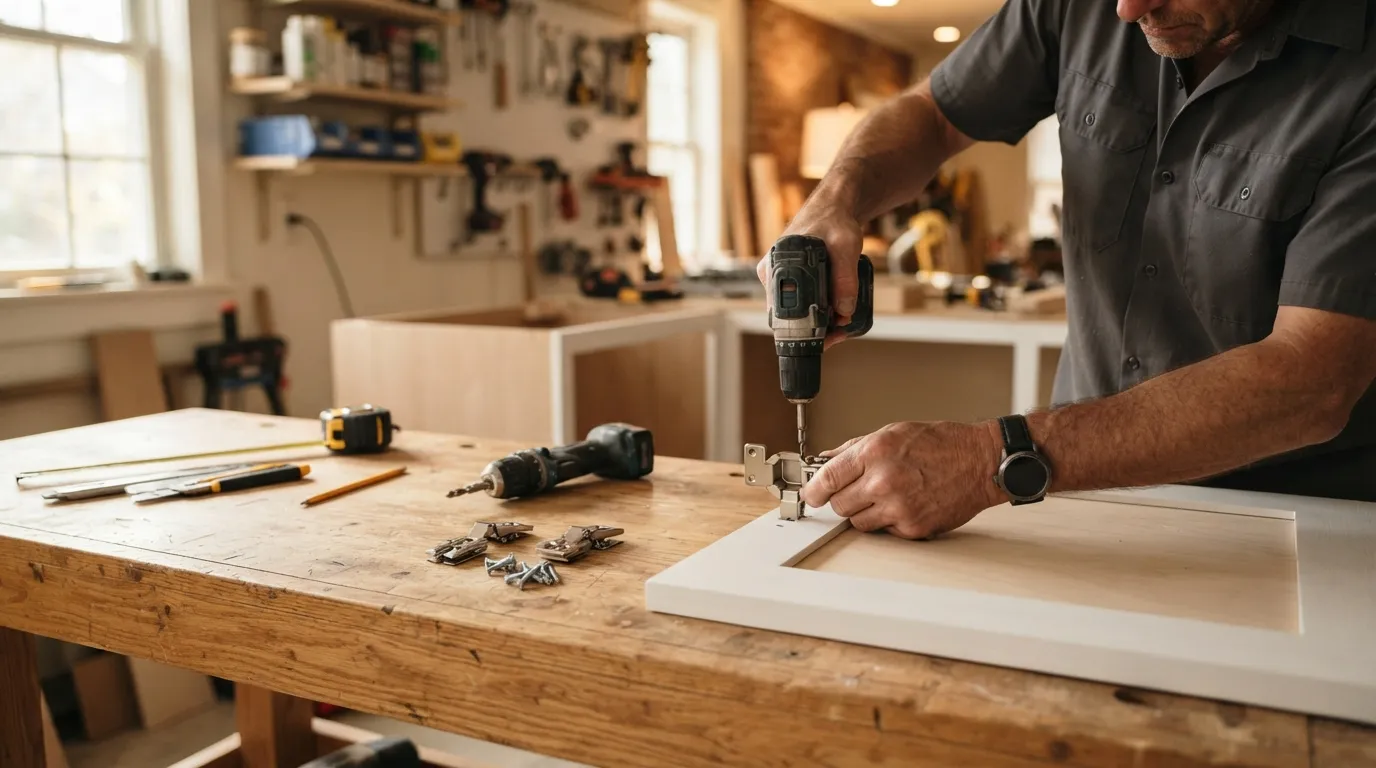
How we match finishes and make repairs invisible
Matching the existing finish is where experience matters. The right approach depends on whether the surface is laminate, veneer, painted, or solid stained wood. Each material has its own limits for blending and repair.
For laminate, invisible repairs are limited to small edge lifts and chips. You can glue a lifted edge and clamp it tight, then file and colour the repaired edge using fillers that match the laminate tone. Large areas of missing laminate are usually replaced by fitting a new door face or refacing the door with a new laminate sheet.
Veneer behaves like thin wood. Small nicks and lifts can be re-glued and clamped so the seam disappears after light sanding. For larger missing patches a veneered panel can be cut to size and glued in. A stained finish on veneer is difficult to match perfectly if the existing wood has aged. When the difference is visible the options are to re-stain the whole door, paint the run, or replace matching doors.
Painted doors are the easiest to blend in when you can take the door away. If the paint is in good condition a touch-up with a matched paint and spray or brush blending will hide a small repair. If the paint has aged or the sheen does not match, repainting the entire door or the full run of doors is the cleaner solution.
Solid wood doors can often be sanded and re-stained to a closer match, but wood tone changes with age and exposure. Patching and refinishing a single door can leave it looking slightly different if you do not treat the whole set. Consider whether blending one door into the set will be less noticeable than replacing it with a factory finish.
When a repair will be visible after reasonable effort, a technician should tell you the cosmetic trade-off upfront rather than mask it. That lets you choose between a lower-cost patch that improves function and a higher-cost replacement that gives a near-perfect match.
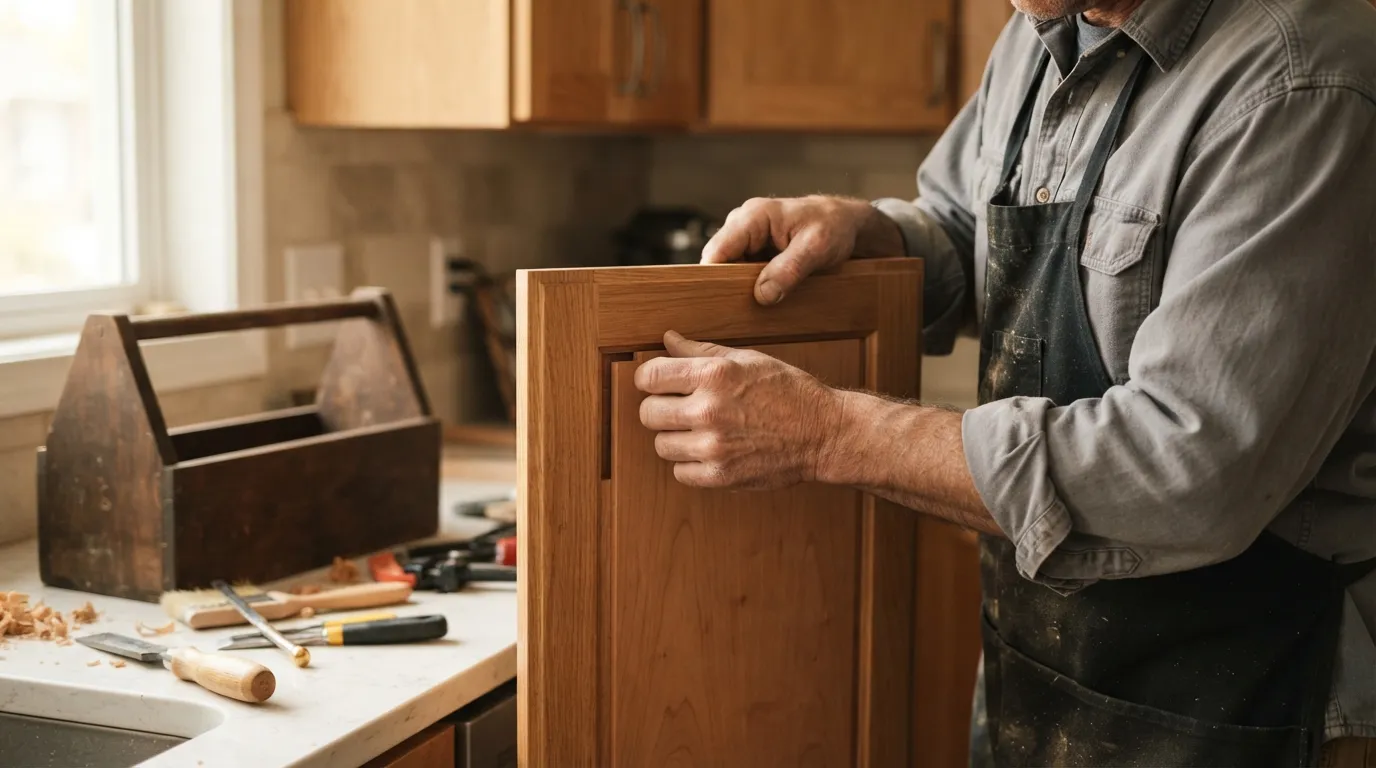
What a cabinet repair bill is actually made of
A clear invoice separates the parts of the work so you can compare estimates and see where costs come from. A repair bill commonly breaks down into labour, parts, and travel. Labour covers the time the technician spends diagnosing and performing the repair. Parts are the hinges, runners, screws, adhesives, filler, and replacement panels or doors. Travel covers the trip to your home and the technician’s time between jobs.
Ask for an itemised quote rather than a single lump sum. An itemised quote shows what you pay to restore function and what you pay for cosmetic work. If a repair requires a replacement door or an ordered veneer ask how the cost of that item is shown and whether the quote includes fitting and finishing.
Clarify whether the price assumes a single visit or whether a return visit to fit ordered parts is extra. If ordering parts is likely, ask for the expected lead time and whether there is a charge to return and complete the work. That avoids surprises where an initial visit leaves a temporary fix in place while the ordered part arrives.
If disposal of old doors or packaging is needed ask whether that is included. Small jobs may leave waste like old runners or packaging that a technician will tidy up. For larger removals confirm whether the cost of disposal is included and how the removed items will be handled.
Finally, ask how finish-matching is quoted. A short touch-up carries a different labour cost to sanding and recoating multiple doors. If you want a uniform result across a row, compare the quote for a single patched door against the quote to refinish the whole run. That comparison is the fairest way to decide which option is better value for your goals.
DIY fixes you can safely try first
There are a handful of repairs you can try without specialised skill. Keep the scope small and stop if the fix does not hold or if the cabinet shows signs of structural damage.
Tightening or replacing a hinge screw. Remove the hinge screw, inspect the hole, and if it is stripped drive a small wooden plug or toothpick dipped in wood glue into the hole. Let the glue dry and re-fit the screw. Use the correct screw length so it bites into solid backing rather than just the door face.
Re-gluing loose trim or edge banding. Use a contact or wood glue suitable for the material. Apply glue under the lift, clamp it for the recommended cure time, and wipe any squeeze-out. Do not try to re-glue a large delaminated area without clamps and a flat plan to press the panel while it dries.
Fixing a sticking drawer. Remove the drawer and run it empty to see where it binds. Clean the runners and lubricate plastic or metal runners with a dry lubricant. For wooden runners a light wax or paraffin on the sliding surfaces often helps. If the drawer box is swollen with moisture, dry it first and then plane the offending edge.
Replacing a worn runner or roller. Manufacturers make replacement runners for common drawer systems. If you can identify the make, ordering and then fitting a new runner restores smooth action. If you cannot fit the runner confidently stop and ask a pro.
When to stop and call a pro. If the cabinet has soft or rotten wood, if water damage is evident, if hinge holes fail after repair, or if a door or box is warped, call a technician. These conditions point to work that needs more than a quick household repair.
Why verify credentials and choose local service
Always check that the person you hire is properly credentialed for the work you need. For carpentry and cabinet alterations you want someone who carries the right trade insurance and who can show references for similar jobs. Ask for identification, proof of business registration if applicable in your area, and examples of recent work.
Choosing a local pro matters because neighborhood houses often share the same cabinet types, older builds, and installation quirks. A local technician knows which materials are common here and understands how kitchens and bathrooms in area homes age. That familiarity shortens diagnosis time and helps the technician bring the right parts on the first visit.
Before you book, make a list of the questions you need answered. Ask how the pro will match finishes, whether a part will be ordered, and whether the quote is itemised. Clear answers help you compare competing quotes fairly and avoid paying for work you did not want.
We serve Silver Spring and Montgomery County and nearby towns, and we can talk you through what a repair visit will include and what information to gather before you call. Get in touch to ask for a quote or to book a visit and we will help you decide whether repair or replacement is the right choice for your cabinets.
Frequently asked questions
How much does it cost to fix a cabinet?
Costs depend on what needs to be done more than a flat rate. Labour, parts, whether a replacement door or matched veneer is needed, travel, and disposal all affect the final price so get an itemised quote to compare.
Can you repair water-damaged cabinets?
Superficial water staining and small edge delamination can often be repaired, but soft or rotten wood means the box or face may need replacement. If the cabinet feels soft to the touch or the damage runs into the carcass, call a pro for a full inspection.
Is cabinet repair worth it compared with replacement?
Repair is worth it when the structural box is sound and the issue is hardware or a surface finish. If damage is widespread, the finish is obsolete, or you want a long-term cosmetic match, replacement or refacing may be the better investment.
What small cabinet problems can I try fixing myself?
You can tighten or re‑set stripped hinge screws with a glued plug, re-glue and clamp small lifted edge banding, lubricate or replace drawer runners, and replace worn hinges. Stop and call a technician if the cabinet shows soft wood or repeated failure.
How do I choose between refacing and replacement?
Refacing works when the cabinet carcass is square and strong and you want a new door face or surface without moving plumbing or appliances. Replacement makes sense when the box is damaged, the layout changes, or you need structural repairs that refacing cannot address.
