


Start with the work, not the label
Decide what you need changed before you decide what to call the job. A contained repair usually has a clear fault and limited result. Examples include patching damaged drywall, replacing a worn fixture, or correcting a small finish problem. A remodeling project changes how part of the home looks, functions, or is arranged. The difference matters because the second type of work usually brings more decisions, more materials, and more coordination.
For a homeowner searching for a handyman aspen hill md, the useful first question is simple: what should be different when the work is finished? Describe the outcome in plain language. You might want a wall repaired and painted, a bathroom fixture upgraded, or a room prepared for new flooring. You might also want a kitchen area made easier to use. A clear result gives the conversation a direction before anyone discusses materials or timing.
Walk through the area and separate the visible problem from anything that may be behind it. A loose trim board is one issue. Water staining, movement, soft material, or repeated patching may point to a wider one. You do not need to diagnose the cause yourself. You do need to mention what you have seen, when you noticed it, and whether it has changed.
Then decide how much of the surrounding work belongs in the same conversation. Painting one damaged wall is different from preparing every wall in a room. Replacing a faucet is different from changing the layout around a sink. These jobs may sit next to each other, but combining them changes the scope and the order of work.
A contained project is easier to describe when you can name its limits. Note which room is involved, which surface or fixture needs attention, and what you want left unchanged. For broader remodeling, describe the finished use of the space before choosing products. A bathroom that needs easier cleaning may call for different decisions than one being updated mainly for appearance.
Use this short preparation list before you request a conversation:
- Name the room and the visible problem.
- Describe the result you want.
- Separate required work from optional improvements.
- Mention earlier repairs, stains, movement, or damage.
- Note anything that must remain in place.
The obvious choice is not always the right one. A quick patch may be sensible when the surrounding material is sound. It is a poor choice when the same area keeps failing or when the patch would only hide a wider condition. A broad remodel may solve several problems together, but it also creates more decisions than a focused repair. Start with the smallest scope that can properly achieve the result, then expand it only when the condition or the intended finish calls for more.
Give the quote enough to mean something
A useful quote starts with useful information. A short description may be enough for your initial conversation. Pricing becomes clearer when the reviewer understands the room, access, surfaces, and finish you expect. The goal is not to produce a contractor’s drawing. The goal is to prevent a small phrase from hiding several different jobs.
Begin with photographs that show context as well as damage. Take a wider view of the room, a closer view of the problem, and views from the path used to reach it. Include corners, transitions, nearby fixtures, and any obstruction that could affect the work. A close photograph can show a crack or damaged finish. A wider photograph can show whether furniture, cabinetry, or another surface changes the approach.
Measurements help, but they need to be identified clearly. Say what each measurement describes. A wall length, ceiling height, opening, cabinet run, floor area, or damaged section may each affect materials and labor in a different way. If a measurement is uncertain, label it as approximate rather than presenting it as exact. Clear uncertainty is more useful than false precision.
Describe access before the visit or discussion. Explain where someone would enter, which room is involved, whether the work area can be cleared, and whether materials must pass through a narrow route. Mention stairs, tight corners, stored items, or furniture that cannot be moved. Access is part of the job, not a minor detail to discover after the work begins.
Your finish choices matter too. Identify your preferred surface or product when you already have one in mind. Do not choose a material simply because it looks good in a photograph. Flooring, paint, wall finishes, fixtures, trim, and hardware all need to suit the room and the work beneath them. If you are open to alternatives, say so. That leaves room to compare appearance, durability, preparation, and installation requirements.
Explain what success looks like. “Repair the wall” leaves questions. “Make the patched area blend with the surrounding finish and leave the room ready for paint” gives a better direction. For a fixture, describe the function you need and the appearance you want. For flooring, explain whether the priority is easy cleaning, a consistent look, or a durable surface in a busy room.
Keep required work separate from possible additions. A quote is easier to understand when the main repair is not mixed together with every improvement you might make later. Ask for the work to be described in plain terms, including preparation, installation, finishing, cleanup, and any item that remains your responsibility.
Photos and measurements do not replace an in-person look when the condition is uncertain. They help establish the conversation. The surface behind a finish, the route to the work area, and the relationship between nearby materials may only become clear at the property. Ask what can be confirmed from the information you provide and what needs to be checked directly.
You can also ask what could change the quoted scope. Hidden damage, extra preparation, unavailable materials, and a finish that needs more work than expected may all affect the plan. A useful conversation does not pretend that every condition is known in advance. It identifies the assumptions and shows where a decision may be needed.
If unsure whether the job needs a handyman or a broader contractor, compare the work involved. Do not rely on the title. A contained repair and a defined improvement may fit one conversation. A project with several trades, major layout changes, or complex approvals may need a different arrangement. Our handyman and contractor comparison can help you frame that question before you request pricing.
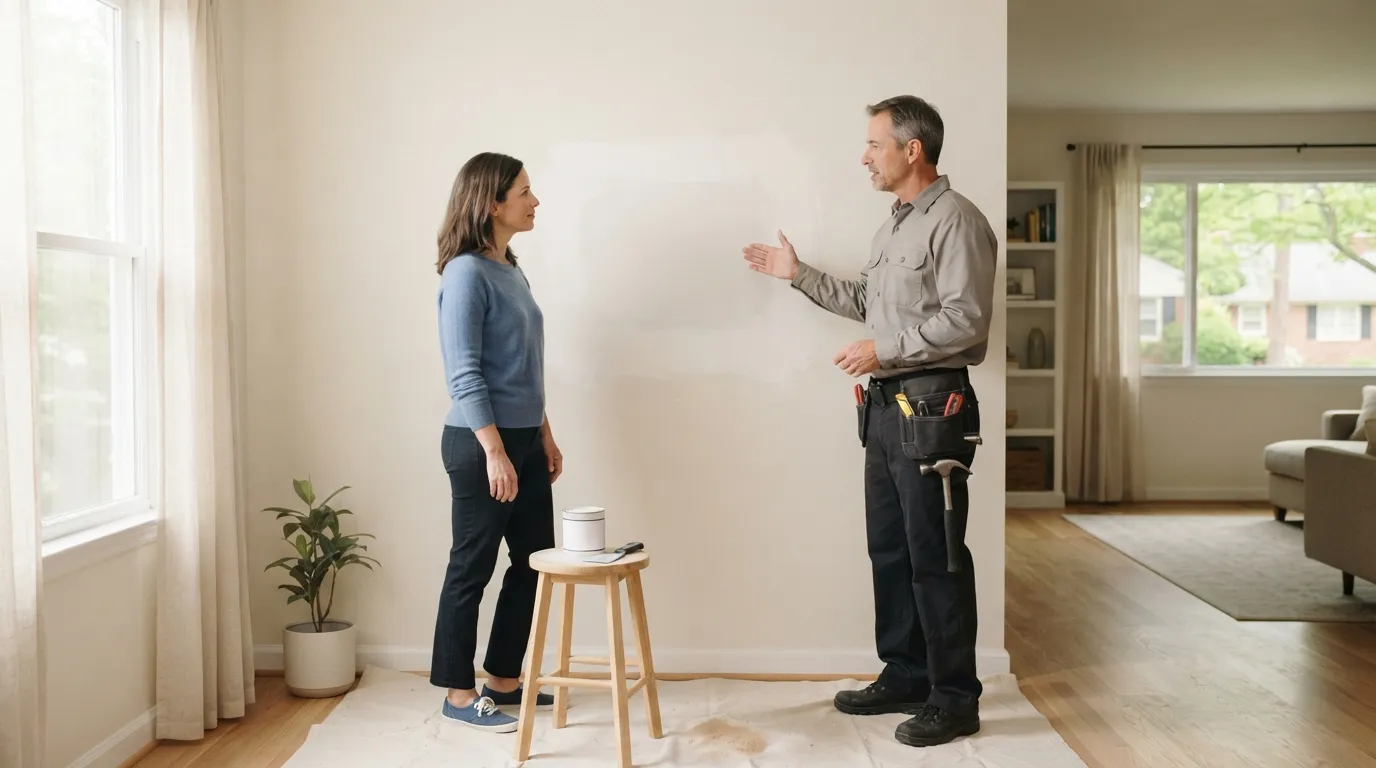
Ask about permits before work is sequenced
Permit questions belong near the beginning of a remodeling conversation, not after materials arrive. The need for approval can depend on the work, the property, and the local rules that apply. A small repair may follow a different path from a change that affects layout, wiring, plumbing, or other building elements.
Ask what part of the proposed work may require a permit or inspection. Do not assume that a project is exempt because the finished change looks small. The visible finish may be only the last part of work that affects something behind the wall, below the floor, or around a fixture.
Next, ask who will handle each permit-related responsibility. That conversation should be specific. Find out who prepares the information and who submits it. Find out who schedules an inspection, if one is needed. Ask what must happen before the next task can begin. Responsibility that remains vague can create a pause at the point where the work is supposed to move forward.
Permits can change the order of work. A wall may need to stay open until an inspection point is complete. A finish may need to wait until an underlying installation is approved or checked. Materials may need to be selected before an application is prepared, while other choices can remain open until later. The important point is to understand which decisions must happen early and which can wait.
For work in Montgomery County, ask how local requirements affect your specific project rather than relying on a general statement about remodeling. The right question is not simply whether permits are involved. Ask what approval applies, what inspection points exist, and what evidence should be kept when the project is complete.
Write down the answers. Keep the project description, product information, approvals, inspection notes, and changes together. If the scope changes after work begins, ask whether the change affects the approval or the sequence. A change that seems unrelated to the original repair may still alter what must be inspected or completed first.
The sequence should be clear before demolition or removal begins. A practical order often starts with protecting the area and exposing only what needs to be checked. Work that affects hidden services or supporting surfaces should be resolved before the new finish covers it. Installation follows preparation, and final touch-ups follow the tasks that can mark or damage the finished surface.
Do not treat an approval question as a reason to abandon a project. Treat it as a planning task. Early questions give you a chance to adjust the scope, choose materials that fit the process, and understand where waiting may occur. They also make it easier to tell whether the proposed work is genuinely contained or part of a broader remodel.
Build the schedule around decisions
A realistic schedule begins before the first tool is used. Preparation, material availability, access, and decisions made in advance all affect how smoothly a project can proceed. The work itself may be straightforward, but an unfinished choice or an unavailable item can stop the next task.
Start by identifying what must be ready before the work begins. The room may need to be cleared, stored items moved, or nearby surfaces protected. A fixture, flooring product, paint color, trim profile, or hardware choice may need to be selected before installation. If a decision affects the next task, make it early rather than waiting until the work is already underway.
Materials need their own check. Ask which items are already available, which must be ordered, and which may have uncertain availability. A product that matches the design in your head may not arrive when the room is ready. A substitute may differ in size, finish, installation method, or preparation requirements. Confirm the choice before assuming that the schedule can rely on it.
Access affects timing in practical ways. Decide how the work area will be entered, where tools and materials can sit, and whether the room will remain usable during the project. Tell everyone involved about pets, children, tenants, restricted rooms, or times when access is not possible. A clear access plan reduces interruptions and helps protect finished surfaces.
Preparation often takes longer than the visible task. Removing loose material, cleaning surfaces, protecting nearby areas, correcting uneven bases, or allowing finishes to dry may be necessary. These steps can separate the old condition from the final result. Do not judge the schedule only by the time needed to install the new item. Ask what has to happen before installation and what must happen afterward.
A good sequence keeps delicate work away from tasks that create dust, moisture, movement, or traffic. Surface preparation should happen before final paint or trim. Work above a finished floor should be planned so the floor is protected. Final adjustments should wait until connected pieces are in place and operating as intended.
Use this order when preparing for a scheduled project:
- Confirm the scope, access plan, and required decisions.
- Check materials, dimensions, and product availability.
- Clear and protect the work area.
- Complete preparation before installation or finishing.
- Review the result and reserve time for touch-ups.
A delay does not always mean the work was poorly planned. Conditions can change after a surface is opened, a measurement is confirmed, or a selected product becomes unavailable. The useful response is to ask what changed, what can continue, and which decision now controls the next task. That keeps a delay from becoming a series of unclear promises.
If the home must remain occupied, plan around the disruption rather than hoping it will be minor. Ask which rooms will be unavailable, which work creates dust or odor, and when access is needed. For a rental or managed property, coordinate entry and resident communication before the scheduled start. Clear communication protects the schedule and the finished work.

Older homes reward careful investigation
Older homes need context before new work is matched to them. A surface that looks simple may contain several layers of previous repair, different materials, or finishes that have changed over time. The visible problem is not always the full story, so preparation deserves attention before a new layer is added.
Look for signs of earlier work. Uneven patches, mismatched textures, old fastener marks, loose trim, changes in paint sheen, and transitions between materials can reveal where the surface has been altered. These clues do not identify the cause by themselves. They tell you where to ask better questions and where a quick finish may fail to blend.
Mention recurring problems. A returning crack or spreading stain deserves more discussion. So does a shifting door or cabinet. A repeatedly loosening fixture does too, compared with a single cosmetic mark. The right response may still be a contained repair, but the repair should account for what has happened before.
Preparation may include removing loose material, cleaning, flattening an uneven area, securing a weak edge, or allowing a surface to dry before finishing. New paint cannot correct movement. New trim cannot solve a soft base. A fresh finish can make an old issue harder to see while leaving the condition unchanged.
Matching older work is also a design decision. A perfectly smooth patch may look out of place beside an established texture. A bright new color may make surrounding surfaces appear darker. New hardware may function well but look disconnected from the room. Decide whether you want a close match, a clean contrast, or an update that makes the difference intentional.
Ask what will be opened, protected, repaired, and finished. Ask what may remain visible. If an existing material is fragile or difficult to match, learn that before choosing the new product. This is especially useful where several surfaces meet. A repair that looks right from one angle may look unfinished at a doorway, corner, or transition.
Older homes do not automatically need a broad remodel. They do need a patient look at the condition beneath the finish. Keep the scope focused when surrounding material is sound. Expand the discussion when repeated failure or hidden damage makes a narrow patch unlikely to last.
Finish with a review, not a quick glance
Closeout is the point where you compare the finished work with the result you originally described. Walk through the area in good light and look from normal standing positions as well as close up. Check the finish, function, transitions, and places where new work meets existing material.
Look for missed touch-ups, visible patch edges, uneven coverage, loose hardware, rough caulk lines, exposed fasteners, damaged adjacent surfaces, and debris left in corners. A small issue is easier to address while the tools and materials are still connected to the job. Do not rely on a quick view from the doorway.
Test the function of the repaired or updated item. Open, close, switch, run, adjust, or move it as intended. Watch for rubbing, looseness, leaks, unusual movement, or a result that does not match the agreed use. Appearance and function both belong in the final review.
Confirm what cleanup includes. Ask whether protective materials, waste, dust, and leftover materials have been removed, and identify anything you are expected to retain. If a remaining task cannot be completed immediately, write down what it is and what must happen next.
Keep the final scope, product information, approvals, inspection records, care instructions, and notes about changes together. These records help you remember what was done and make future repairs easier to plan. They also prevent a later conversation from starting without the details of the earlier work.
When ready to discuss a repair or remodeling project, contact us. Tell us the room, desired result, photographs, measurements, and access details. Include any permit questions. We can use that information to begin a clearer conversation about the work and the next step.
Frequently asked questions
What information should I provide before asking for a handyman estimate?
Provide the room, the visible problem, the result you want, photographs, useful measurements, access details, and your preferred finishes. Separate required work from optional improvements and mention earlier repairs, stains, movement, or recurring damage.
How can I tell whether my project is a repair or a remodeling job?
A repair usually addresses a defined fault with a limited result. Remodeling changes the appearance, function, or arrangement of part of the home and often requires more decisions, materials, and coordination.
Could permits or material choices change the order of the work?
They can affect the sequence you need to plan for. Ask which approvals or inspections apply, and who handles each responsibility. Ask which materials must be selected early. Also ask what work must remain open until a required check is complete.
What can delay a small home project after the work has been scheduled?
Unfinished decisions, unavailable materials, difficult access, extra preparation, and conditions discovered after a surface is opened can all affect the schedule. Ask what changed, what can continue, and which decision controls the next task.
What should I inspect before considering the job finished?
Review the finish in good light, check transitions and touch-ups, test the repaired or updated item, and look for damage or debris nearby. Confirm any remaining tasks and retain product information, approvals, inspection records, and care instructions.
