

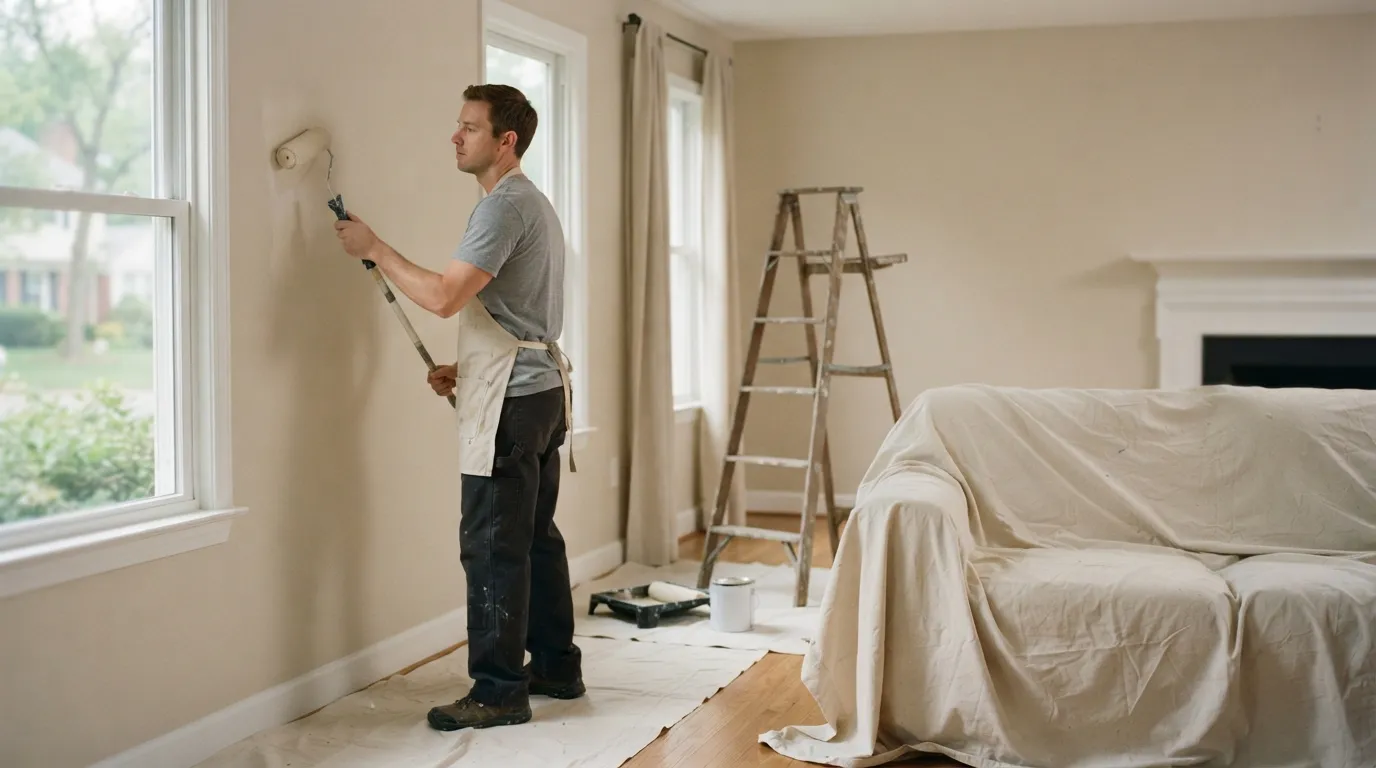
What the job involves
A proper interior painting job replaces or refreshes the painted surface and prepares the room so the new finish lasts. It includes cleaning and repairing surfaces, priming where needed, applying finish coats to walls and trim, and a final cleanup that leaves rooms ready for everyday use. This article covers what the work actually is, what changes the schedule and price, and what you should have ready before you call.
Who this is for and where the advice applies
If you are getting rooms repainted in Bethesda or nearby parts of Montgomery County, this guide is for you. It is written for homeowners getting a single room or a whole home painted, and for landlords and property managers who need reliable turnovers. The same practical points apply whether you are living in an older house with plaster walls or a newer home with drywall.
Expect the focus to be on the work itself: the steps a crew takes, the repairs that slow a job down, how finish choices change durability, and the sort of written quote you should ask for when comparing bids.
What a professional job actually includes
A full interior paint job is more than a roller and a ladder. The core stages most pros carry out are surface inspection and repair, protection of floors and furniture, priming where required, one or more finish coats, trim work for doors and molding, and cleaning. Each stage contains smaller tasks that add time and cost when they are needed.
Surface inspection and repair begins the job. Crews check for loose paint, hairline cracks, holes, water stains, mold or mildew, and areas where the substrate needs sanding or patching. Where repairs are more than minor, the team documents the work so the repair itself can be priced separately from painting.
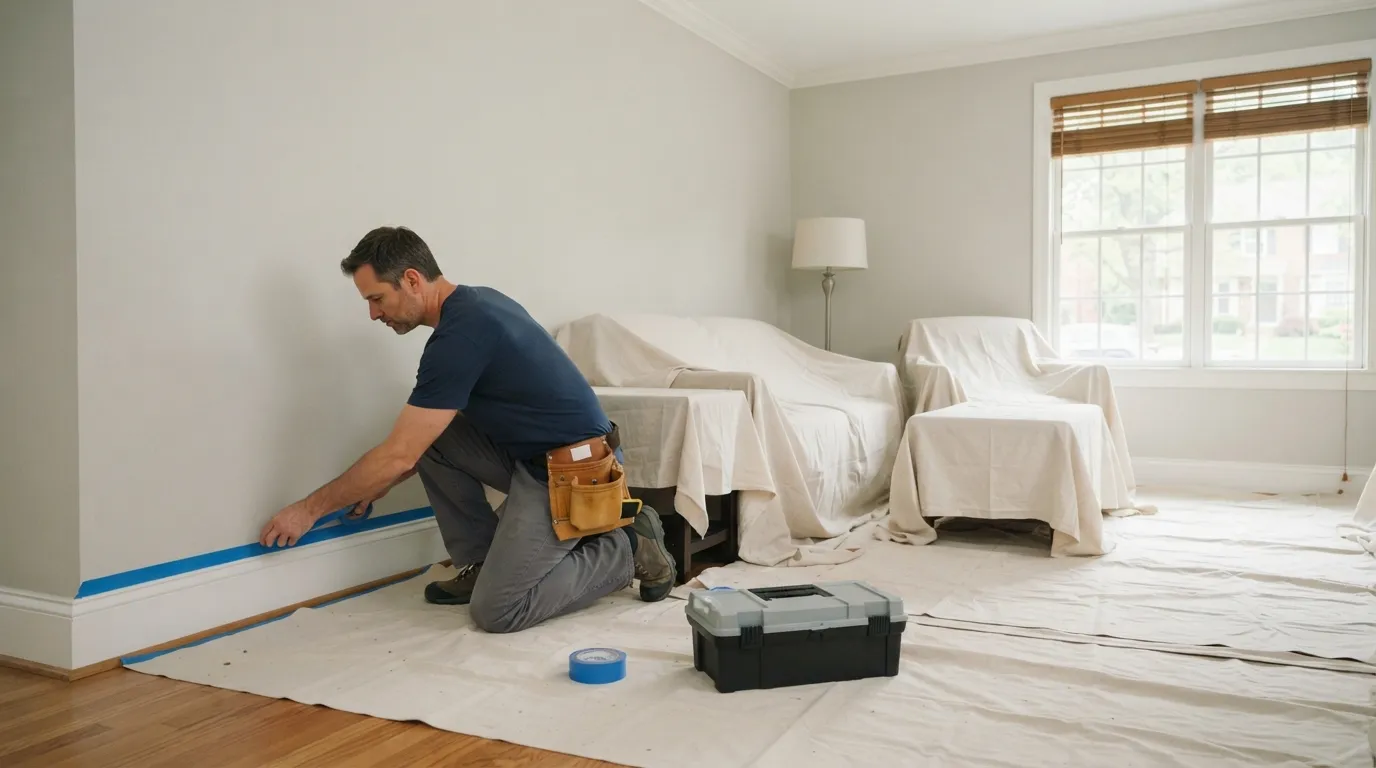
Protection and masking is the part homeowners notice first. Movers of furniture are a separate consideration; a crew will usually cover floors and fixed cabinets, mask trim and windows, and protect lighting where they can. If you want more items moved or delicate pieces wrapped, tell the estimator in advance so the quote reflects that.
Priming is applied where the existing paint will not accept a finish coat, where stains need sealing, or where a drastic color change makes extra adhesion necessary. A skilled crew will point out where primer makes a real difference and where it can be omitted without risking finish quality.
Applying finish coats is straightforward in concept but detailed in execution. Walls get rolled or sprayed and then brushed for edges and corners. Trim is cut in with smaller brushes to give a crisp junction between wall and woodwork. Multiple coat systems and specialty finishes add time.
Cleanup is part of the job. Good crews remove masking, replace outlet covers, carry off rubbish, and leave the space tidy. A final walkthrough with you should confirm that protected surfaces were respected and that the paint coverage meets your expectations.
- Inspection and small repairs
- Protection and masking of floors and fixtures
- Priming where needed
- Finish coats on walls and ceilings
- Cut-in and trim painting
- Final cleanup and walkthrough
How to prepare each room before painters arrive
Clear small items and personal belongings from the work area. Moveable furniture should be taken out when practical. If you prefer not to move large pieces yourself, tell the estimator so they can note whether the crew will reposition and protect them.
First, empty shelves, clear countertops, and remove pictures and wall hangings. Store fragile items away from the work zone. Second, take down curtains and unhook blinds when you can. Leave blinds or hardware that are fixed in place where the crew can mask them.
Third, secure pets and note any household sensitivities to paint odor so the crew can work around them. If someone in the house has severe allergies, ask about low-odor or low-VOC products ahead of time.
Fourth, make access clear. Check that entrances, stairways, elevators and hallways are free of obstacles. If you live in a building with parking or loading restrictions, tell the estimator so scheduling and access can be arranged.
Fifth, arrange a place where tools and materials can be staged, ideally a garage or a hallway that will not be painted. A covered, dry spot keeps tarps and drop cloths from tracking dust through the home.
If you are a landlord or property manager preparing a turnover, address loose items and clear any trash before the crew arrives. A prepared unit speeds the job and reduces the chance of extra charges for clearing or handling personal effects.
How we handle drywall, plaster and tricky repairs
A painting estimate should start with a clear inspection of the surfaces to be painted. Small nail holes and hairline cracks are handled with filler, sanded smooth and painted as part of a standard job. When damage is deeper, such as larger holes, saturated drywall or crumbling plaster, the repair becomes a separate task that affects both price and schedule.
When drywall requires repair the usual steps are cutting back to sound material, installing a patch or new drywall, taping and jointing, sanding, and then priming the repaired area before finish coats. Plaster repairs often need a different approach: stabilizing loose plaster, applying appropriate base coats, and feathering the finish so the patched area blends with the surrounding wall.
Large repairs increase curing and drying time. Joint compound and plaster need to dry before sanding and priming, and that drives the schedule. For this reason a clear estimate separates repair work from painting work so you see what each part costs and why it changes the timeline.
Where water damage or mold is visible, address the source before cosmetic repair. Painting over an unresolved leak or active mold will only hide the problem temporarily and can make the area fail again. The inspector will note if further investigation is needed and flag any work that should be done before paint goes on.
For historic homes with lime or horsehair plaster, expect additional care. A crew familiar with older materials will use compatible repair compounds and techniques to avoid cracking or unsightly joints after painting.
Finally, ask how repairs are documented in the estimate. A good bid lists repair items with a brief description and, where practical, separates them from the paint line items. That way you can compare bids fairly and know whether a low paint price hides repair costs that will be added later.
Choosing paint types and finishes for each room
Pick the finish to match the room’s function and the look you want to keep. Flat or matte finishes hide surface imperfections and work well on mature walls in living rooms and ceilings. Eggshell and satin finishes give more scuff resistance and are common choices for family rooms and dining rooms. Semi-gloss and gloss finishes are easier to clean and are typically used on trim, doors and cabinetry.
In wet rooms such as bathrooms and kitchens choose a finish that balances moisture resistance and appearance. High humidity calls for paint that tolerates washing and resists mildew. In kitchen areas, finishes that are wipeable make grease and cooking splatter easier to remove.
Durability matters where there is heavy use. Hallways, stairwells and children’s rooms benefit from finishes that stand up to cleaning and abrasion. Look for paints formulated for high-traffic areas or those marketed for scrubbability when you expect frequent cleaning.
Low-odor and low-VOC products reduce smells during and after painting. If occupants will be home during the work, discuss these products with your estimator so you understand any tradeoffs in available sheens or colors.
Lighting affects how a color reads. A hue that looks warm under incandescent or warm LED light can read cooler in a north-facing room or under daylight. Test large swatches on the wall in the actual room and view them at different times of day before committing.
If you want help with color selection, a paint retailer or designer can provide sample cards and strips. Many homeowners test two or three tones on the wall and live with them for a week before choosing the final shade.
What should be on a written painting estimate
A clear written quote breaks the job into recognizable parts. It names the spaces to be painted, lists surface preparation and repairs, states whether primer is included and describes the finish coats and sheen. The best estimates call out any exclusions, such as moving heavy furniture, removing wallpaper, or dealing with hazardous materials.
The estimate should also explain assumptions the price is based on. For example, it should say whether the room is expected to be emptied of personal items and whether access will be straightforward. If the quote assumes that you will move a sofa and it turns out the crew must, that will affect the final bill.
Look for separate line items for larger repairs. A good quote separates repair costs from painting costs and notes the conditions that would trigger additional charges. That way you can compare bids and see which ones are low because they omit repairs you will still need.
Scheduling details matter. The estimate should say when the crew expects to start and how long the work in your space will keep occupants affected. It should also note cleanup responsibilities and who disposes of paint waste and used drop cloths.
Ask how color changes are handled. If you decide to change colors after the job starts, the estimator should be able to tell you how this will affect time and cost. Finally, make sure the bid records any special requests you made so the final invoice matches what you agreed.
Typical timeline and common delays
Painting a single room moves through inspection, prep and repair, priming, finish coats, trim work and cleanup. The sequence is the same whether you do one room or several, but the total time scales with the number of rooms and with how many repairs are needed.
Prep and repair take the most unpredictable time. Sanding, patching, and waiting for joint compound or primer to dry are the stages that can lengthen a job. When repairs are involved, allow extra days for drying and reinspection before finish coats go on.
Access limitations also slow work. Tight stairways, elevators, or parking restrictions can add setup time. If you share a building with others, coordinate move times and loading zones so the crew can bring in ladders and materials without delay.
Weather is rarely a factor for interior jobs, but extreme humidity can slow drying. Plan accordingly in seasons when the house is humid and ventilation is limited.
Expect to book around a firm start date and then to receive a short window for arrival. A clear timeline from the estimator, with a note about likely causes of delay, helps you plan cleaning, furniture moves, and use of the space while the job proceeds.
After the job: inspection, touch-ups and care
Walk the rooms with the crew before they finish packing up. Point out any missed spots, drips or areas where coverage looks thin. Small touch-ups are part of the job and should be done while ladders and materials are still on site.
Ask for a small quantity of the paint to be left with you, labeled with the brand, color and sheen. That makes future touch-ups much easier. If you cannot keep paint on site, note the exact product details in your records so you can buy matching paint later.
Avoid heavy scrubbing of newly painted surfaces for a short time after the final coat. Fresh paint needs a brief period to cure before aggressive cleaning. Clean spills promptly with a soft cloth and mild cleaner once the paint has had time to set.
If you notice problems after the crew leaves, document them with photos and a brief note describing when you found them. Report the issue to the estimator or project contact so it can be inspected and addressed. Many defects that appear soon after painting are straightforward to correct with a small follow-up visit.
A final tip is to keep a simple maintenance plan: touch up scuffs annually, clean trim as needed, and investigate any recurring stains or moisture issues before repainting. Routine care keeps the finish looking fresh and extends the time until the next repaint.
Frequently asked questions
How do I know if walls need repair before painting?
Look for loose paint, visible cracks, holes, water stains or areas where the surface flakes. When you see these signs a professional inspection is the right next step because some repairs need drying or patching before paint goes on.
Who should move furniture before painters arrive?
If you can move small items and take down pictures, do so to speed the job. For large furniture and delicate items, tell the estimator whether you expect the crew to move them so the quote reflects the extra work.
Will painters always use primer on my walls?
Not always. A skilled crew will identify where primer is necessary, for instance to seal stains or to help a new color cover an old one, and where it can be omitted without risking the finish.
How long should I wait before cleaning painted walls?
Wait until the paint has had time to set and cure before heavy scrubbing. Light cleaning of accidental spills can usually be done sooner, but aggressive cleaning is best delayed until the finish has fully dried.
What should a written estimate include so I can compare bids?
A clear estimate names the rooms, lists surface prep and repairs, notes whether primer is included, describes the finish and sheen, and explains assumptions such as who moves furniture or what access is provided.
