

How local light and house styles change how a color looks
If you are choosing interior wall colors for a Silver Spring home, the single most useful thing to check first is how daylight hits your room. North‑facing rooms take light that is cooler and softer, while south‑facing rooms get stronger warm daylight at different times of day. That shift in daylight changes whether a gray reads as silvery and bright or as flat and muddy, and it explains why the same sample that looked perfect in a showroom can look wrong on your wall.
Local house styles also matter. Older homes with high ceilings and deep window recesses hold shadows differently to newer, boxier townhouses. In rooms with original trim or plaster, a warm off‑white can sit comfortably against older finishes, while a crisp white may feel stark. In smaller flats or rental units with lower ceilings, darker mid‑tones feel heavier and make the room look smaller; lighter neutrals open them up.
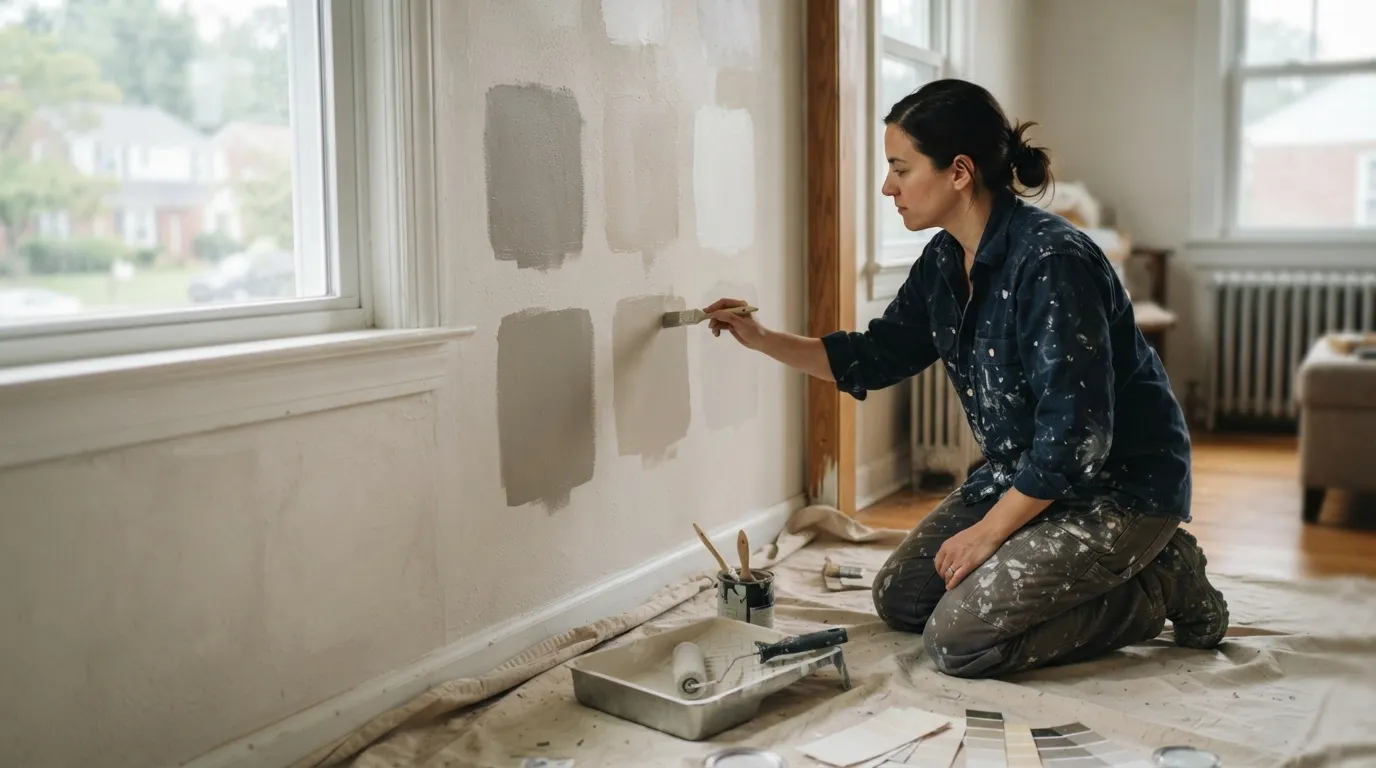
Trends and seasonal palettes are a starting point, not a rule. Sage and soft greens have been popular searches and often work well on interior walls here because they pick up the local tree canopy and read as quiet, natural tones. Pale blues and softened grays can bring a cool calm to a bedroom that faces east. But do not pick from a swatch without testing: paint swatches shrink the way a color reads once it covers a full wall.
How you use color is as important as which color you pick. You can make a small living room feel taller with a lighter ceiling and a slightly darker wall, or you can use the same paint on trim and walls to simplify and hide uneven plaster. In rental units, choose colors that hide wear and provide a neutral backdrop for different tenants’ furniture.
Before you commit, test large patches on the wall, and watch them across a full day. If you find you like a tone most mornings but not in late afternoon, you may be choosing for a moment rather than the room’s full life.
Room‑by‑room palettes that actually work here
Living room: Choose a mid to warm neutral that can take living‑room light and family use. In rooms that face the street and have direct sun in the afternoon, a neutral with a touch of warmth keeps sofas and wood floors looking balanced. For a more modern feel, a low‑contrast scheme that keeps trim a shade lighter than the walls reduces visual clutter and makes furnishings the star.
Kitchen: Kitchens benefit from colors that feel clean against cabinetry and counters. If your kitchen gets bright southern light, go for colors that resist looking washed out, soft, slightly warm colors keep surfaces from glaring. If the kitchen is compact or has little natural light, paler, fresher tones will help it feel larger and cleaner. Consider a muted green or blue for an island or an accent wall; those tones reflect the greenery that shows through windows in spring and summer and pair well with stainless steel and warm wood.
Bedroom: Bedrooms are about calm and recovery. For east‑facing bedrooms, cooler tones can feel refreshing in the morning; for west‑facing rooms, a warmer neutral reads more soothing at sunset. Bedrooms with ornate trim suit a warm off‑white that ties the details together, while minimal modern bedrooms can carry a deeper, more saturated color on a single wall without feeling heavy.
Hallways and stairwells: These are transitional spaces where you want continuity. Use the same neutral throughout to create flow, or pick a single muted accent that repeats on small elements like doors or a half‑landing wall. Because light in corridors is often artificial or limited, choose colors that don’t need bright natural light to look right.
Rental units and landlord priorities: Pick durable, easy‑to‑touch‑up neutrals that mask scuffs. Mid‑tone grays with warm undertones or taupes work well because they suit varied furniture and avoid the obviousness of pure white. Test repair patches so touch‑ups blend seamlessly.
Why these palettes suit Silver Spring: the local tree cover, mixed housing ages, and the way rooms face the street shape how color behaves here. Choose colors with sample patches and watch them at different times; that testing beats following trend lists alone.
What a professional interior paint job includes
A professional paint job is not simply rolling a new color over the old finish. Expect a sequence that starts with inspection and ends with careful cleanup.
First, a survey of the room identifies existing problems. Look for hairline cracks, loose plaster, flaking paint, or damp staining. A pro will note where drywall needs to be patched and where trim requires sanding or caulking. If you are looking for a quote, have photos of the trouble spots ready; they speed the initial assessment.
Prep is where time is spent. That includes moving or protecting furniture and floors, removing switch plates, taping off hardware, and masking windows and fixed elements. Loose paint and chalking are brushed or sanded back, and joints and gaps are sealed with caulk designed for trim and window frames. Where there are holes or larger damage, drywall or plaster repairs are performed and sanded smooth.
Prime where needed. Bare plaster, raw drywall, patched areas, or surfaces with staining get a primer coat to ensure uniform absorption and color hold. Priming also prevents tannin bleed from wood and helps adhesion where the finish coat would otherwise sink unevenly.
Finish coats follow. A pro will lay down even, full‑coverage coats and check for uniform sheen and edge work. Two finish coats are common for a true color change or for deeper colors, and lighter touch coats are used on trim to avoid paint overlap. Cutting in at ceilings, corners, and around trim is done carefully to leave clean lines without brush marks.
Trim and details come next. After walls are finished, trim receives its paint or touch‑up. Hardware gets reattached, vents are cleaned, and switch plates are reinstalled. Final inspection should be a walk‑through with you to point out touch‑ups and confirm satisfaction.
Cleanup and disposal finish the job. Drop cloths are removed, floors are vacuumed, and any paint waste is disposed of per local rules. A professional leaves the room ready to use, with brushes and rollers cleaned and surplus paint labeled for future touch‑ups.
- What a pro should carry on the job:
- Sanding pads, putty and drywall compound, and caulk
- Quality brushes and rollers in several widths
- Primer and two finish paints, and paint trays/liners
- Drop cloths, masking tape, and a small ladder
Knowing these steps helps you read a quote and see whether a price covers real preparation or just a single repaint.

How estimates are made and what drives the cost
A clear estimate is a map of what the job will contain, not a single sum. Estimates are built from a few predictable variables that you can check before you call.
Room size and surface area are the obvious drivers: larger walls and higher ceilings need more paint and more time. But access matters too, rooms with tight corners, lots of built‑in shelving, or high ceilings require extra cutting in, scaffold, or time on a ladder. The condition of walls is another big factor. Smooth, well‑maintained drywall needs only light prep and paint. Walls with multiple holes, peeling paint, or water stains need patching, sanding, and priming before a finish coat goes on.
The finish and color choice change labor. High‑sheen paints show flaws and demand flatter base coats and finer sanding; very deep or saturated colors often need an additional coat or a color‑blocking primer to reach even coverage. Trim work, window frames, and doors add detail time because they are cut‑in by hand and require more masking.
Special requests that add cost include moving furniture out of the room, removing wallpaper, or stripping multiple existing coatings down to bare plaster. In rental units, where fast turnover is needed, quick turnaround can add to the crew schedule and influence the price.
What you should have ready when you ask for quotes:
- Clear photos of each room from several angles, showing walls and trim
- Notes on problem spots like holes, stains, or damp areas
- The finish you prefer (matte, eggshell, satin, semi‑gloss) and whether you plan to change color family
- Whether you want trim and doors painted or left as is
- Preferred timing or any constraints for access to the property
When you receive estimates, ask for the same scope on each one so you can compare like with like. A vague “per room” price hides a lot; a clear estimate breaks down the work into preparation, priming, and finish coats, and it lists known allowances for repairs. That way you can see if one quote corners the prep and another price includes it.
How to find, compare, and vet painters near you
Start local and read reviews with context. Look for recent reviews that discuss how the crew handled prep, how closely they stuck to the quote, and whether they left the house tidy. Reviews that only praise speed or low price are less useful than ones that describe problem solving, punctuality, and lasting results.
Check credentials and what matters for the job. For electrical changes, plumbing, or structural repairs you should verify the right trade licenses where applicable, but for ordinary interior painting the key checks are proof of recent, local work and clear written terms. Ask whether the painter has experience with older plaster if your house has original walls, and whether they have photos of finished jobs similar to yours.
Good questions to ask at the estimate stage:
- Can you show photos of recent jobs like mine?
- What does your quote include for prep and patching?
- How many finish coats do you plan to apply?
- How do you handle dust and cleanup?
Red flags in estimates and contracts include a lack of detail about prep, no written allowance for obvious repairs, or a demand for large payment up front without milestones. Also be cautious where a quote is significantly cheaper than others without a clear explanation, low price can mean hidden shortcuts on prep or thin coverage with fewer coats.
If you are comparing several local painters, ask each to use the same list of rooms and the same final finish so you receive comparable estimates. Keep any communication in writing and insist on a scope that lists prep, priming, and the number of finish coats.
You may also want short local resources: a page that explains what handyman repair services include helps clarify which small fixes a painting crew will expect to find completed, and a guide to questions to ask an independent handyman helps you frame your estimate conversation.
Checklist for booking and preparing your home
Before the crew arrives, move small items off walls and set aside fragile objects. Clear pathways from entry points to the rooms to make carrying ladders and materials easier. If you cannot move large furniture, make a note so the crew can include handling in the quote.
Protect floors and valuables: remove rugs where possible and stack small items in cupboards. Secure pets in a separate room for the day, and let the crew know where keys or access codes will be.
Day‑of checklist for smooth work:
- Open curtains and blinds so painters can see the true color as they work
- Point out areas that need special attention or that you want matched exactly
- Confirm the expected finishing time and the plan for touch‑ups
- Ask where leftover paint will be stored and how you will receive labeled cans for future touch‑ups
After the work, inspect walls in daylight and at night under room lights to ensure you are happy with both color and coverage. Keep a small labeled leftover can for each room; it makes later touch‑ups straightforward.
If you would like help turning a color idea into a full plan, or want a professional quote based on a walk‑through, our site has resources about what the prep work includes and the questions to ask before you hire.
Frequently asked questions
How much does it usually cost to paint interior walls in Silver Spring?
Costs vary with the size of the room, how much repair and prep the walls need, the number of coats required, and whether trim and doors are included. Ask for an itemised estimate that separates prep, priming, and finish coats so you can compare quotes.
How do I find painters near me with reliable reviews?
Search locally and read recent reviews that describe the prep, stickiness to the quote, and how clean the crew left the home. Ask each prospective painter for photos of similar jobs and for a written scope so you can compare like with like.
What should I have ready before a painter visits to give a quote?
Take photos of each room from several angles, note holes, stains or damp spots, decide which trim and doors you want painted, and choose the finish you prefer. Having that information speeds the survey and leads to a more accurate quote.
Which paint colors actually work in Silver Spring homes?
Colors that respond well to local daylight and the age of your house are the best choice, not the ones from a trend list alone. Test large patches on your walls and observe them across the day, and choose palettes that complement your floors, trim and the direction your windows face.
Can I hire a handyman to do small painting jobs in a rental unit?
Yes, small jobs like spot repairs, single rooms, or quick tenant turnovers are commonly handled by local handymen. Confirm the quote lists prep and patching as separate items so you know whether touch‑ups or full repaints are included.
