

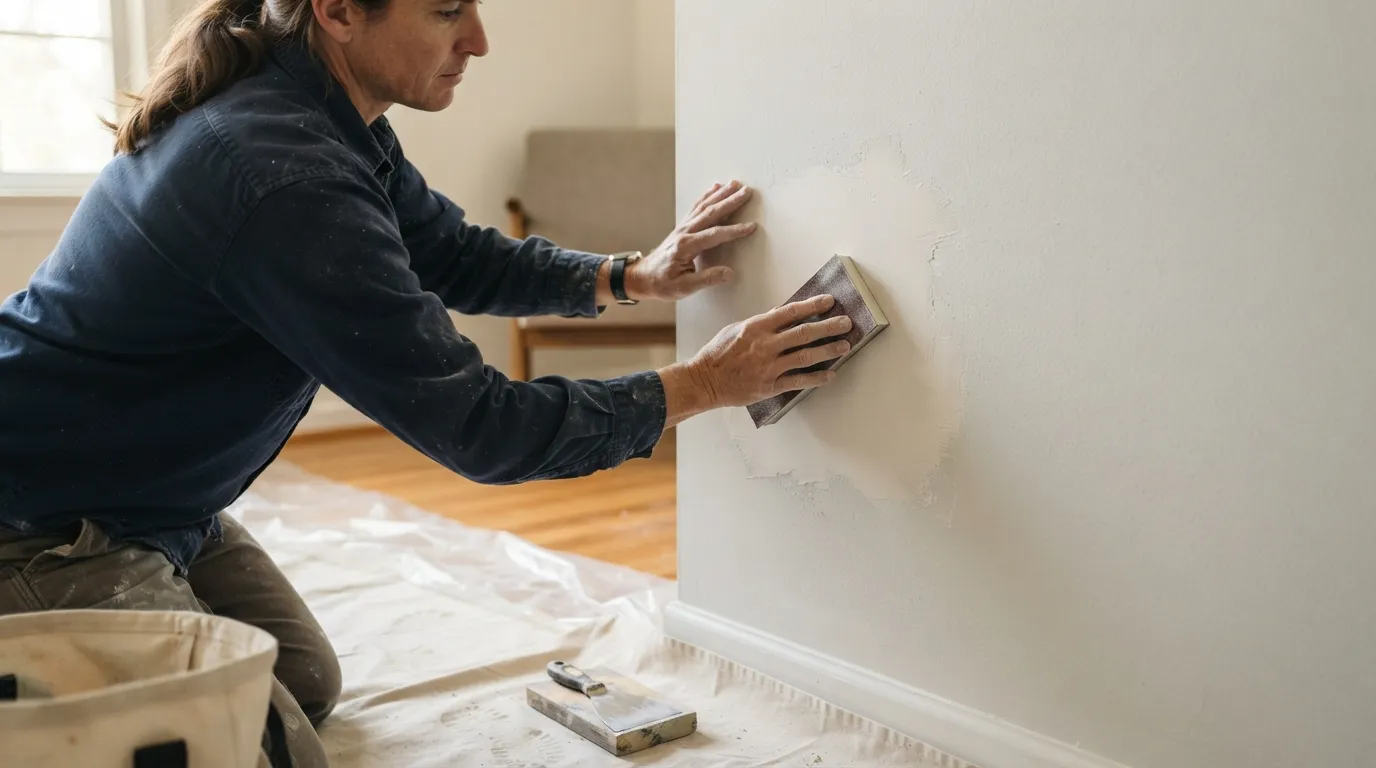
For drywall repair Bethesda, decide by whether the board is still sound: small holes and surface cracks can be patched, but if the sheet is soaked, crumbling, or the joint tape has failed you will need replacement. That distinction is the single thing that shapes the work, how long it takes, and what to ask about on the estimate. Read on to learn the signs, the day-of steps you will see, what slows work down, what an honest estimate will list, and how to get the room ready before we arrive.
When a patch will do, and when to replace
A quick rule helps you choose whether to call now or wait. If the drywall is intact except for a small hole, surface crack, or a dent that doesn’t go through the sheet, a patch is what you want (see our drywall repair page). A patch is the least invasive option and keeps the existing sheet in place. If the paper face is torn across a seam, the gypsum inside is soft or powdery when pressed, or a stain is accompanied by blistered drywall and a soft, sagging panel, replacement is the safer option.
Look for these specific signs before you call. Nail pops and hairline cracks along trim or at corners are usually surface issues. Isolated holes left by doorknobs, kids, or hanging brackets are often patched without replacing a whole panel. Water that has soaked the board, a clearly sagging ceiling, or widespread tape and joint failure means the sheet has lost structural integrity and the joint beneath must be rebuilt.
Also inspect for repeat failures. If the same crack reappears after a previous repair, ask whether the cause is movement in the framing or settling, not just poor finishing. Patching over an underlying problem wastes time and money. If you are unsure whether the backing is affected, a simple probe with a screwdriver at an edge will show whether the gypsum is firm or crumbly.
When you call, describe what you see: size and number of holes, whether you see soft board or flaking paper, and whether the area is wet or dry now. That helps whoever comes decide whether to bring a piece of drywall to replace a full section, or enough joint compound and tape for a patch.
Common problems in older Montgomery County homes
Older homes in the county show a familiar set of drywall symptoms, and knowing which you have narrows the right approach. One common issue is nail pops. These appear as small bumps over studs where fasteners have worked loose or where seasonal movement in the framing has shifted them. Nail pops are usually repaired by countersinking the fastener, refilling, and refinishing the surface.
Settling and shrinkage lead to thin cracks at corners and where different materials meet. These are often hairline at first and grow over time as framing shifts. Hairline cracks along door jambs and over windows often point to movement rather than a failing drywall panel.
Water stains and soft patches are a different problem. A stain alone does not always mean replacement, but when the paper breaks, the gypsum flakes, or the ceiling bows, the damaged board must be cut out. With water-related repairs you also need to check the source of the moisture before finishing the wall so you do not repeat the same repair.
Holes of varying sizes demand different fixes. Small punctures and screw holes are filled and skimmed; larger holes around electrical boxes or caused by impact need a backing and a patch piece that is taped and finished. Texture failure is another frequent complaint in older finishes. Matching popcorn, knockdown, or orange-peel texture can be the trickiest part of making a repair disappear, because the texture on the rest of the wall will often have aged and changed color.
Finally, paint failure often follows a repair. New joint compound accepts primer and paint differently than existing finishes. Expect to prime patched areas so the sheen and color match after paint. Telling the crew what finish and sheen the wall currently has saves trial and error when the final coat goes on.
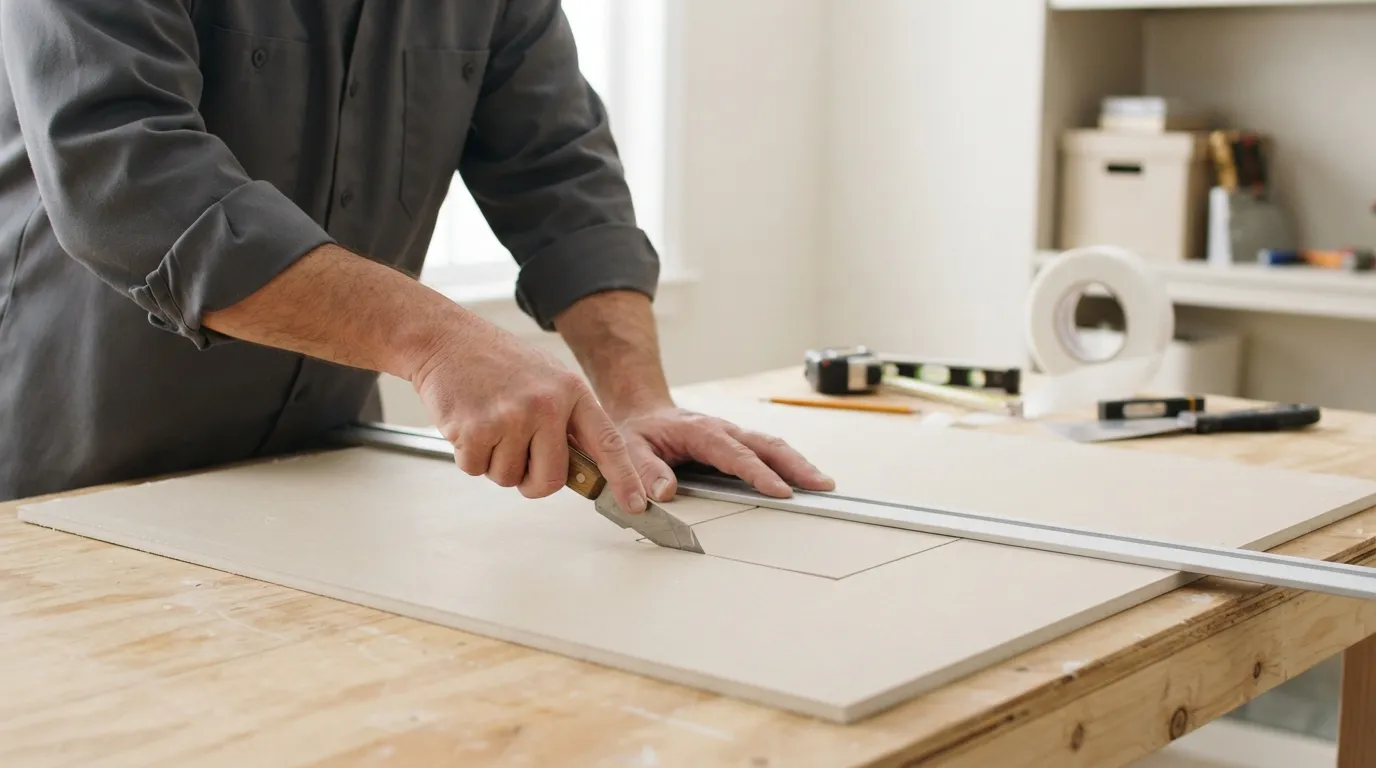
What a pro does on the day
A professional visit follows a clear sequence so the work is efficient and the result holds up. The visit starts with a structured assessment. We check the visible damage, probe the area for soft gypsum, test the surrounding framing where needed, and look above and below for related signs such as water staining or paint failure. That quick assessment decides whether the job is a simple surface patch, a partial replace, or a full panel swap.
One practical difference you will see is how we cut and prepare the opening. For a small patch a pro will square the hole cleanly so the replacement piece fits tightly and sits on solid backing. For a larger failure the technician will cut back to the nearest stud or to the next full stud bay so the new panel can be secured properly. Leaving an odd outline or thin strips of drywall makes the joint weaker and makes the final finish crack sooner.
The next step is backing and attachment. If there is no solid support behind a patch, a pro installs a short backing strip or uses a dovetail or patch clip so the new piece has something to screw into. When a full panel is required, it is hung and fastened on studs just like original installation so seams are predictable and strong.
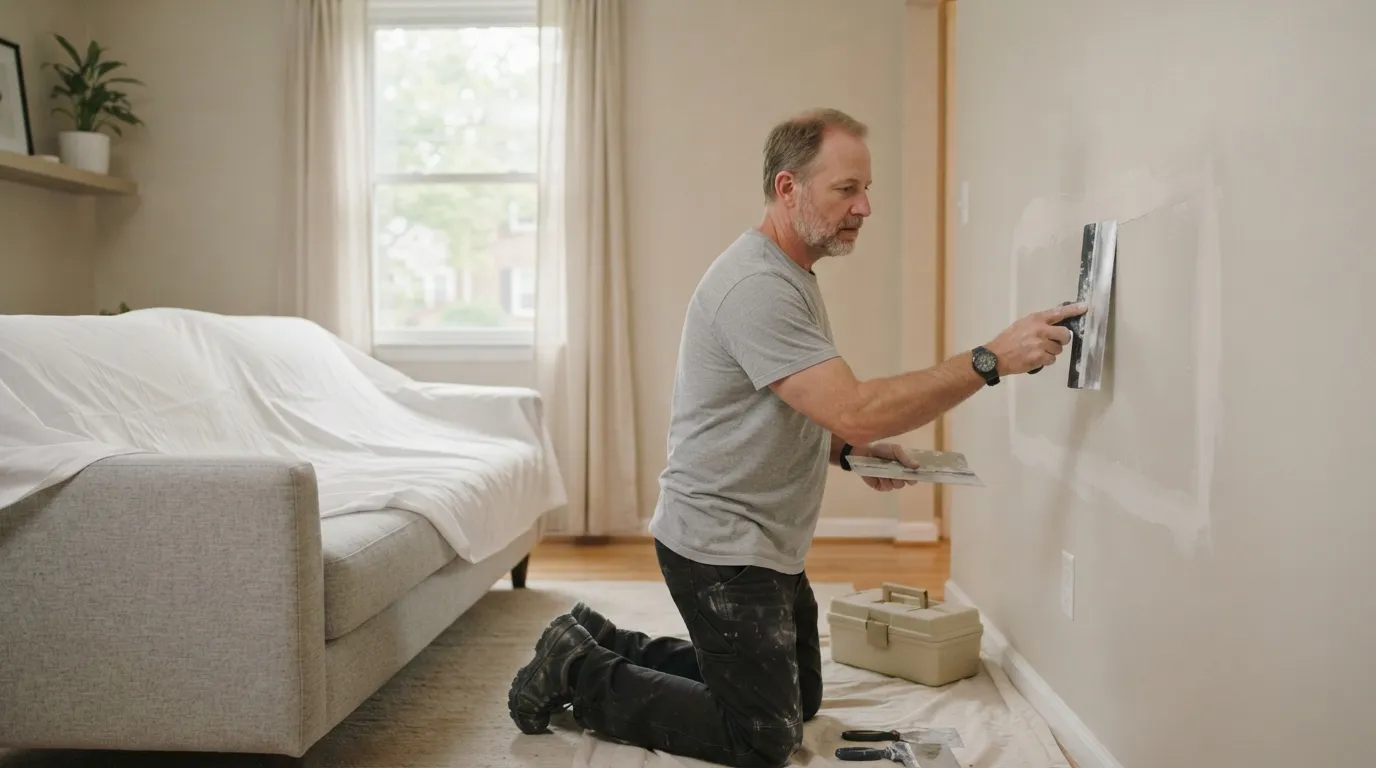
Taping and the first coat of compound come next. We embed joint tape over seams or around the patch and apply the first layer of joint compound to bed the tape and feather the edges. Pushing the compound out beyond the seam is deliberate; it creates a gentle slope that hides the edge after sanding. For corners, we use corner bead or tape systems to create a crisp, durable corner.
After the first coat dries, the second and often third coats follow. Each coat is wider than the last to further feather the transition into the existing wall. Between coats the area is left to dry fully, and each dried coat is sanded smooth to the required finish level. If you have a textured ceiling or wall, we match the texture after the final skim coat but before priming so the texture and primer bond consistently.
Sanding is done with care. A pro uses sanding methods that balance speed and dust control; they may use a sanding block, pole sander, or a vacuum-assisted sander to reduce airborne dust. Protective coverings are placed over floors and furniture, and openings to other rooms may be masked to limit dust migration. After sanding, the area is wiped, vacuumed, and primed where needed so the paint will cover evenly.
Final paint touch-up closes the job. The patched area is primed first because new compound absorbs paint differently. Then the finish coat is applied, matching sheen and color as closely as possible. If the existing paint has faded or the wall has a specific finish, more paint or blending beyond the immediate patch may be necessary to make the repair invisible.
Throughout the visit a pro will explain what they are doing and why, and what to expect next. If the repair uncovers additional issues, such as rot or active leaks, they will stop and explain the options rather than proceed with a cosmetic fix that won’t last.
What stretches a repair out
Several common variables change how long a drywall repair takes. The first is simply the size and location of the damage. A small puncture on an interior wall that sits on a stud is a much faster repair than a collapsed ceiling panel that must be supported from above. Accessibility matters too; a tight attic, a finished basement, or a ceiling over cabinets all add time because of the awkward angles and the need to protect surrounding surfaces.
Texture matching is another time sink. Smooth walls are straightforward, but matching aged textures in older homes can require trial patches and different application techniques until the surface and pattern match. When a texture match takes extra attempts, the overall timeline lengthens because you cannot prime and paint until the texture is right.
Drying and cure time are often the invisible constraint. Each coat of compound needs to dry fully before sanding and adding the next coat. Humidity and temperature affect drying: a damp or cold room slows cure time, while a warm, dry room speeds it. That means a repair that otherwise looks like a single visit may require return visits spread over days for drying and recoating.
If paint blending beyond the repaired area is needed, that adds steps. You may prefer a small local touch-up, but sometimes the only way to make the new paint match the existing color and sheen is to repaint the whole wall or to feather further into adjacent surfaces. Factor that into the timing conversation at the estimate stage.
Hidden damage discovered during cutting is another common cause of delay. Finding rot, mold, or compromised framing beneath a damaged panel changes the scope. In those cases the cosmetic repair cannot proceed until the underlying problem is addressed, and that may mean coordinating with a plumber, roofer, or another trade to fix the source of moisture before the drywall is replaced.
Finally, site preparation affects speed. If the area is cluttered, if pets must be secured, or if access is limited, setup time increases. Clearing furniture and creating a clear path for materials and waste disposal keeps the visit efficient and reduces the chance of delays.
When you talk to a pro, ask what the likely staging looks like: how many visits, whether texture matching might need a trial, and whether the finish paint might require blending beyond the patched area. That gives you realistic expectations for when the room will be back to normal.
How to read a drywall repair estimate
A clear estimate lays out the parts of the job so you can compare quotes without confusion. The starting point on every estimate is the description of the scope: what will be replaced or patched, where it is, and whether the work includes texture matching and paint. A good description names the room, the surface (wall or ceiling), and whether a full panel, partial panel, or surface patch is planned.
Look next for a breakdown of the work phases. An estimate that separates assessment, cutting and disposal, taping and compound work, sanding, priming, and paint makes it easier to see what you are paying for. If a quote bundles everything into a single line item it is harder to spot add-ons later, such as extra coats for texture match or additional travel time for tight access.
Materials should be identified. Joint compound, tape, corner bead, a backing strip or replacement panel, and primer are the usual items. If a repair requires specialty texture materials or matching compounds, those should be listed so you know why the material line looks different from a simple patch.
Ask how drying time and return visits are handled. Some quotes include return visits for additional coats; others charge per visit. Clarify whether the estimate assumes all work will be completed in one day or will be staged to allow for drying. That avoids surprises if the crew needs to schedule follow-up visits to finish sanding and paint.
Waste disposal and site protection are part of many estimates. Look for mention of floor coverings, dust control measures, and how the contractor will remove debris. If that is not listed, ask whether disposal is included or billed separately, and whether protective coverings are part of the stated price.
If texture matching and paint are part of the job, seek detail on how much paint is included and whether blending beyond the immediate repair is planned. A patch that requires repainting the entire wall to blend is a different scope from a simple spot coat; the estimate should state which you will get.
Finally, ask about follow-up and visible defects. While the estimate does not need to promise a specific warranty phrase, it should explain how defects discovered after the job will be handled: who to call and how the contractor schedules follow-up visits. That helps you know how easy it will be to get touch-ups if something fails or needs adjustment after drying and settling.
How to prepare the room before we arrive
Preparing the space makes the visit faster and keeps your belongings cleaner. Start by clearing a workable area around the damage: move small furniture, electronics, plants, and breakables away from the wall or ceiling that will be worked on. Remove wall hangings, mirrors, and framed photos so the crew can work unimpeded and so nothing gets bumped while ladders are in use.
Secure pets and plan for access. If pets are nervous around strangers or around dust, shut them in another room ahead of time, and make sure we can reach the work area without climbing over boxes. If your home has narrow hallways or tight staircases, clear a path for the technicians and for the replacement panel and tools.
Cover large furniture and floors if the crew does not bring coverings. A drop cloth under the work area and moving a sofa away from the wall save time. For ceiling repairs over furniture or cabinets, take small items down and place them in another room so falling debris does not damage them.
Make decisions that help the crew proceed. Tell us whether you want the patched area primed and painted, and whether you prefer we match texture and sheen. If you plan to repaint the entire room yourself later, say so; that affects how much blending the crew should attempt during the visit.
Gather any relevant information. If the damage followed a leak, have notes about when the leak was last active, whether it has been fixed, and whether the area has been dried. That tells the pro whether moisture mitigation is needed before finishing.
Finally, make plans for access during drying. Some repairs need to be left alone until each coat dries, so arranging to be out of the room for a few hours after we start keeps the work from being disturbed. Clear communication about keys, gate codes, or building entry means the crew can begin promptly when they arrive.
When you are ready, call or message to schedule a visit and describe what you prepared so the crew knows what to expect.
If you want us to take a look, call to schedule an assessment and tell us what you have found on your wall so we can bring the right materials and talk through your options.
Frequently asked questions
How do I know if I need a patch or a full drywall replacement?
Decide by checking whether the gypsum is still firm and the paper face is intact. Small punctures, nail pops, and hairline cracks are usually patched, while soaked, sagging, or crumbling panels need replacement and a rebuilt seam.
How long does a typical drywall repair take from start to finish?
The time depends on the size of the repair, access, and how many coats are needed to match the surface and texture. Allow for the assessment, cutting or patching, multiple compound coats with drying between them, sanding, priming, and final paint touch-up.
Will the repair be visible after you are done?
Visibility depends on the size of the repair and the texture and age of the existing finish. Smooth walls are easier to blend; older textured surfaces may require trial patches and paint blending beyond the immediate area to make the repair fade into the wall.
Do I need a permit for a drywall repair?
Small repairs and single-panel replacements rarely trigger permits, but work that is part of a larger remodel or that involves structural changes may. Check with your local permitting office if the repair is part of a bigger project.
How should I prepare the room before the crew arrives?
Move small furniture and fragile items away from the work area, secure pets, and clear a path for tools and materials. If the repair is in a high place or over cabinets, remove small items from those surfaces so they do not get dusty or bumped.
