


Which installs a handyman handles — and which they don’t
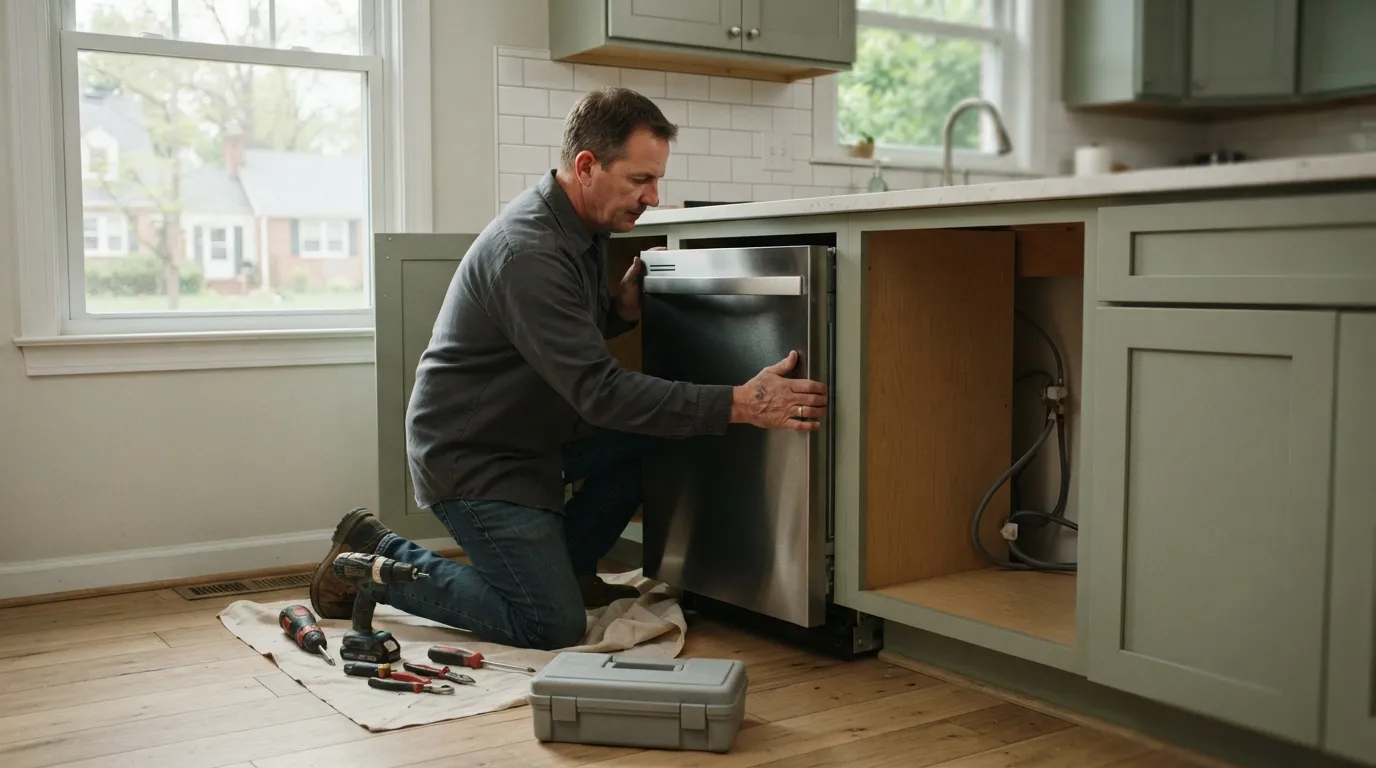
Handyman appliance installation covers many common jobs around the kitchen and laundry room. It is not the same thing as full mechanical or utility work. A handyman will usually handle the physical siting and connection tasks that do not change your home’s fixed utilities. That includes setting and leveling a new refrigerator and fitting a freestanding dryer into a laundry alcove for you. It includes mounting an over‑the‑range microwave on an existing cabinet and installing a dishwasher into an existing cavity for you. It also includes hooking up a replacement garbage disposal where the plumbing and wiring are already appropriate.
There are clear limits where a licensed trade is commonly involved. Work that changes or extends gas piping generally needs a licensed gas fitter or plumber. The same applies to installing a new gas appliance that requires a new line or to altering permanent gas connections. Major electrical changes, such as adding a dedicated high‑capacity circuit or moving a range outlet, are jobs for an electrician. Modifying the electrical panel is also work for an electrician. If the installation requires cutting into load‑bearing cabinets, you may need a carpenter or contractor who handles structural changes. You may also need one to build new ventilated openings through external walls.
A helpful way to think about it is this. If the job leaves your fixed systems — gas or main electrical — unchanged, a handyman can usually complete the installation tasks you need. The same applies when structural openings remain unchanged. If it alters those systems, plan to bring in the relevant licensed trade. Or confirm that the installer will arrange that part of the work.
This does not cover large trades outside a handyman’s scope such as full HVAC work or new roofing. It also excludes major window manufacturing and replacement, foundation repair, or pest control. Avoid asking for those services in an appliance install visit; they are different projects with different permit and insurance needs.
How to prepare before the installer arrives
Good preparation saves you time and reduces the chance of surprises on site. Start by taking clear measurements of the space the appliance will occupy and the clearances the manufacturer specifies. Measure width, height, and depth at the finished floor level. Note obstructions such as inside cabinet trim, a raised sill, or baseboard heating that reduce usable depth. If you cannot be sure which model classifies as built‑in or freestanding for your space, gather photos of the opening and the surrounding cabinetry. Keep those photos with the measurements.
Next, check the utilities and access the installer will use. Identify the circuit label on your breaker panel for the appliance and be ready to switch the breaker off for safety before any disconnect. Know where you shut off the water supply to the sink or laundry box. Clear the path from the vehicle to the installation point. This lets technicians maneuver the unit without squeezing past furniture.
Remove stored items from the immediate work area and from adjacent cabinets so people can open doors and drawers. If the old appliance must be removed first, decide whether you want it taken away with the delivery. If you prefer separate disposal, have a place to set it out of the way.
Make sure parking and access are arranged. Let the installer know about any stairs, narrow halls, or elevator restrictions. If you have pets, secure them away from the work area.
A short checklist you can run through before the visit:
- Confirm the appliance model and keep the manufacturer measurement sheet to hand.
- Clear the space and remove small items from counters and cupboards nearby.
- Label the circuit or locate the breaker you will need to switch off.
- Make sure water shutoffs are accessible for washers, dishwashers and disposals.
- Note access restrictions such as stairs, tight turns, or limited parking.
What a proper installation looks like and the checks we run
A good install follows a clear sequence so nothing is missed and you know the outcome. The installer begins by verifying the model and measurements at the doorway and at the final location. That confirms the unit you received is the one you expect. It also confirms the unit will fit through the route without damage. Next comes removal of the old appliance if needed, with attention to safe disconnects of water, drain lines and electrical feeds.
When the new appliance is set into place the first priority is physical alignment. Leveling is not cosmetic: a dishwasher or washing machine that sits out of level will vibrate, fail to drain correctly, or close its doors improperly. The installer sets legs or shims, checks door gaps, and ensures that a slide‑in range sits flush and square with surrounding counters where required.
For water‑using appliances, a leak test is standard. The installer connects supply lines and runs a short pressure or flow test while watching the connections and the appliance inlet for drips. For dishwashers and washing machines this often includes a test cycle run to confirm there are no leaks under load and that drains clear.
You should confirm that the plug and receptacle match and that the outlet is on the intended circuit. Also confirm any code‑required ground‑fault protection is present and functioning. If a hardwired connection is used, the installer confirms the wiring is correct and secure before applying power.
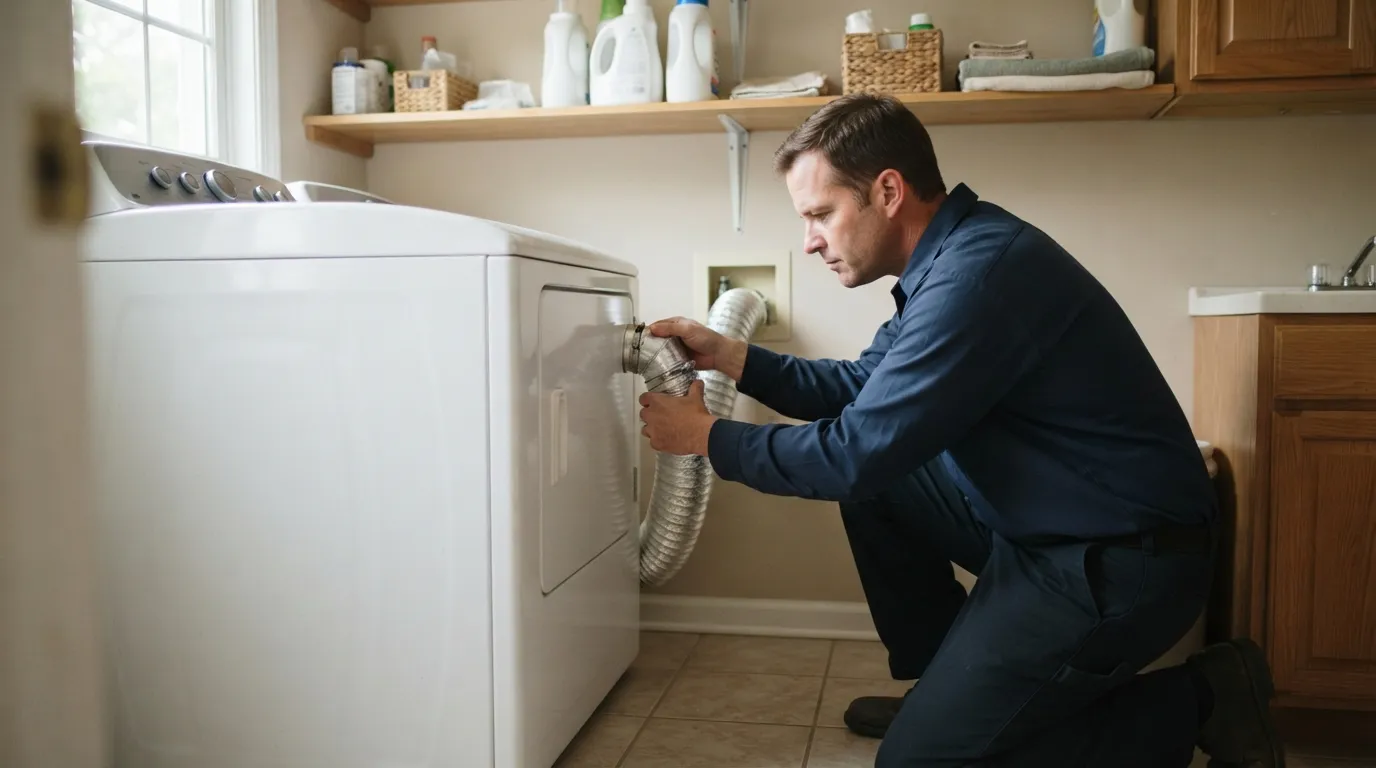
For vented dryers and ranges, the installer inspects the vent path, confirms the vent hood or ducting is intact, and checks for backdrafts or obstructions. A short operating test shows the appliance runs through a normal cycle. It also confirms that controls respond and that safety interlocks, for example door switches, operate correctly.
Finally, the installer walks you through the completed work. You should be shown how to run a basic cycle, where the shutoffs are, and how to reach any filters. Ask for written notes or a simple checklist of the checks performed and the serial number of the installed unit. Keep that record for warranty and future service.
What actually makes a job cost more or take longer
Several things create extra time and complexity on an install appointment. Restricted access is a frequent issue. Tight staircases, narrow doorways, or a route that requires the appliance to be turned on its side all add time. They may also require extra hands. If the unit must pass through a finished living space, installers take more time to protect floors and trims, which is sensible but slower.
Built‑in installations where cabinets need altering are a common source of extra work. A slide‑in range may require a trim kit or a minor cabinet cutback. A dishwasher sitting against a curved toe kick might need a small panel removed. Those carpentry adjustments take tools and time and may be billed as additional work if you did not plan for them.
Utility upgrades add cost and time. If the existing outlet is the wrong type or the breaker capacity is insufficient, an electrician must intervene. If a gas appliance needs a new line or certificate, a gas fitter must intervene. Those specialist steps are separate tickets with their own inspection and permit paths in many jurisdictions.
Old homes often bring surprises. Corroded fittings, undocumented wiring, or a drain line that traps debris can slow a routine install into a troubleshooting task. Expect the extra time needed to identify the problem, source the correct replacement part, and verify a safe repair.
Finally, disposal and hauling away an old appliance affect the final bill. A needed replacement part that must be ordered also affects the bill. Travel time from the installer’s base to your home adds to the cost. Planning the site details and identifying likely snags before the visit reduces the chance of these items appearing mid‑job.
Do you need permits or a licensed electrician / plumber?
Permits and licensed trades are tied to changes in permanent systems and to local code. Simple swapouts where an appliance uses the existing connection and does not alter gas, electrical capacity, or plumbing routing often do not trigger a permit. By contrast, installing a new gas line or adding a high‑capacity dedicated electrical circuit commonly requires a permit. Relocating a drain or vent through a structural wall commonly requires a permit and the work of a licensed professional.
Before you book, ask whether the job will change the fixed utilities. If it will, raise the permit question early so you can check with your local building department about the process. Permit rules vary by locality; in many counties a permit is a box that protects you and records that the work was inspected. If the installer is not a licensed plumber or electrician, plan to hire or arrange for the appropriate trade. Do this when the scope crosses into their domain.
When you expect gas work, insist on clarity about who arranges the gas fitter and how the gas line will be tested and certified. For electrical upgrades, ask whether a permit and inspection are part of the quote. If you live in Montgomery County or a nearby jurisdiction, contact your permitting office. Confirm thresholds for permits and ask about any local inspection requirements before you commit.
Even when a permit is not strictly required, having the work inspected can be worthwhile on safety grounds. If you are unsure whether a given change requires a licensed trade, use this rule. Treat any permanent modification to a gas or electrical system as needing a professional and a permit. That avoids surprises when it is time to sell the house or when a warranty claim arises.
Built‑in, slide‑in and freestanding: what to check before buying
Appliance type determines what the install will take. Freestanding units are the easiest: they need a location with the right outlet, clearances for airflow, and an unobstructed route to the space. Slide‑in and built‑in appliances sit up against cabinetry and often tuck into a reveal that hides the appliance sides, so their dimensions are critical.
Check not only the appliance’s external measurements but also the cabinet opening details. Built‑ins may require a trim kit or a reduced toe kick and sometimes need a small cutout for venting or service access. Manufacturers publish the cabinet opening dimensions and ventilation requirements. Keep those with your purchase paperwork so the installer can match the unit to the opening on arrival.
Venting is the other key difference. A freestanding electric dryer may work with a short flexible vent; a built‑in microwave or a range hood often requires routed ductwork. Know whether your home’s existing vent path is the right diameter and length for the new model. Long, convoluted ducts and multiple bends reduce efficiency and sometimes require a more powerful fan or reworking the duct path.
Think about service access. A fully enclosed built‑in that requires cabinet removal for every small repair creates future cost and inconvenience. If you expect to repair filters or clear a lint trap yourself, make sure the installed unit allows straightforward access.
Finally, if you are replacing an older model, compare the old connection locations to the new unit’s. Moving a drain, outlet, or gas stub is avoidable if you choose a model that matches the existing footprint.
Aftercare, warranties, and what happens if something goes wrong
When the job is finished, collect and keep the documentation. Ask the installer for the serial number and model of the installed appliance. Also request a short list of the checks they ran and any notes about parts or modifications. That paper trail is what you will use when filing a warranty claim with the manufacturer or arranging a follow‑up visit.
First, you should confirm whether the issue looks like an installation fault or a factory defect. Then check whether the appliance is within its warranty period and contact the party responsible for the relevant work. Examples of installation faults include a loose water connection, an incorrectly secured vent, or a miswired plug. These issues are typically handled by the installer who performed the work. A factory defect is usually handled through the manufacturer under warranty.
For anything that looks like a utility problem, such as a gas smell or erratic electrical behavior, stop using the appliance and seek a professional assessment immediately. Keep records of the problem, photos where useful, and any communications you have with the installer or the manufacturer.
A local technician can offer follow‑up services such as tightening fittings, testing vents, or returning to relevel and adjust doors. When you schedule the install, ask how the installer documents the work and who you should contact for follow‑up. Having that contact and the installation notes makes a fast resolution far more likely.
If you want help with measurements, pre‑purchase checks, or arranging a follow‑up, contact us to discuss the job and schedule a visit.
Frequently asked questions
Can a handyman replace a dishwasher?
A handyman can replace a dishwasher when the plumbing and electrical connections are already suitable and no gas or major electrical work is needed. Expect the installer to remove the old unit and fit and level the new one. They should run a leak test and a short cycle to confirm operation.
Will the installer haul away my old appliance?
Some installers include removal and disposal, but it is not automatic; you should confirm this before the visit. Decide in advance whether you want the old appliance taken away or left for separate disposal so the installer can plan time and space accordingly.
Do I need a permit to install a new range in my kitchen?
A permit is commonly required when the work changes permanent systems, such as adding a gas line or altering electrical capacity. A permit is not typically required for a simple like‑for‑like swap using existing hookups. Check with your local permitting office if the job moves or extends gas or electrical work, and arrange a licensed trade when required.
How should I measure before I buy a built‑in appliance?
Measure the cabinet opening width, height and depth at floor level and note any obstructions such as trim or baseboard that reduces usable space. Keep the manufacturer’s cabinet opening and ventilation specifications with your purchase so the installer can confirm fit on arrival.
