

Start here: the decisions that make everything else easier
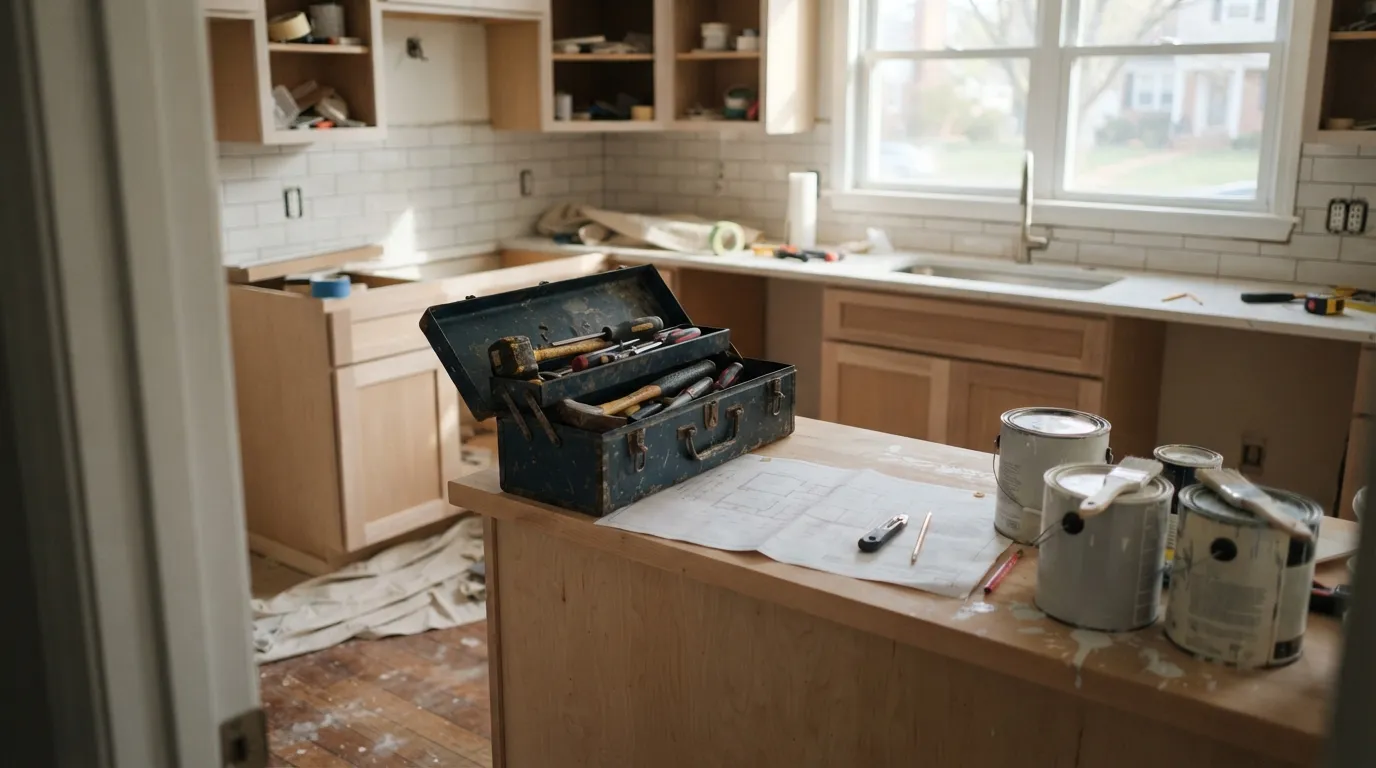
You begin a kitchen project by locking down three things that change every other choice: scope, layout, and must-haves. Decide if you want a full remodel or a refresh that keeps cabinets and changes surfaces; that choice determines the size of the job and whether walls, floors or plumbing will be touched. Pick the layout goal next — the same footprint with new finishes, a reworked work triangle, or moving major appliances — because moving locations adds plumbing and electrical work. Finally, separate must-haves from nice-to-haves so trade-offs are clear on day one: what you cannot live without, and what you will accept later if the budget runs tight.
Write these three decisions on a single page and carry it to every meeting. When you can answer scope, layout, and must-haves without pausing, conversations about finishes, timing and permits stop spinning and start producing decisions you can act on.
How to set a realistic budget and priorities
Turn your wish list into a working budget by attacking it in layers. Start with the skeleton: demo, rough plumbing and electrical, and any structural or code work implied by moving sinks or cooking appliances. That skeleton is non-negotiable; treat it as the base line of cost and timing. On top of that, separate fixed elements from visual choices: fixed elements are cabinets, countertops and appliances; visual choices are hardware, finishes and fixtures. If you have to cut, cut from visual choices before you cut from the skeleton.
Prioritise spend by use. Put money where the kitchen will be used hardest: reliable plumbing, durable counters at prep zones, and lighting that supports cooking tasks. Spending on high-end finishes in low-use spots — a decorative backsplash in a corner nobody uses — buys style, not everyday value.
Be specific about quality bands instead of dollar amounts. Describe each item as low-, mid- or high-durability, and assign your own priority to durability, maintenance, and appearance. That way you can swap one component up or down while keeping the overall plan intact.
Build contingency into the budget as a line item you do not touch for upgrades. You will use some of it. Hidden conditions behind old walls — bad wiring, wet subfloors, or non-code plumbing — are the usual reasons. When a line item is a placeholder rather than a guess, decisions in the moment are easier and less emotional.
If you are trimming scope to meet cost, look for these reliable reductions first: keep the current layout, reuse existing cabinet carcasses while replacing doors, choose durable but modest countertops, and stage finishes later. Avoid cutting core trades: do not downgrade plumbing or electrical work that affects safety or future resale.
Finally, get at least two written, itemised estimates that break down labor, materials and allowances. Ask each quote to show what happens if you change one item — for example, a different countertop — so you can see where the budget flexes without having to re-run the whole figure each time.
Permits and approvals in Montgomery County
In Montgomery County, expect permits when work changes plumbing, gas, structural elements, or permanent electrical systems. The usual path for a homeowner is: check whether the work requires a permit, prepare basic drawings or a scope, file an application with the county or your municipality, and schedule inspections at the stages the permit requires. The county will want to see plans that show existing and proposed layouts when you move plumbing, open walls, or alter egress.
Common permit types you will run across include building permits for structural or framing changes, plumbing permits for relocating sink drains or gas lines, and electrical permits for installing new circuits or rewiring. If you are installing a gas range or changing the exhaust connection, the inspector will expect the new gas fitting and ventilation to meet code.
Who to call: start with Montgomery County permitting customer service or your local municipal office to confirm the permit types you need. If you hire trades, ask them whether they pull permits as part of their work; many electricians and plumbers will file on behalf of the homeowner. Regardless of who files, the homeowner is typically the permit holder and responsible for passing inspections, so follow up on scheduling and results.
Inspections usually follow a predictable sequence: rough inspections after framing and rough-ins, and a final inspection once work is complete. Schedule inspections into your timeline rather than treating them as an afterthought — failed or missed inspections stop work and add time. Keep copies of approvals and a permit card on site so inspectors can find them easily.
Drawings do not need to be architectural masterpieces, but they should show existing conditions, the proposed change, and key dimensions. Simple labelled plans with a sink, stove, refrigerator location and notes about where a wall is removed or plumbing is moved are enough for most residential filings.
If you live in a homeowners association, also check any architectural review rules before you start: some associations require approval for visible exterior changes, hood vents that exit through walls or roofs, and certain lighting fixtures. Put HOA steps into your permitting schedule so you do not get delayed while waiting for association review.
Room-by-room practical checklist (demolition to finish)
This is the sequence trades and site managers use to keep a kitchen moving and to avoid rework. Use it as your day-by-day checklist while you watch the job.
Prep and protection
- Clear out the kitchen and remove loose items from adjacent rooms. Cover or seal doorways with plastic to limit dust spread. Protect floors leading to the work area with rosin paper or temporary runways so traffic doesn’t track dust and debris into the rest of the house.
Demolition
Start demolition only when you have a confirmed disposal plan for old cabinets, counters and appliances. Remove appliances last and tag wiring and plumbing so installers know what goes where. If you uncover mold, rot or soggy subfloors, stop work and get a written plan for remediation before proceeding.
Rough-ins (electrical, plumbing, gas, HVAC venting)
Run new electrical circuits and place lighting boxes where the layout requires them. For plumbing, locate new drains and supply lines for sinks and dishwashers; leave access panels where shutoffs or cleanouts are needed. If you are moving gas appliances, ensure a certified gas fitter handles the connection and testing. Once rough-ins are complete, schedule the required rough inspection so insulation or drywall install can proceed.
Framing and structural work
If walls move, have a written plan for any headers, blocking, or beam sizing. Ensure that load-bearing changes are inspected and signed off before enclosing them. Temporary bracing during the open stage prevents surprise movement and keeps finishes square later.
Insulation and drywall
Install insulation where required and finish with drywall. For cooking zones, use moisture-resistant board if local code or conditions suggest it. Be clear with the drywall team about where tile backsplashes will start: recessed areas and tile-ready zones can be left at a slightly different finish to avoid extra sanding.
Cabinetry and millwork
Install base cabinets first, then wall cabinets. Confirm countertop overhangs before setting wall heights and before final plumbing placement. If you are refacing existing cabinets, confirm the substrate is square and solid before trimming or attaching new faces.
Countertops and splashbacks
Measure countertops after the cabinets are installed and levelled. Once templates are taken and countertops are installed, do final sink cutouts and confirm plumbing fixtures fit. Tile splashbacks should be done after countertops to allow a small reveal and a neat joint. Grout work and sealants follow installation and dry time.
Flooring
Choose when to install flooring carefully. If cabinets are set on top of finished floors, use trim to cover the edge. If cabinets sit on top of flooring, fit cabinets first. Flooring installers and cabinet teams must agree on the sequence before either begins.
Painting and finishes
Prime and paint after most large trades are complete but before final hardware is installed. Final trims, caulking and touch-up painting are last. Do a walk-through to list touch-ups and snags and address them in a final pass.
Final install and commissioning
Install appliances, connect plumbing fixtures, test all circuits, and run water checks for leaks. Make a list of small adjustments — door alignment, soft-close tuning, and final sealant beads — and clear them before the final inspection or handover.

What a handyman can do, and when you need a contractor
A handyman is a good match for many finishing and upgrade tasks that do not change the structure or code-rated systems of a kitchen. Typical handyman-permissible jobs include installing or refacing cabinet doors, replacing hardware and trim, fitting under-cabinet lighting (low-voltage with no new circuits), painting, patching drywall, replacing faucets where the shutoffs and drain are unchanged, and installing countertops that do not require plumbing or structural modifications.
Call a licensed contractor or a trade specialist when the work alters permanent systems or requires a permit: moving sinks or drains, installing new gas lines, adding new electrical circuits, changing load-bearing walls, and full kitchen rewires. These jobs carry inspection requirements and involve technical standards that protect safety and future resale.
If you are unsure, ask whether the work will require a permit or an inspection. That question alone often separates a handyman-level job from a contractor-level one. For example, swapping a faucet in the same location is generally straightforward; moving the sink and cutting into the drain typically triggers a plumbing permit and a contractor’s scope.
Use a handyman to reduce cost and complexity where possible: finish carpentry, caulking and trim, hanging doors, assembling and fitting new cabinets, and managing punch-list items at the end of a project. Use a contractor when the job must meet a code, affect structural integrity, or when a permit is likely to be pulled.
Keeping your kitchen usable: phasing, temporary setups, and timeline
If you need to cook during a remodel, stage the work to preserve at least basic functionality. Common strategies are partial gut-and-replace, phased replacement of work zones, or setting up a temporary kitchen in another room.
Phasing options
- Work zone phasing: keep one side of the kitchen working while you renovate the other. Move the stove or sink only after new hookups are ready, so you always have a utilitarian zone to use.
- Partial replacement: replace countertops and cabinets in stages, doing high-use areas first and low-use ones later. This extends the project but keeps disruption low.
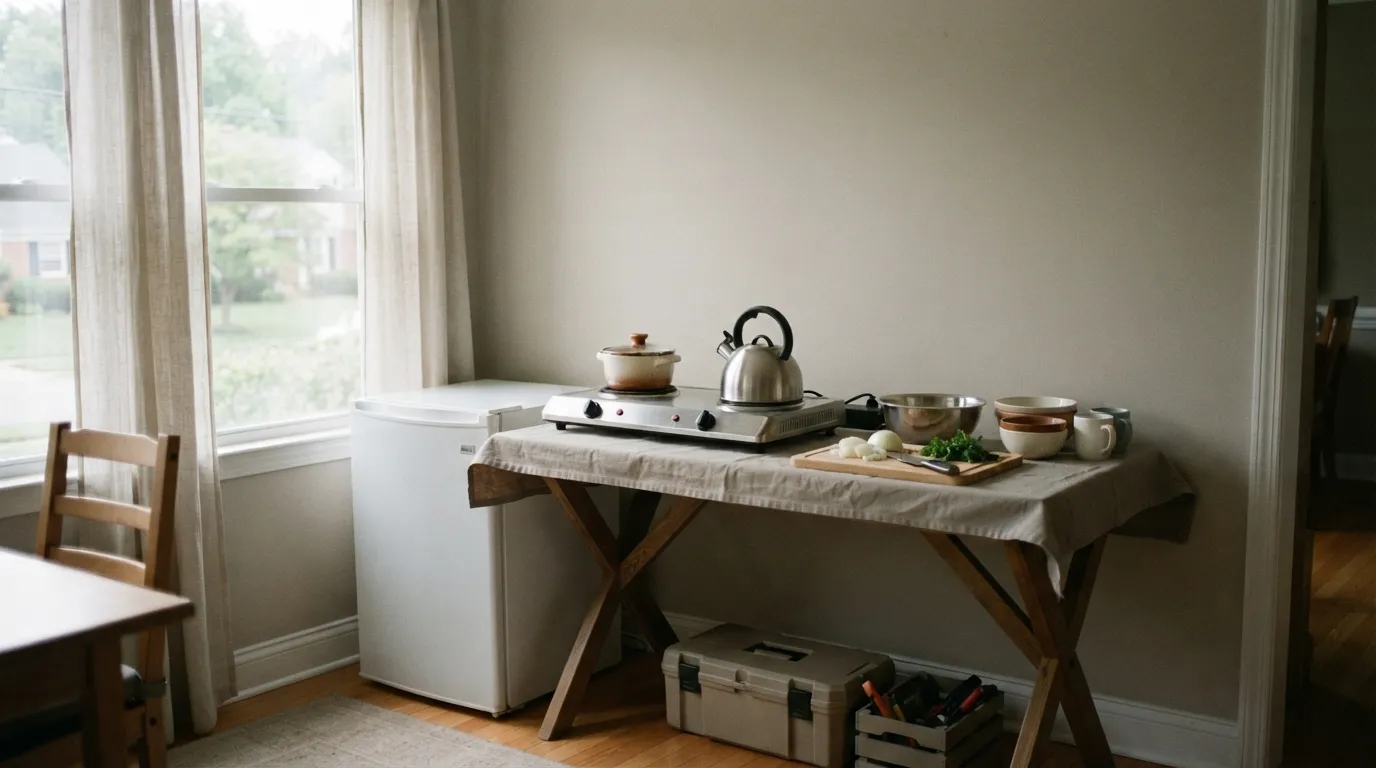
- Temporary kitchen: set up a microwave, hot plate, mini-fridge and a sink if available in a laundry or bathroom nearby. Use disposable plates sparingly and plan a few meals that require minimal equipment.
Timeline realities
A simple refresh that replaces paint, hardware and surfaces may be completed in a matter of days to a couple of weeks, depending on scheduling. A full remodel that moves plumbing, electrical and cabinets takes longer, because it includes framing, inspections and sequencing between trades. Always build buffer time into the schedule for inspections and for the discovery of hidden conditions.
Practical tips to reduce downtime
Pack a small set of essentials before work starts: a set of knives, a cutting board, a kettle, dish soap and a drying rack. Label circuits and shutoffs so that when power or water must be temporarily cut, you and the trades know which circuits control which areas. Keep clear access for tradespeople to avoid delays: a cluttered entry path or blocked driveway costs time every day.
Communicate your priority days, for example weekends you need the kitchen to function, and work with your contractor or handyman to schedule especially disruptive phases around them. When contractors know a date they must hit, they will plan manpower and ordering accordingly.
Hiring, quotes, and what to expect on the day
A clear, itemised quote separates materials, labour, and allowances. Look for a breakdown that lists demolition, rough-ins, cabinetry, countertops, trims, and finishing work as separate line items. If an estimate includes allowances for items you have not yet chosen — such as cabinets or countertops — treat those allowances as placeholders and ask what happens if the item you pick costs more or less.
When comparing bids, compare the same scope: confirm that each quote assumes the same demolition extent, the same new locations for plumbing or electrical, and the same finish quality. A cheaper quote that omits tasks or downgrades materials is not a savings; it is a different plan.
Ask potential hires these questions before you sign: who will be on site each day, how will they manage dust and access, which permits will they file or expect you to file, and how do they handle unforeseen issues? A good response tells you how they schedule, how they communicate, and how they handle problems when they appear.
On the day work starts, expect a short site meeting: review the decisions you locked in, mark fixed references like cabinet locations, and confirm access, where they will park, and where they will store materials. Trades often bring tools and supplies that take space — agree on staging areas to keep the rest of the house functional.
Keep a daily log of progress and issues so you can track when an item was installed or when a decision was made. That log speeds resolution of disputes and helps you remember small changes to the scope that affect final billing.
Downloadable printable checklist and simple project planner
A one-page planner should include the phases, a place to list your permit numbers and inspection dates, a short contact list for trades, and three columns for budget: estimate, actual, and variance. The printable checklist can be a two-column list: must-do items on the left (permits, shutoffs, rough inspections) and finish checks on the right (hardware installed, caulking, appliance commissioning).
Keep the planner where you will see it: tape it to the fridge or keep a laminated copy in the kitchen so trades can add notes in dry-erase marker. Use the planner to record the name and phone of the person who picked up permits, the date of each inspection, and the final sign-off.
If you prefer digital, a single spreadsheet with tabs for scope, budget, contacts and permits works the same way and is easy to share with a contractor or property manager. For landlords and property managers, add a turnover checklist: cleaning, inventory of appliances, and a final photo of the finished space for records.
Frequently asked questions
What should I include on my kitchen remodel list?
Include scope (refresh or full remodel), the layout you want, and must-haves versus nice-to-haves. Add a separate list for permits and inspections, and a contact list of trades and suppliers so decisions and responsibilities are clear.
In what order should a kitchen remodel be done?
Follow the sequence: prep and protection, demolition, rough-ins (electrical, plumbing, gas), framing, insulation and drywall, cabinet installation, countertops and splashbacks, flooring, painting and finishes, then final installs and commissioning. Inspections should be scheduled at rough and final stages.
Steps to remodel a kitchen yourself — what can I do?
You can handle demolition of non-structural elements, painting, installing trim, assembling and fitting cabinets, and finishing tasks like caulking and hardware installation. Leave structural changes, new plumbing or electrical circuits, and gas work to qualified trades and any work that requires a permit.
Printable checklist for kitchen renovation — where do I start?
Start with a one-page planner that lists phases, permit tracker, contacts and a budget column for estimate and actual costs. Keep it visible during the project and use it to record inspection dates, who signed permits, and any change orders.
