

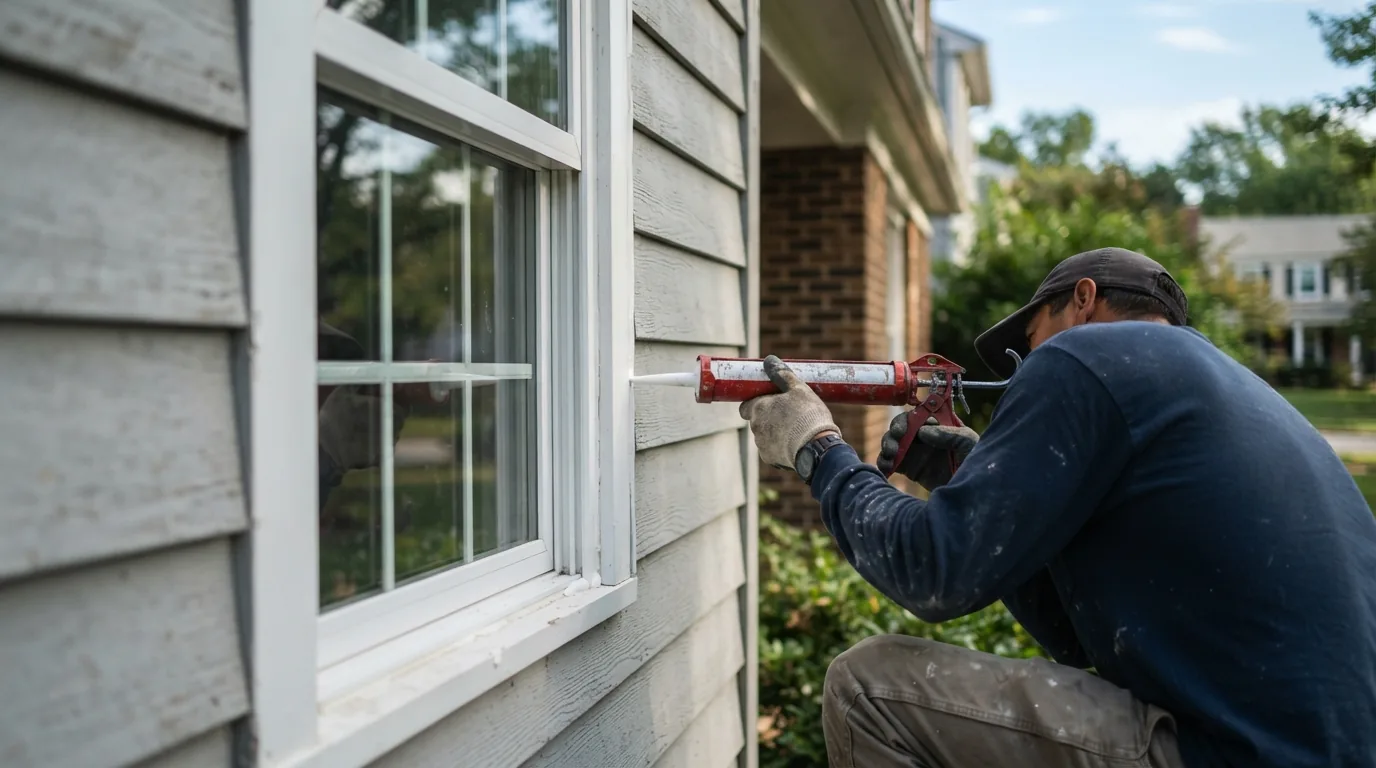
Nobody has ever been excited about caulk. It’s the least interesting product in the hardware store and it does more per dollar than almost anything else you can buy for a house.
Exterior caulking is what stops water getting into places it can’t get out of. Skip it for long enough and you’re not buying caulk any more, you’re buying carpentry.
Where exterior caulking actually matters
Walk the outside of the house and look at these, in this order:
- Around window and door frames, where the frame meets the siding or brick. The single most important joint on the house.
- Where trim meets siding — corner boards, fascia, the joint under a windowsill.
- Where two different materials meet. Wood to brick, siding to foundation. Different materials expand at different rates, so these joints work hardest.
- Penetrations: hose bibs, dryer vents, electrical, cable entries, light fixtures. Small holes, disproportionate consequences.
- The joint between the siding and the trim around the garage door. Frequently skipped and frequently open.
Where exterior caulking does more harm than good
This matters as much, and it’s the part people get wrong.
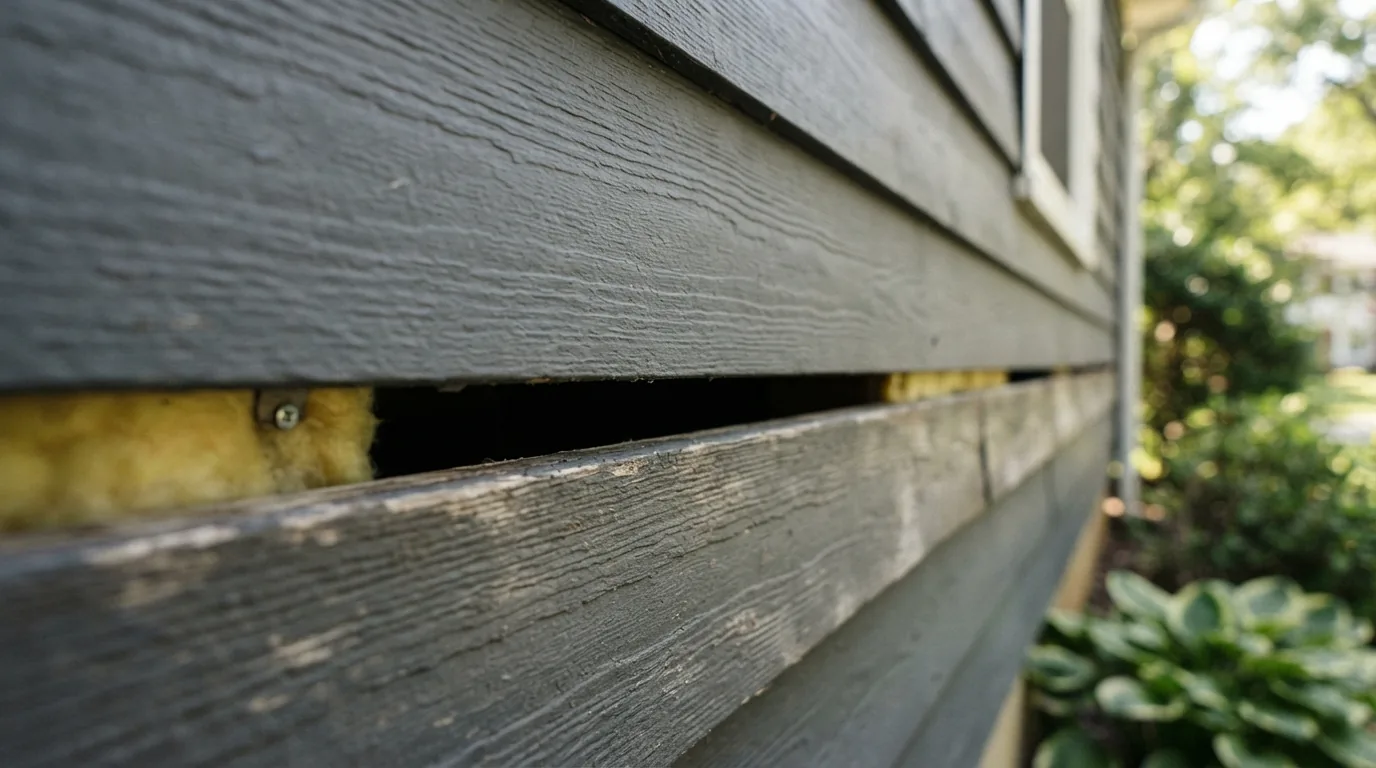
The bottom edge of siding boards. Lap siding is designed to shed water down and out, and the gap at the bottom of each course is deliberate — it lets anything that gets behind escape. Caulk it and you trap water inside the wall.
Weep holes in brick. Those small gaps in the mortar near the bottom of a brick wall are drainage. They’re supposed to be open.
The gap under a windowsill. Some designs deliberately leave the underside open to drain. If in doubt, look at whether it appears designed or accidental.
The general rule: seal joints where water gets in, leave open the paths water uses to get out. Trapping moisture inside a wall does far more damage than a small gap ever will.
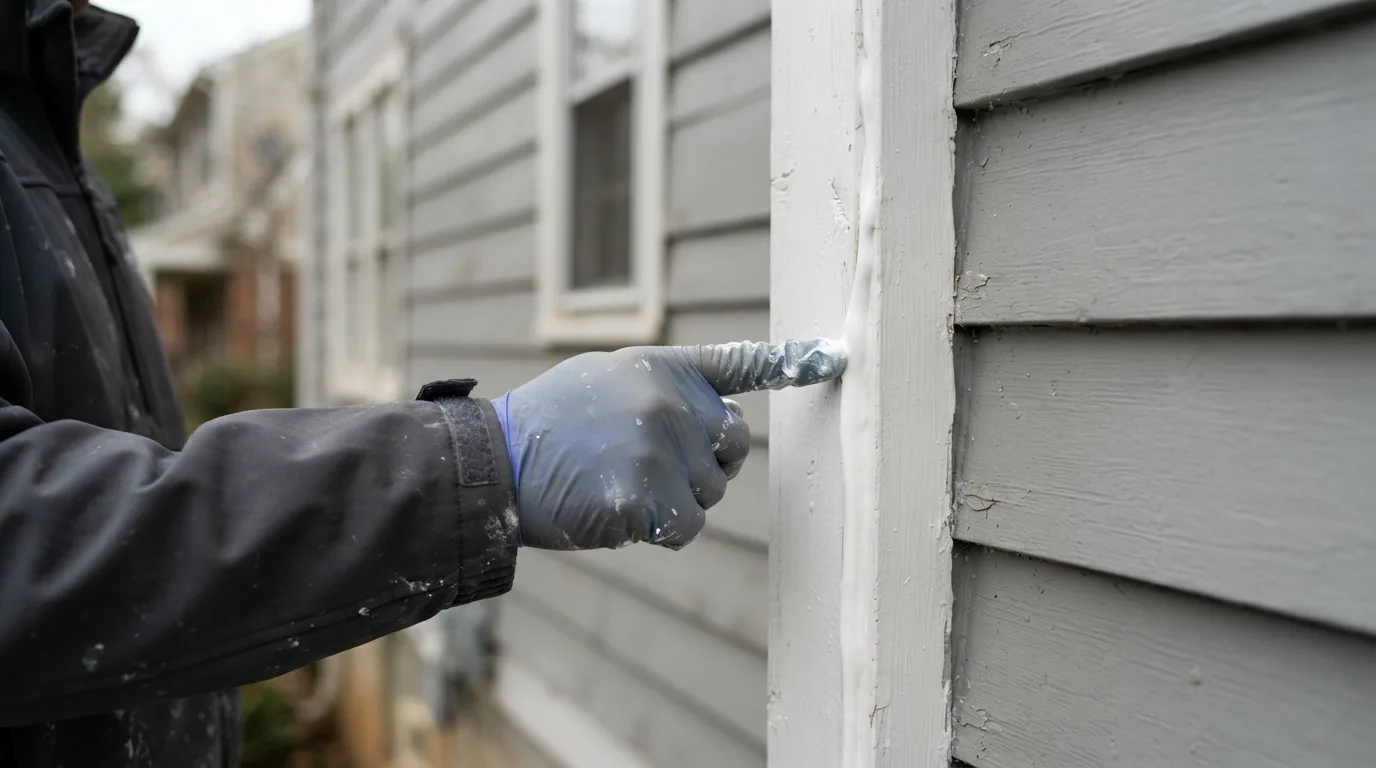
Choosing the right exterior caulking product
Three broad options, and using the wrong one is why caulk fails within a year.
Acrylic latex with silicone is the general-purpose exterior choice. Paintable, easy to tool, cleans up with water. Good for most trim joints.
Polyurethane is tougher and more flexible, which suits joints that move a lot, and it bonds well to masonry. Harder to work with and less forgiving.
Pure silicone lasts and stays flexible, but nothing will paint over it. Fine for joints you’re not painting, wrong for anything you are.
The most common mistake I see is pure silicone used on trim that then needs painting, and paint that beads off it forever afterward.
Timing, which is genuinely important here
Exterior caulking cures within a temperature range, usually stated on the tube, and applying it outside that range means it never bonds properly.
Our climate gives two good windows: spring and early fall. Summer is workable early in the day but joints are at their narrowest — the house has expanded — so you’re sealing a gap that will open further in January. Deep winter is worse; cold, damp surfaces don’t bond, and the joint is at its widest.
Early fall is arguably the best time of year for it. Moderate temperatures, joints somewhere near the middle of their range, and it’s done before winter driving rain arrives.
Doing exterior caulking properly
The failure is almost always preparation. Old failed caulk has to come out completely — new caulk over old bonds to the old caulk, which is already failing, and takes it with it when it goes.
Then the surface has to be clean and dry. Then cut the nozzle small, at an angle, and tool the bead so it presses into the joint rather than sitting on top of it. A bead that sits proud has less contact area and fails first.
For gaps wider than about a quarter inch, use backer rod first. Filling a deep gap with caulk alone means it bonds on three sides and tears itself apart as the joint moves.
The energy side of it
Air leakage is a real cost, not a marginal one, and sealing gaps is among the cheapest efficiency work available on any house. The Department of Energy’s guidance on air sealing covers where the losses actually are, and windows and doors feature heavily.
Worth doing the interior side at the same time — the gap between window trim and wall inside is often larger than anything outside.
The short version on exterior caulking
Exterior caulking matters most around window and door frames, where trim meets siding, and at every penetration through the wall. Do not caulk the bottom edge of lap siding or brick weep holes — those are drainage. Match the product to the joint, and never use pure silicone anywhere you intend to paint. Spring and early fall are the right windows for it, and preparation matters more than the caulk itself: old material out, surface clean and dry, bead tooled into the joint.
If you’d rather have someone walk the house and do the lot in an afternoon, that’s a straightforward visit. General exterior repairs across Silver Spring and the surrounding neighborhoods, free estimates, no obligation.
Frequently asked questions
Q: How often should exterior caulk be replaced?
A: Depends on product and exposure, but somewhere between five and ten years is typical for joints in sun and weather. The honest answer is to look rather than count — cracked, shrunken or pulling away means replace.
Q: Can I caulk over old caulk?
A: You shouldn’t. New caulk bonds to the old layer rather than to the joint, and when the old material lets go it takes the new with it. Removing it properly is most of the work.
Q: What’s the best time of year?
A: Spring or early fall. Moderate temperatures let it cure properly, and the joint is nearer the middle of its seasonal range rather than fully open or fully closed.
Q: Should I caulk the bottom of my siding?
A: No. That gap is deliberate drainage, letting any water behind the siding escape. Sealing it traps moisture in the wall, which is a considerably more expensive problem than the gap.
